MakerBeam used to build quadcopter

From Norway we got the following message and some great pictures.

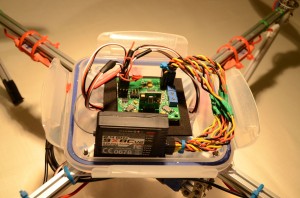
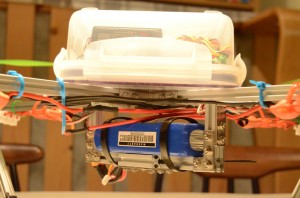
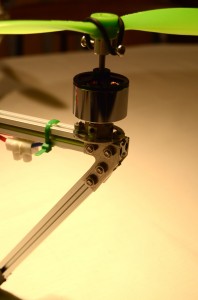
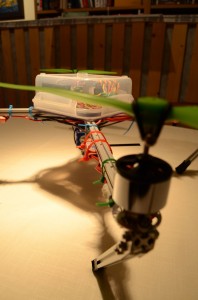
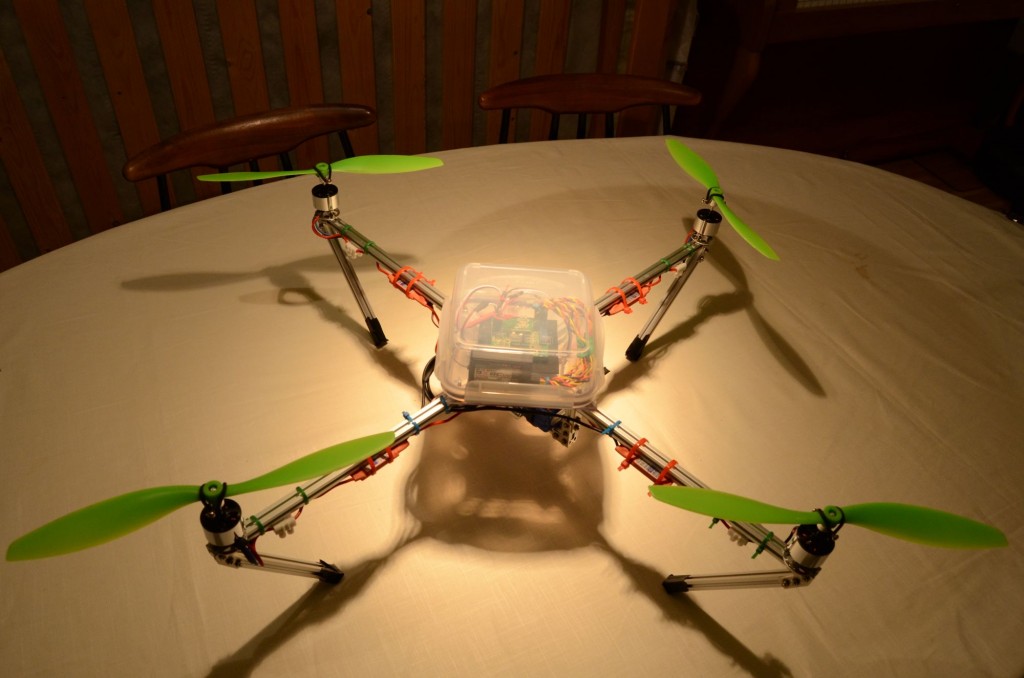
Just thought I’d send you some photos of a quadcopter I and a friend built recently, using MakerBeam aluminum profiles. We used 4×30 cm long beams to make the arms, and mounted a plexiglas plate and a plastic box on top, to hold the RC receiver and the controller card. Beneath the plate we made a battery mount, and fastened all the wires using zip ties. We also modified the motor mounts so that they could be screwed directly onto the beams.

I all, I find that MakerBeam is very easy to use, and it is also very easy to be creative and modify different designs. Great! However, I have some suggestions for additional features:

– The starter kit could come with a set of longer M3 screws, to make it easier to mount “external elements” (not MakerBeams)

– It would be nice to introduce some kind of “joint”, so that one beam could rotate relative to the other. A combination with some kind of spring would be nice. For example, in our quadcopter this could be used to introduce spring damping on the legs.

Hope you like the pictures, and good luck with further development,

Martin


We think it looks great! Thank you Martin.

If you have pictures, videos or suggestion for MakerBeam please let us know!!

Team MakerBeam.eu
3D printer nearly finished

From Bodenmann Electronics we received the good news that the 3D printer Joel is been working on is nearly finished. Pictures of this were already available on our site under News&Projects. Video footage of some test runs are available online.  Here is the video from test #1. In the video the Y-axis is tested.

httpv://youtu.be/k7T9jM97geY

Bodenmann Electronics by the way is a distributor of MakerBeam.

Team MakerBeam.eu

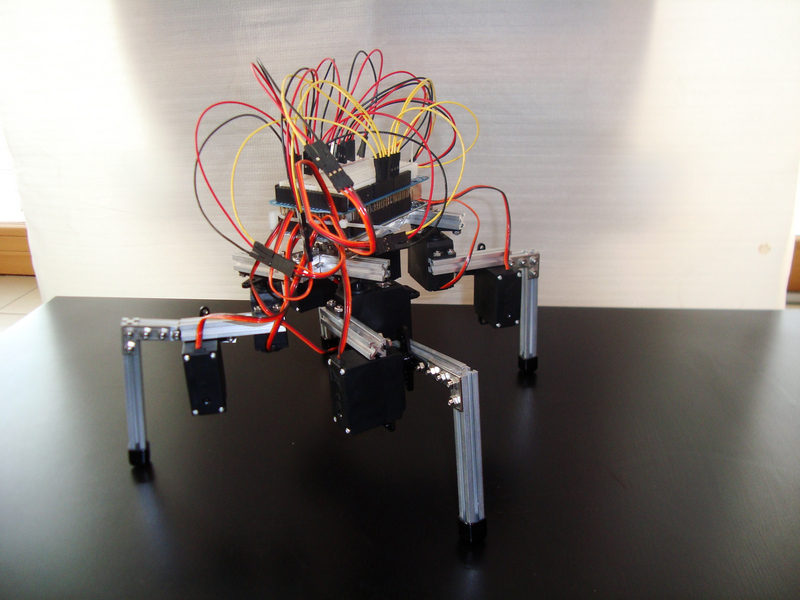
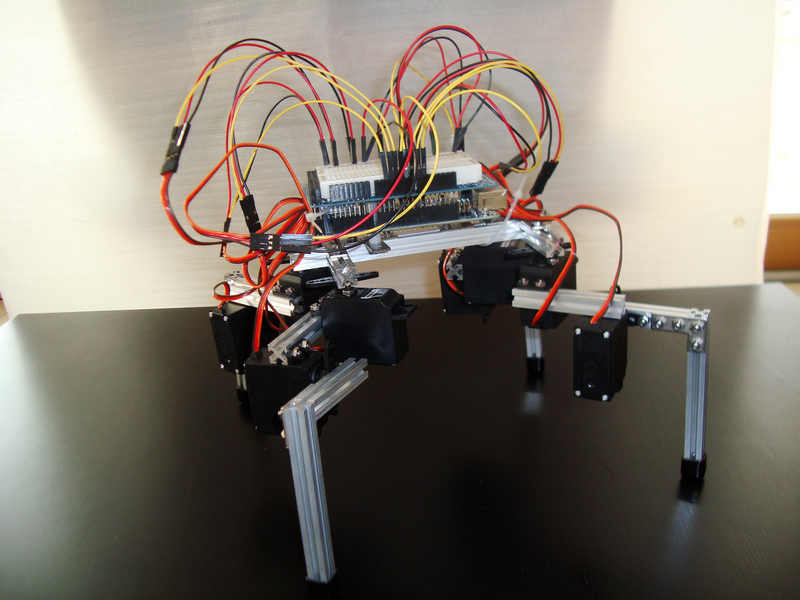
project Hexapod robot

From Dejan Kocbek from SMAKsoft we received pictures of his project hexapod with only 4 legs and 8 servomotors (economic version).  Though it is missing some legs to really be a true hexapod it is a great project! It is a good example of how to use makerbeam for robotics. Thank you Dejan!

SMAKsoft by the way is a distributor of MakerBeam.

Team MakerBeam.eu

MakerBeam knee joint by Sean Reynolds

The MakerBeam knee joint video shown here is the first in a series of cSprings videos Sean Reynolds put online. A project page is to come but in the mean time you can find a couple of videos  under his YouTube channel.

httpv://youtu.be/EPOEfrlR3uI

You should definitely see the other videos as well. They are great and very interesting. We of course love them because of the use of MakerBeam! I chose this video because at first glance it shows a simple setup.

It is a good example of MakerBeam as rapid prototyping tool. The added equipment, like the spring and hinges, make it clear you can add lots of things yourself. In the video an Arduino processor is driving the best servo on the market with a 5-20 lbs spring for flexability on the MakerBeam skeleton. MakerBeam provides the basics and you can build from there.

Team MakerBeam.eu

X-Y carriage

James Hardiman made a x-y carriage using MakerBeam and the bearings we sell through our webshop. It is the world’s first MakerBeam x-y carriage. Or so we think. Let us know if we are wrong.

httpv://www.youtube.com/watch?v=asl5LT2QF_U

The design looks good. We do have some comments though.  Here the bearings are on the inside of the frame. If you put them on the outside there is more space for the frame to move. Also if you use three bearings in one dimension it is stable. Then a single beam would be stable  and you do not need a frame to realise stability.

James Hardiman is working on a book about 3d printers. He is also looking into the power of making. What is happening with 3d printing, homemade cnc machines, sites like etsy.com and makerfaires in various places is sometimes referred to as the industrial revolution 2.0 or micromanufacturing.

Johan and James met each other in the Netherland at ProtoSpace, the fablab in Utrecht. There Johan handed James a MakerBeam starter kit. The x-y carriage is James his first serious MakerBeam project in connection with his book on 3d printers. We love the initiative. Thank you James!!

Team MakerBeam.eu

Makerbeam meets Ultimaker

We are proud to tell you that one of our starter kits found its way to the guys behind Ultimaker, Martijn and Erik. It was a nice surprise discovering Erik had ordered a kit. Ultimaker works together with Protospace FabLab Utrecht. When they learned we would give a lunch lecture there it was real easy for them to attend. It gave us the opportunity to personally hand them a starter kit and to shake hands.

20110901 Ultimaker MakerBeam 120110901 Ultimaker MakerBeam 2

The relationship Ultimaker has with MakerBeam goes back a few years. A 3d print of a makerbeam was made some years ago. Back then it was just an open source hardware project paying the other budding open source hardware project a compliment. Today it was time for a more serious introduction.

20110901Ultimaker MakerBeam 120110901Ultimaker MakerBeam 320110901Ultimaker MakerBeam 420110901Ultimaker MakerBeam 7

The Ultimaker of course is in full production. The process of improving the production process is ongoing as well. Especially the production of the wooden framework takes up a lot of time. There is definitely room for improvement there. Could the aluminum Mini-T profiles of Makerbeam fit in? We talked about it and the guys of Ultimaker took their starter kit home. So who knows what beautiful combination the future will bring!

20110901Ultimaker MakerBeam 520110901Ultimaker MakerBeam 10

Team MakerBeam.eu

First post, first project

Upon showing our website www.makerbeam.eu or the starterkit we were asked the same question again and again. What are the possibilities? What can you make?

We were surprised to hear this question. The possibilities the aluminum Mini-T profiles give you are endless! That is why we decided to start selling MakerBeam.  To get you started we just opened a projects gallery.  We just put up our first project. The creation of a test setting for the Wandy lux.

The test setting is ready to be photographed

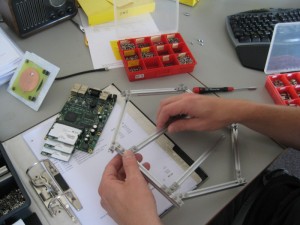
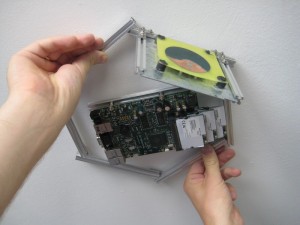
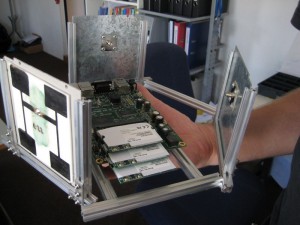
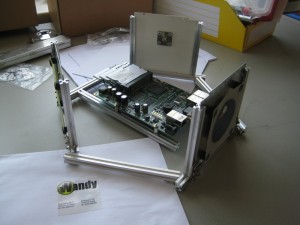
The Wandy lux is an idea for a new product. A multi integrated accesspoint that can be fitted to a ceiling. To get the creative process going pictures were needed to send around. Makerbeam provided a good solid structure to mount the required hardware. The next step will be to actually test the setup created using the Mini-T profiles.

We hope to keep posting new projects in the future!

Team Makerbeam.eu