Pancake machine (1/7) – drawings

There are usually four steps in making a prototype. The first is to make a sketch. This way you get your idea on paper. The second is creating a virtual prototype. Going through all the stages and thinking some problems through helps the project along. What really helps is the third step, the creation of a physical prototype. The end result greatly benefits from actually building all the elements and solving every problem on the way. The fourth step, locating a manufacturer, is an optimistic one. It takes a lot of time before you get to this stage. Most of this time is dedicated toward prototyping since it normally means making a number of iterations. Not all of them as successful as you would like them to be.

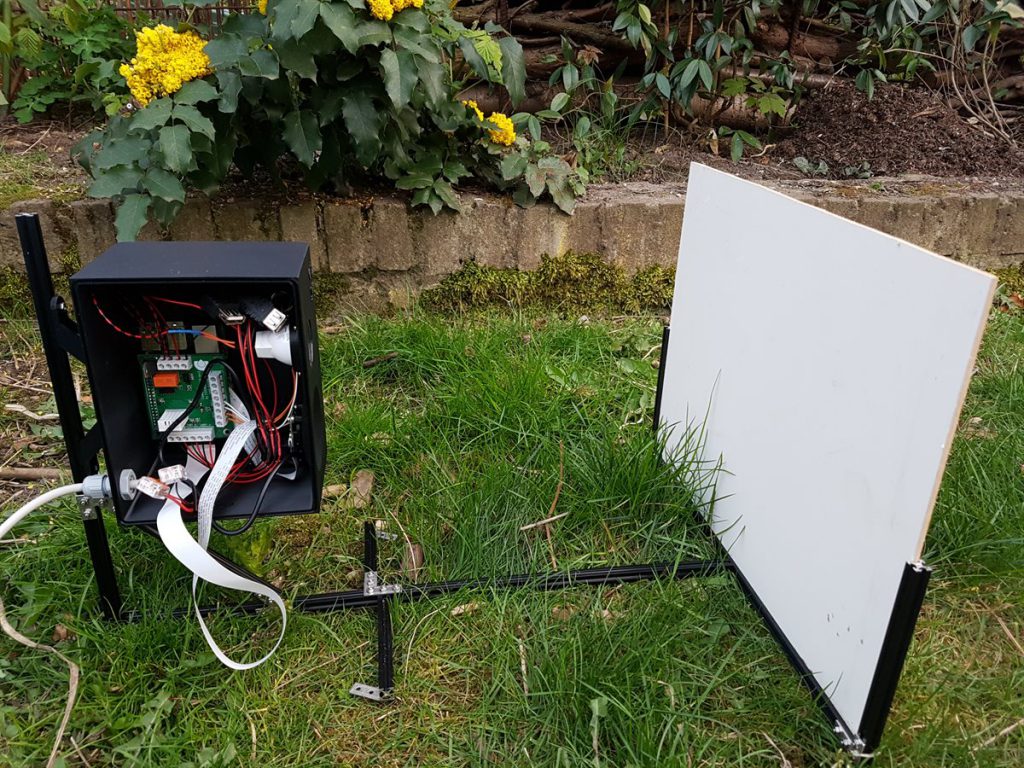
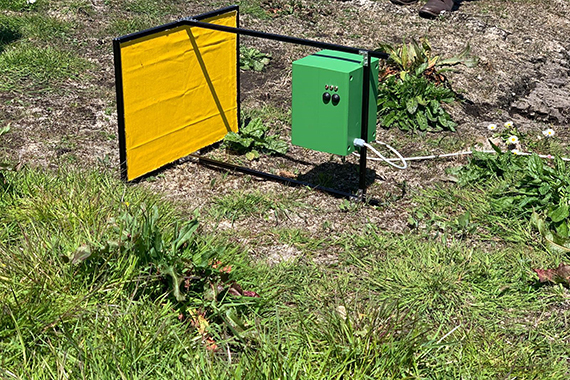
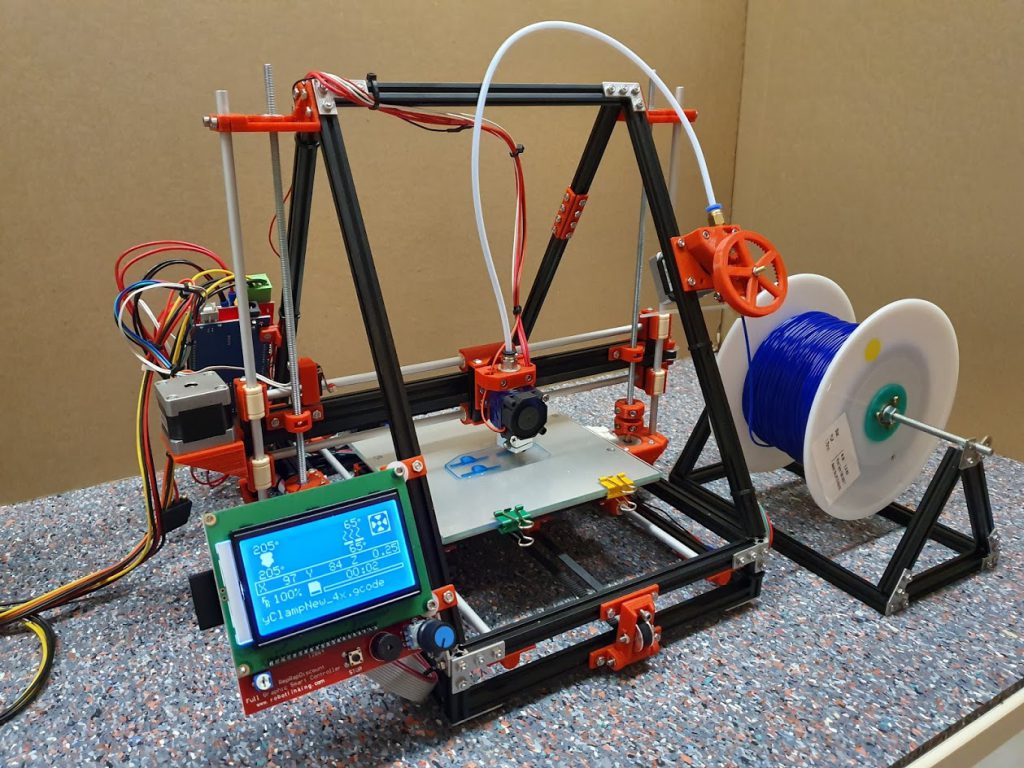
MakerBeam is great to help you in the creation of a physical prototype and all the necessary iterations. The MakerBeam aluminium profiles and related hardware make it easy to create and alter a framework wherein electronics and 3D printed custom made designs can be combined into one.

The first prototype
We asked Hendrik-Jan to create us something using MakerBeam. Hendrik-Jan is a student who just started his bachelor studies in electronics this September. The aim was to create something with MakerBeam. Delivering a machine in working order was not the criterium for failure or success. It was the creation of a prototype we were after, the very first. A lot of prototypes do not make it to the finishline – a working model as input for the manufacturer – but are necessary steps in the process nonetheless. Materials used and problems solved along the way give a lot of valuable information.

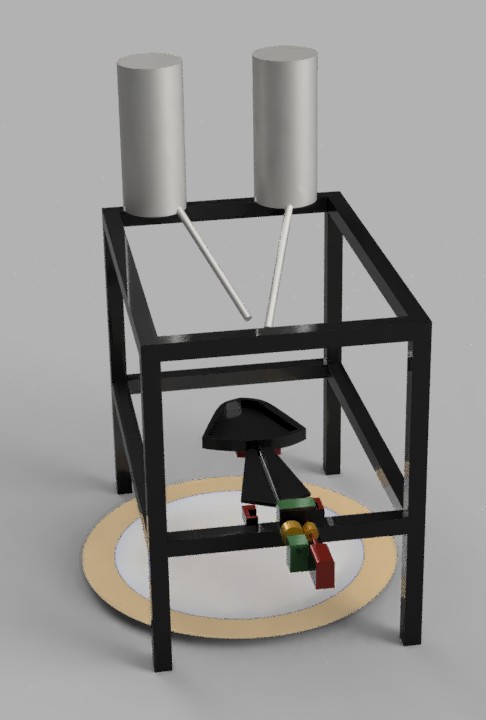
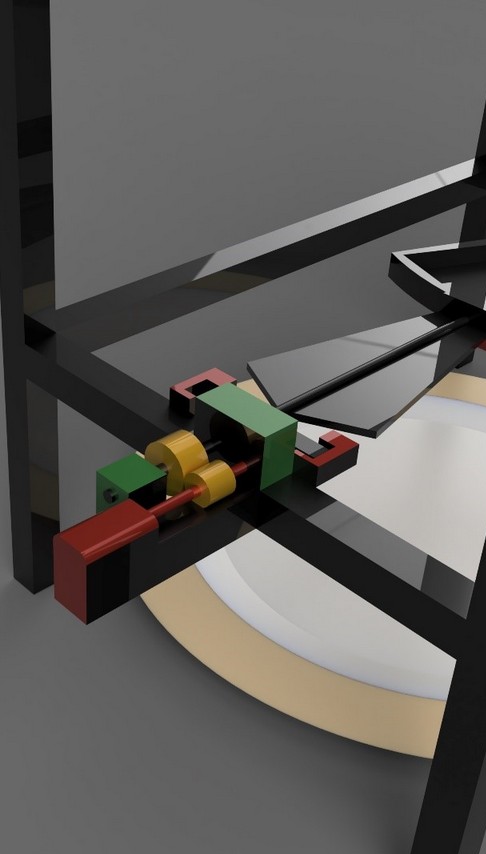
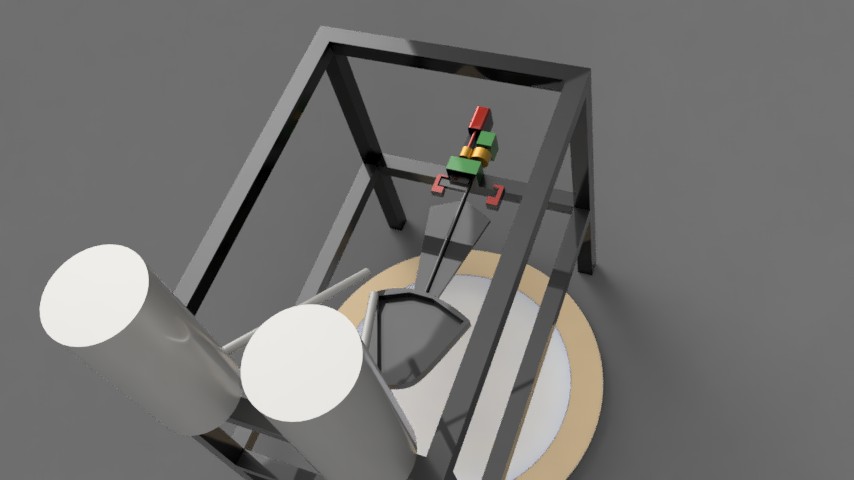
Hendrik-Jan made us a pancake machine. The goal was to have a machine in which you put batter and oil with the machine baking a pancake for you and then delivering it on your plate.

Below are his first sketches in render, basically step one and two combined. He sketched the idea he had to see whether it was a realisitic plan, and to have it on paper. The making of his pancake machine will be published in a series of 7 posts. This one being the first.

Team MakerBeam

Camera trap for insects

It is crucial to have good data available on the number of insects around. Especially now the number of insects is in decline. How many insects are left? What kind? All questions to be answered.

Kenniscentrum EIS (knowledge centre European Invertebrate Survey) in The Netherlands created a camera trap for insects. They used MakerBeam to create a frame.

prototype insect camera trap

Insects fly or crawl on the board and are photographed. The prototype, shown above, has a white board. The one used in the field has a yellow board to attract insects, see below.

insect camera trap in the field

The software is designed so that it only saves the picture of the insect. The rest is cut out. It also is programmed to compare pictures to find out whether it is the same insect or a new one.

The images are sent back to a lab where they have recognition software so an initial count can be made. Autumn and winter are used for a more detailed study of the data.

You can find more information on the website of EIS (Dutch language) and more information can be found in an article of Quest (see below, number 9 of 2019, also Dutch language).

3D Andy’s starter kit 3D printer, CNC and plotter

Andy from Austria made a 3D printer framework based on the items in a MakerBeam Regular Starter Kit (art. no. 100012/100034). You can find some pictures here. Videos of the 3D printing, plotting and milling will be published later. He is also working on a building instruction and a Bill of Materials. Stay tuned for more and enjoy the first pictures!

/100034). You can find some pictures here. Videos of the 3D printing, plotting and milling will be published later. He is also working on a building instruction and a Bill of Materials. Stay tuned for more and enjoy the first pictures!

Andy built a complete 3D-printer-frame out of one “MakerBeam Regular Starter Kit” with just a few additional screws and parts. The main target of his project is to construct a low cost 3D-printer/cnc-mill/plotter with easy available parts. See pictures below.

Team MakerBeam