MakerBeam knee joint by Sean Reynolds

The MakerBeam knee joint video shown here is the first in a series of cSprings videos Sean Reynolds put online. A project page is to come but in the mean time you can find a couple of videos  under his YouTube channel.

httpv://youtu.be/EPOEfrlR3uI

You should definitely see the other videos as well. They are great and very interesting. We of course love them because of the use of MakerBeam! I chose this video because at first glance it shows a simple setup.

It is a good example of MakerBeam as rapid prototyping tool. The added equipment, like the spring and hinges, make it clear you can add lots of things yourself. In the video an Arduino processor is driving the best servo on the market with a 5-20 lbs spring for flexability on the MakerBeam skeleton. MakerBeam provides the basics and you can build from there.

Team MakerBeam.eu
MakerBeam as a tool

We always love to receive pictures or video material.

Here is a video and story by MSquare.

httpv://youtu.be/hw6dS4NsWYg

on 12-02-2012 Msquare wrote:

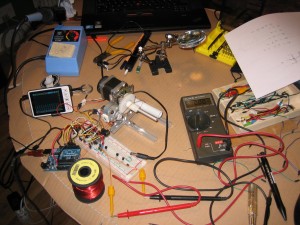
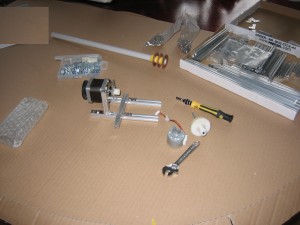
Attached a few snapshots of, not so much a project, as a short-and-quick tool: I needed to wind a handful of electromagnetic coils. One motor to turn the coil, and something to move the winding wire to-and-fro so the wire is densly packed. I have plenty of spare motors and other stuff .. if only I could get something to hold them in place that was simple yet effective…? ! Yes- The new Makerbeam stuff!

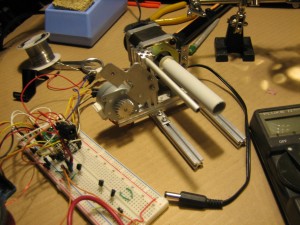
The first picture shows the first evening (an hour or so) mounting the first stepper motor. Pure Makebeam stuff.

Then the second motor was mounted and for that I cut a little aluminium strip and drilled a few holes. The plate was attached to a makerbeam using the usual screw/nuts.  Although I prefer to keep my Makebeams “unharmed” so they are resuable, “the exception proves the rule”: So I drilled a 6mm hole in one makerbeam, which made an aluminium tube/axel fit very snugly. (no additional screws required. It wont budge). It only took a handful of hours (this weekend) – and it is the best piece of mechanical infra structure I have made for any of my projects. That makes me a very happy Makebeam owner.

The last picture shows a truism of most (of my) projects. They are a mixture of Mechanics, Electronics, and Programming. So the Makerbeam bit, although as essential as the rest, is just one part.  It is not quiet finished yet. It needs to prove itself. The software needs a tweak or two and something to hold the other end of the coilcore.

Kind Regards,
Msquare

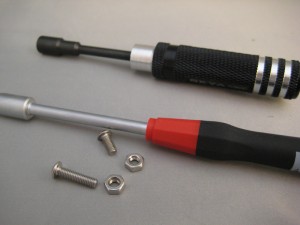
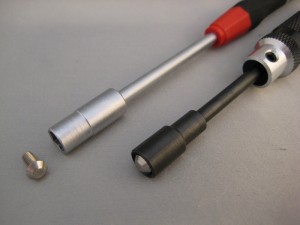
Hex nut drivers regular and small

We think hex nut drivers are crucial in working with makerbeam. To get started you need a hex nut driver. To make one available at a better price we added a small hex nut driver to our shop. We also added this small hex nut driver to our new Smaller Beam Starter Kit. It is cheaper, but still offers everything you want to get started.

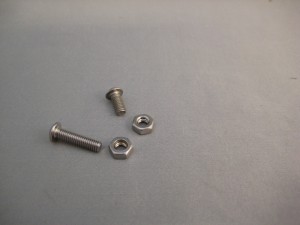
The small hex nut driver works well with our standard M3 6mm screws that are part of a starter kit. Unfortunately it does not work well with our new longer 12mm bolts.

On the left you can see that our standard 6mm MakerBeam bolts fit right into the small hex nut driver. On the right you can see the 12mm bolt is just to big. It sticks out and therefore it is not possible to completely tighten the bolt.

Something to remember when you are interested in our bearings. The bearings come with 12mm screws. If you want to work with our bearing than you need another hex nut driver. We then ofcourse recommend our regular hex nut driver!

Team MakerBeam.eu