FPV drone

An FPV drone is a drone where the user has a first-person (FPV) view of the environment where the drone flies. Stefan from ConstrAct (Austria) made one and created a MakerBeam and Carbon based self-constructed FPV-Drone.

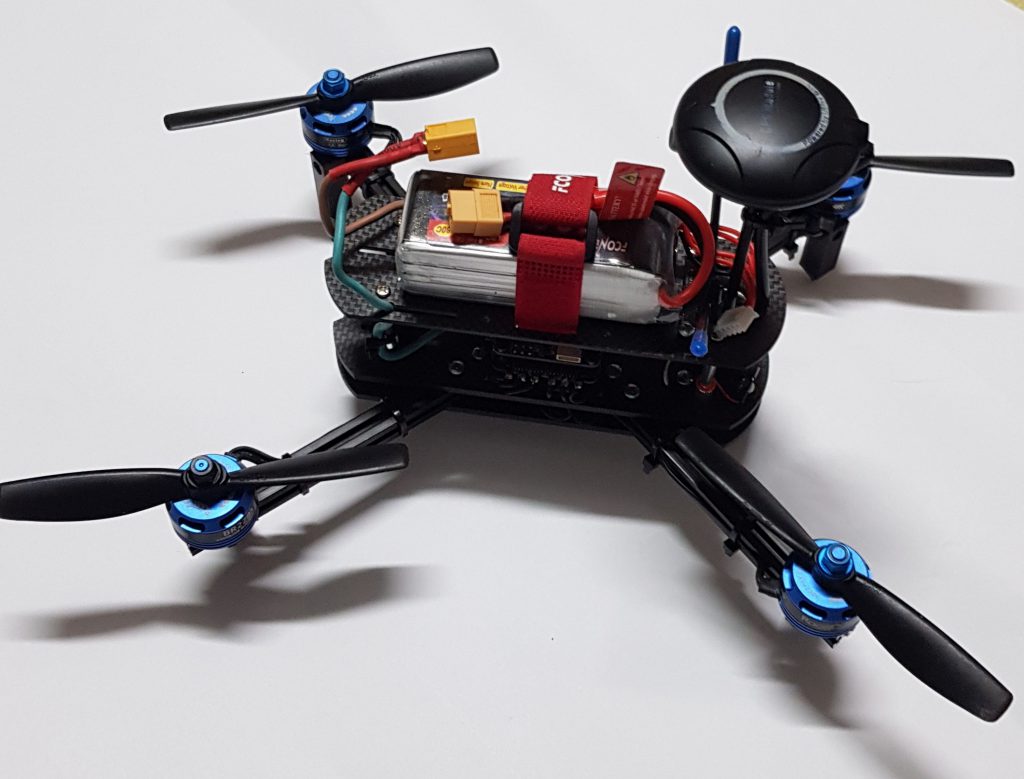
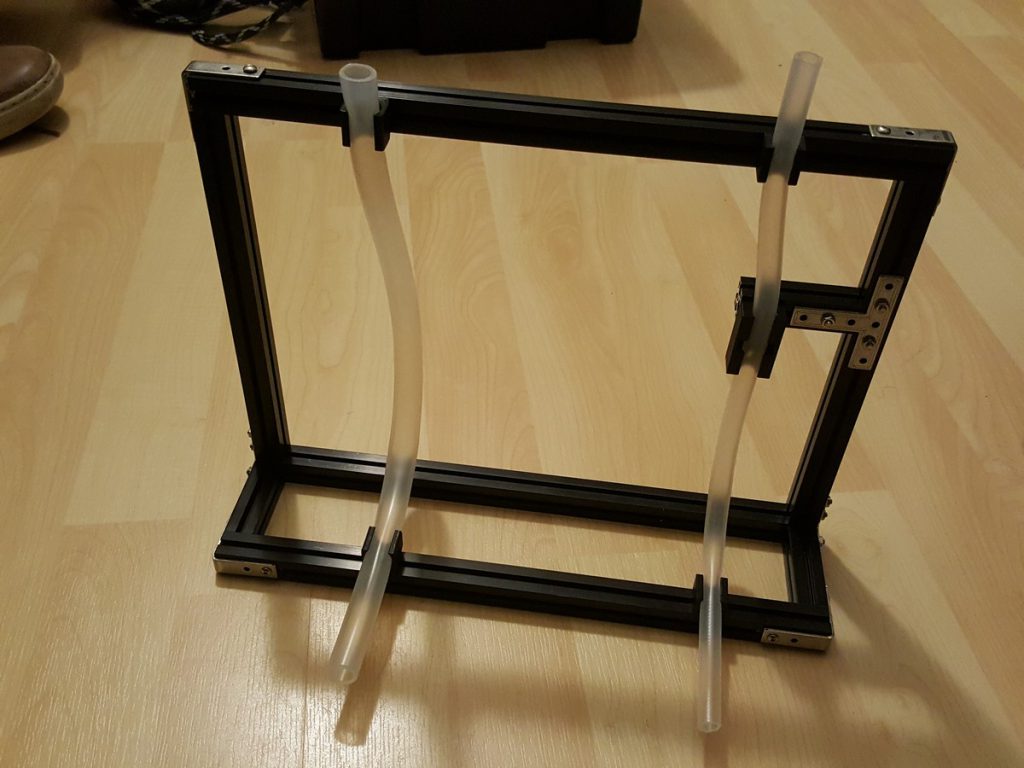
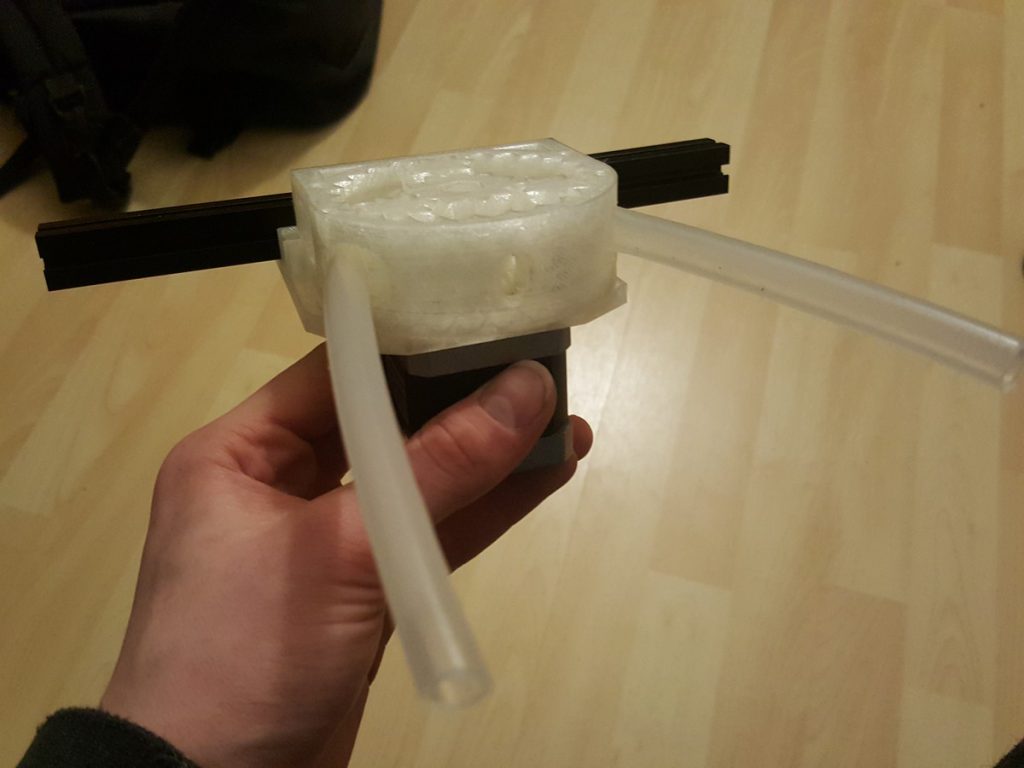
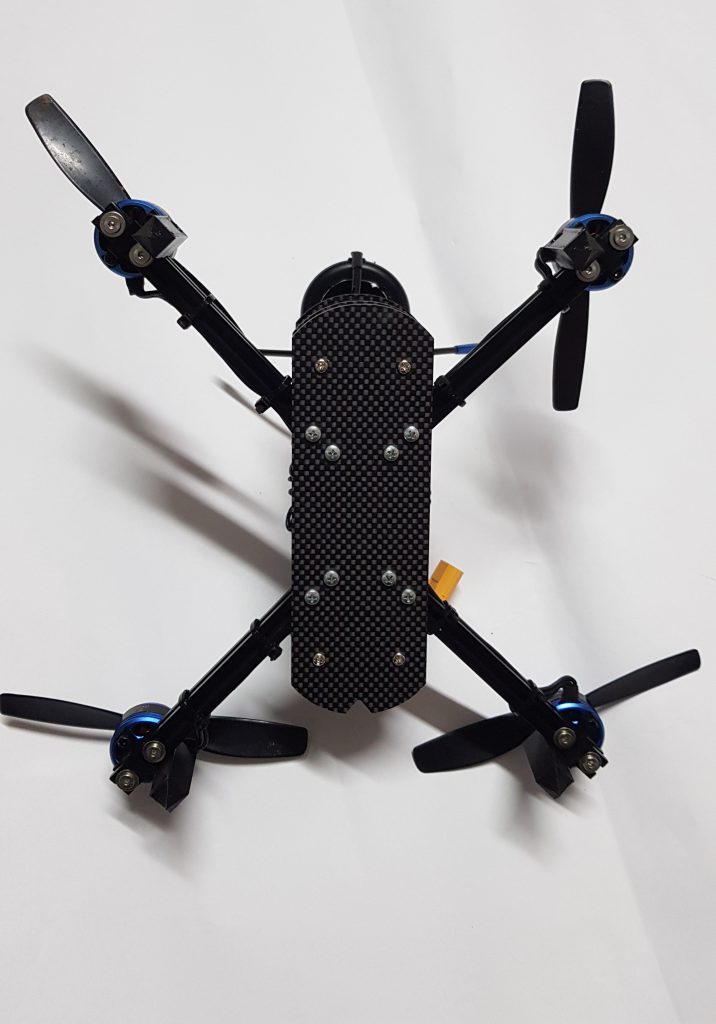
Stefan wanted to build a stable not to expensive drone to fly with a first person view. The chance to have this first person view from high up was the most exciting reason for him to start the build. He used MakerBeam for the arms and carbon for the frame.

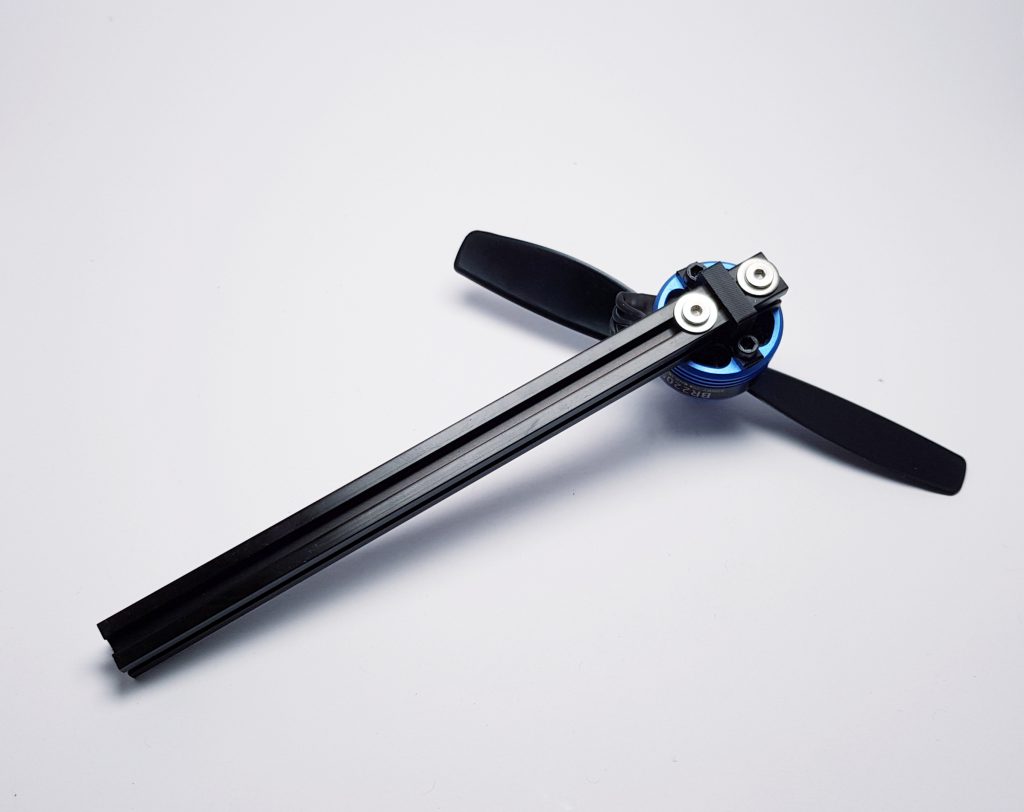
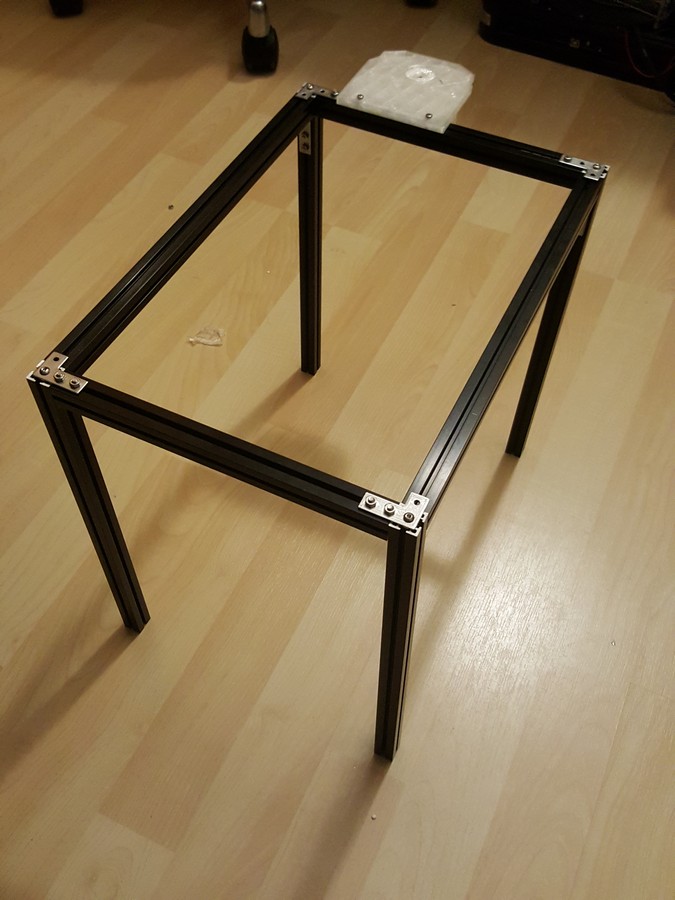
The MakerBeam arms are connected with T-slot nuts to the carbon frame – this is a very strong and reliable connection. It survived a couple of crashes, according to Stefan.

It was created for freestyle flying only. For racing it is too heavy. He already had to remove GPS and other parts.

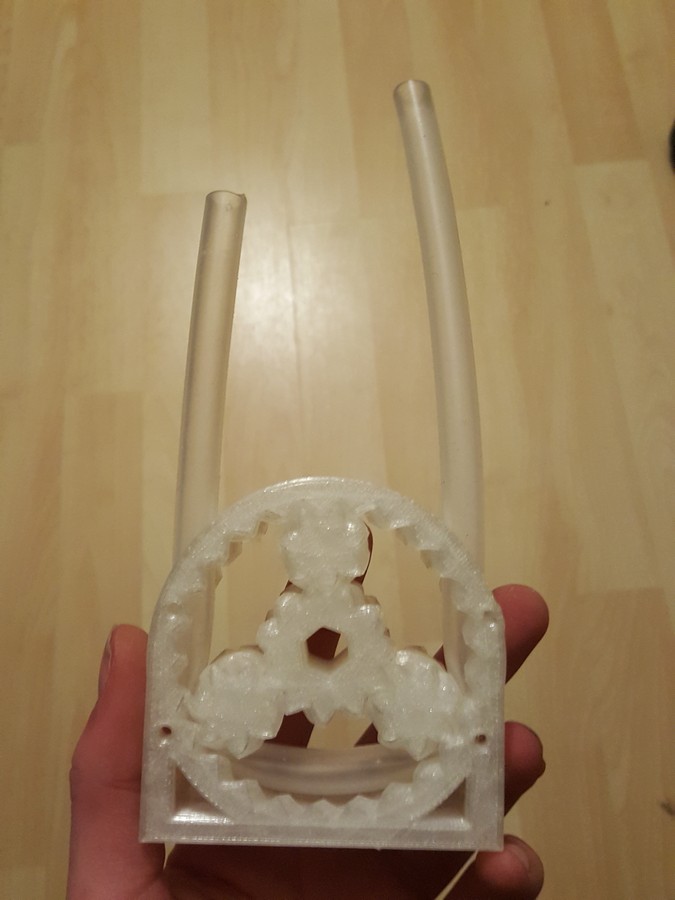
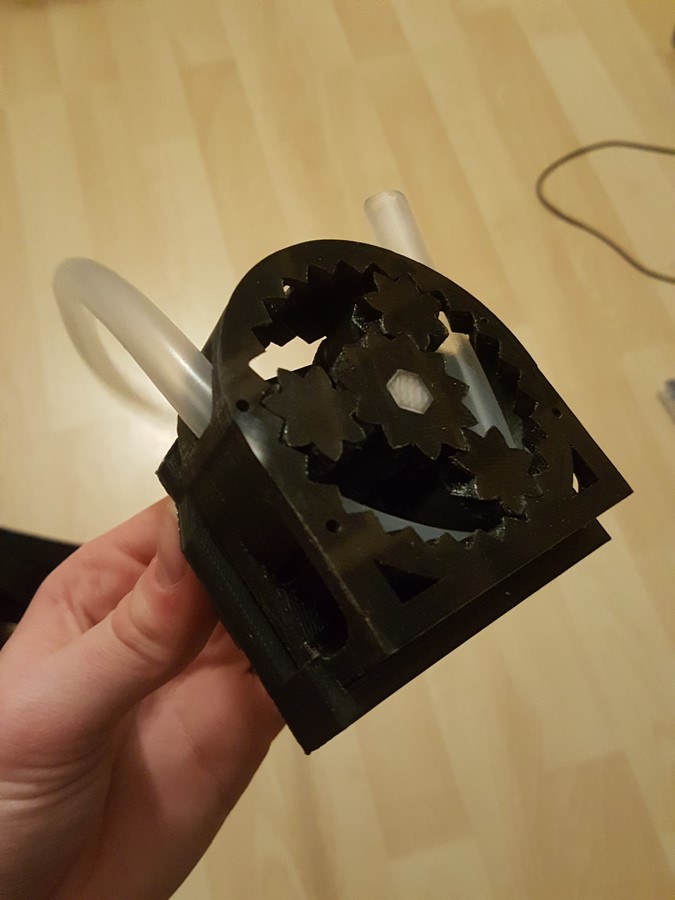
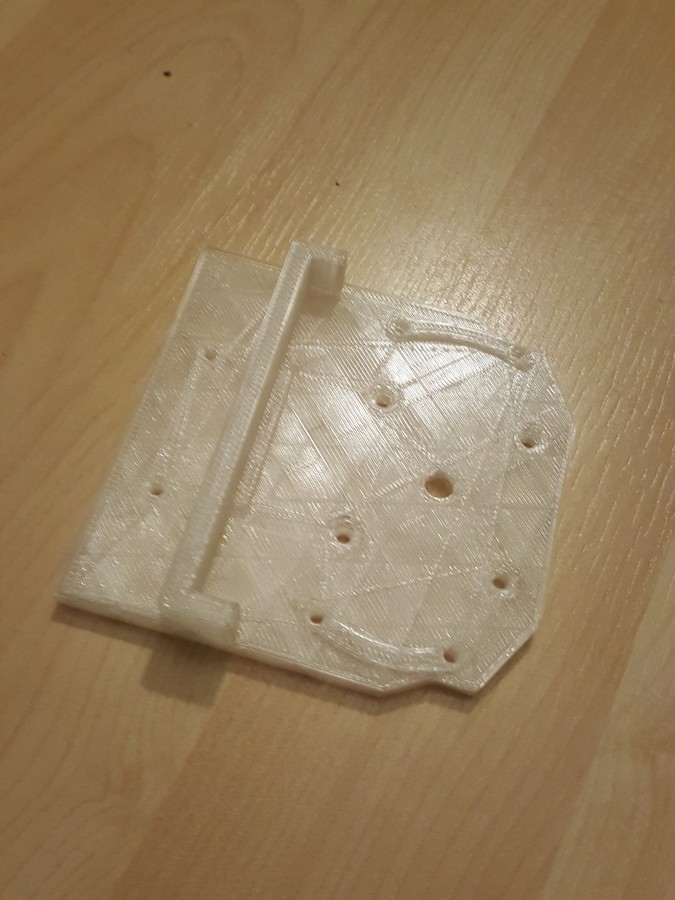
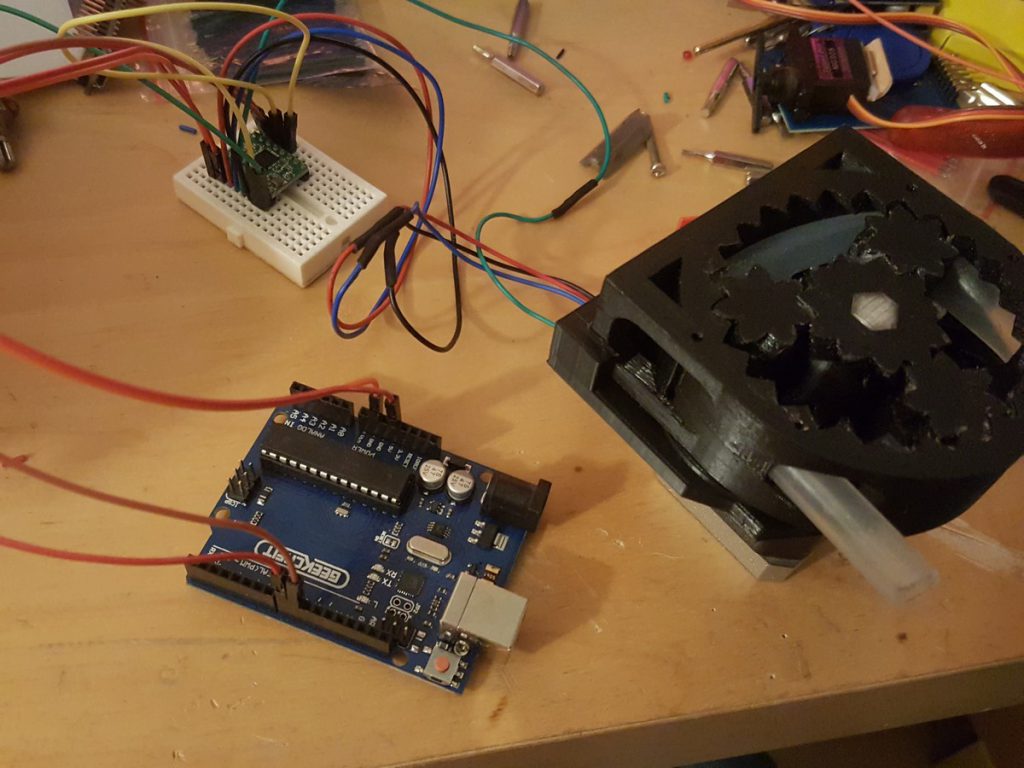
The carbon was cut on his CNC mill. The body was designed on fusion 360.

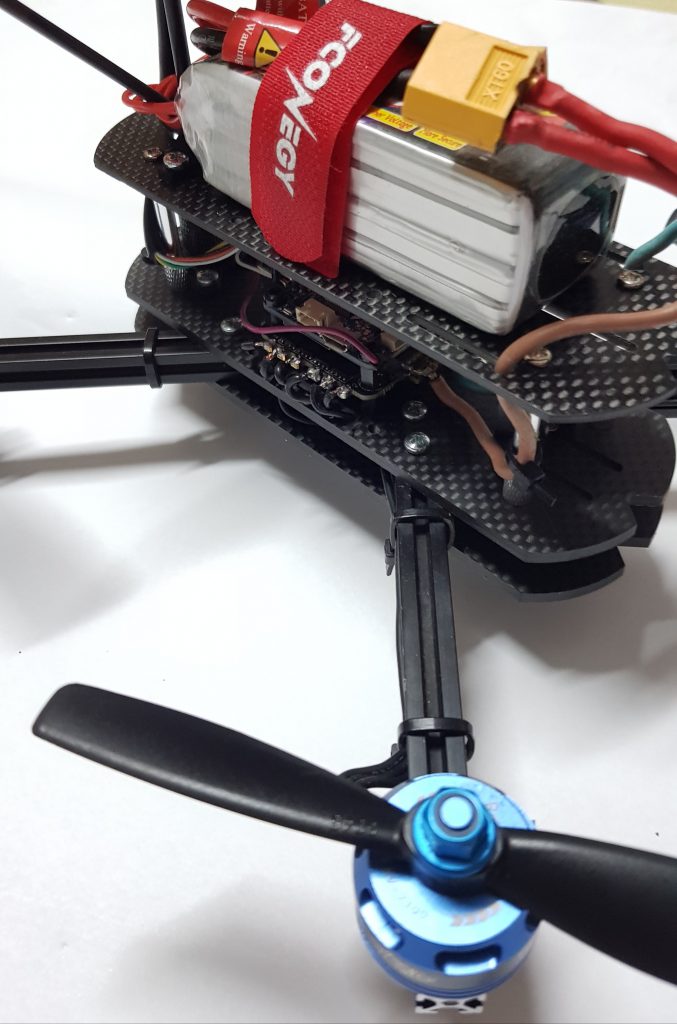
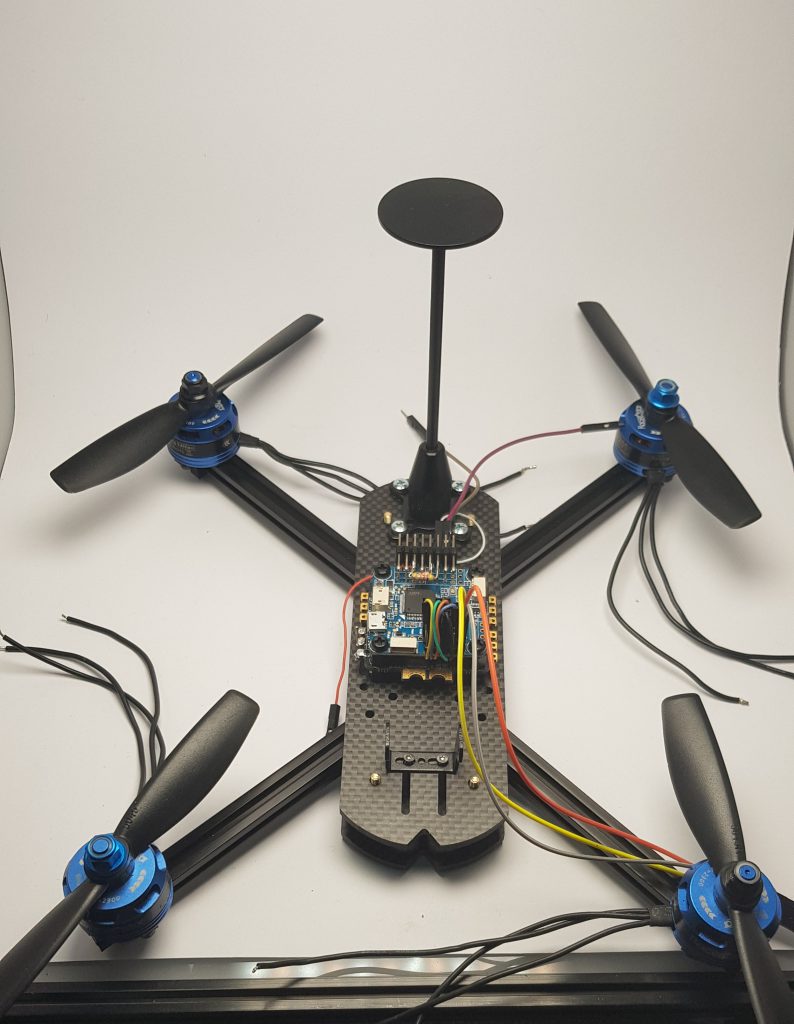
The electronic parts are:
– Omnibus F4 flight controller (holds the copter stable in the air)
– M8N GPS module (for return to home and Position hold)
– 4 in one ESC, (drivers for the motors)
– Runcam micro eagle camera and runcam sender (for first person view)
– Taranis receiver
– Inav Software

Team MakerBeam with Stefan Gschroefl from ConstrAct

Pancake machine (4/7) – pan

Hendrik-Jan is a student who just started his bachelor studies in electronics September 2019. He made us a pancake machine.

The aim was to have batter and oil come together in a pan that would be heated to bake the pancake. Then the pan was to automatically tilt so the baked pancake would slide off.
Hendrik-Jan chose to use a small pan and attached an axis to the pan. He created brackets so the axis could be attached to the pan.

He used MakerBeam bearings so the pan could turn. He created a 3D printed housing for the bearing. The design for this bearing housing can be downloaded here: https://www.thingiverse.com/thing:3885358 (Thingiverse: DieZijner).

The next step was to add a motor for the rotation of the pan. Hendrik-Jan used a 28byj-48 stepper motor for which he created a motor mount also 3D printed. You can download the design for the motor mount here: https://www.thingiverse.com/thing:3885552 (Thingiverse: DieZijner).

At the time this was the only suitable motor he had laying around. Unfortunately the stepper motor was too weak. The pan could not turn around very fast or the motor would start skipping steps. Although the motor is made to be used on 5volts he even gave it 12 volts at one point. In a hope to give it some more power. This indeed worked, but obviously the motor quickly became hot. Next time he would definitely go with a NEMA17 instead, to avoid the challenges the 28byj-48 motor gave him.

Team MakerBeam

Pancake machine (3/7) – framework

Hendrik-Jan is a student who just started his bachelor studies in electronics September 2019. Hendrik-Jan made us a pancake machine.

For his frame Hendrik-Jan used MakerBeamXL beams with MakerBeam brackets. Click here to go to our shop.
The MakerBeamXL beams are 15x15mm in diameter and available in different lengths (max. 2000mm). MakerBeam aluminium profiles measure 10x10mm in diameter. These beams also are available in different lenghts (max. 1500mm).
In the pictures you can see that the smaller MakerBeam brackets are not covering the MakerBeamXL beams entirely.

Hendrik-Jan also created brackets of his own. The design of these 3D printed tube holders can be found here: https://www.thingiverse.com/thing:3885119. The created brackets were used to guide the tubes.

Team MakerBeam

Pancake machine (2/7) – 3D printed pumps

Hendrik-Jan is a student who just started his bachelor studies in electronics September 2019. Hendrik-Jan made us a pancake machine.

He first concentrated on creating the pumps to get the necessary oil and batter down to the pan. He created two 3D printed peristaltic pumps. Bigger sized versions from what Drmn4ea posted on Thingiverse. (Link: https://www.thingiverse.com/thing:454702 ). The gears and the body were altered, not just in size, but also to fit the tube in the pump. You can see his design here: https://www.thingiverse.com/thing:3885332. With a lot of grease added these pumps worked very well. See below for videos and pictures.

In order to fasten the pumps to the framework he created plates that could serve as brackets.

The use of MakerBeam profiles helped to divide all the different parts of the machine in separate projects. This meant Hendrik-Jan could focus on only one item, without really having to worry about the rest of the machine. All the different elements created in the differrent projects could be fastened on the frame anyway.

Here is a video of a test run of a pump.

Team MakerBeam