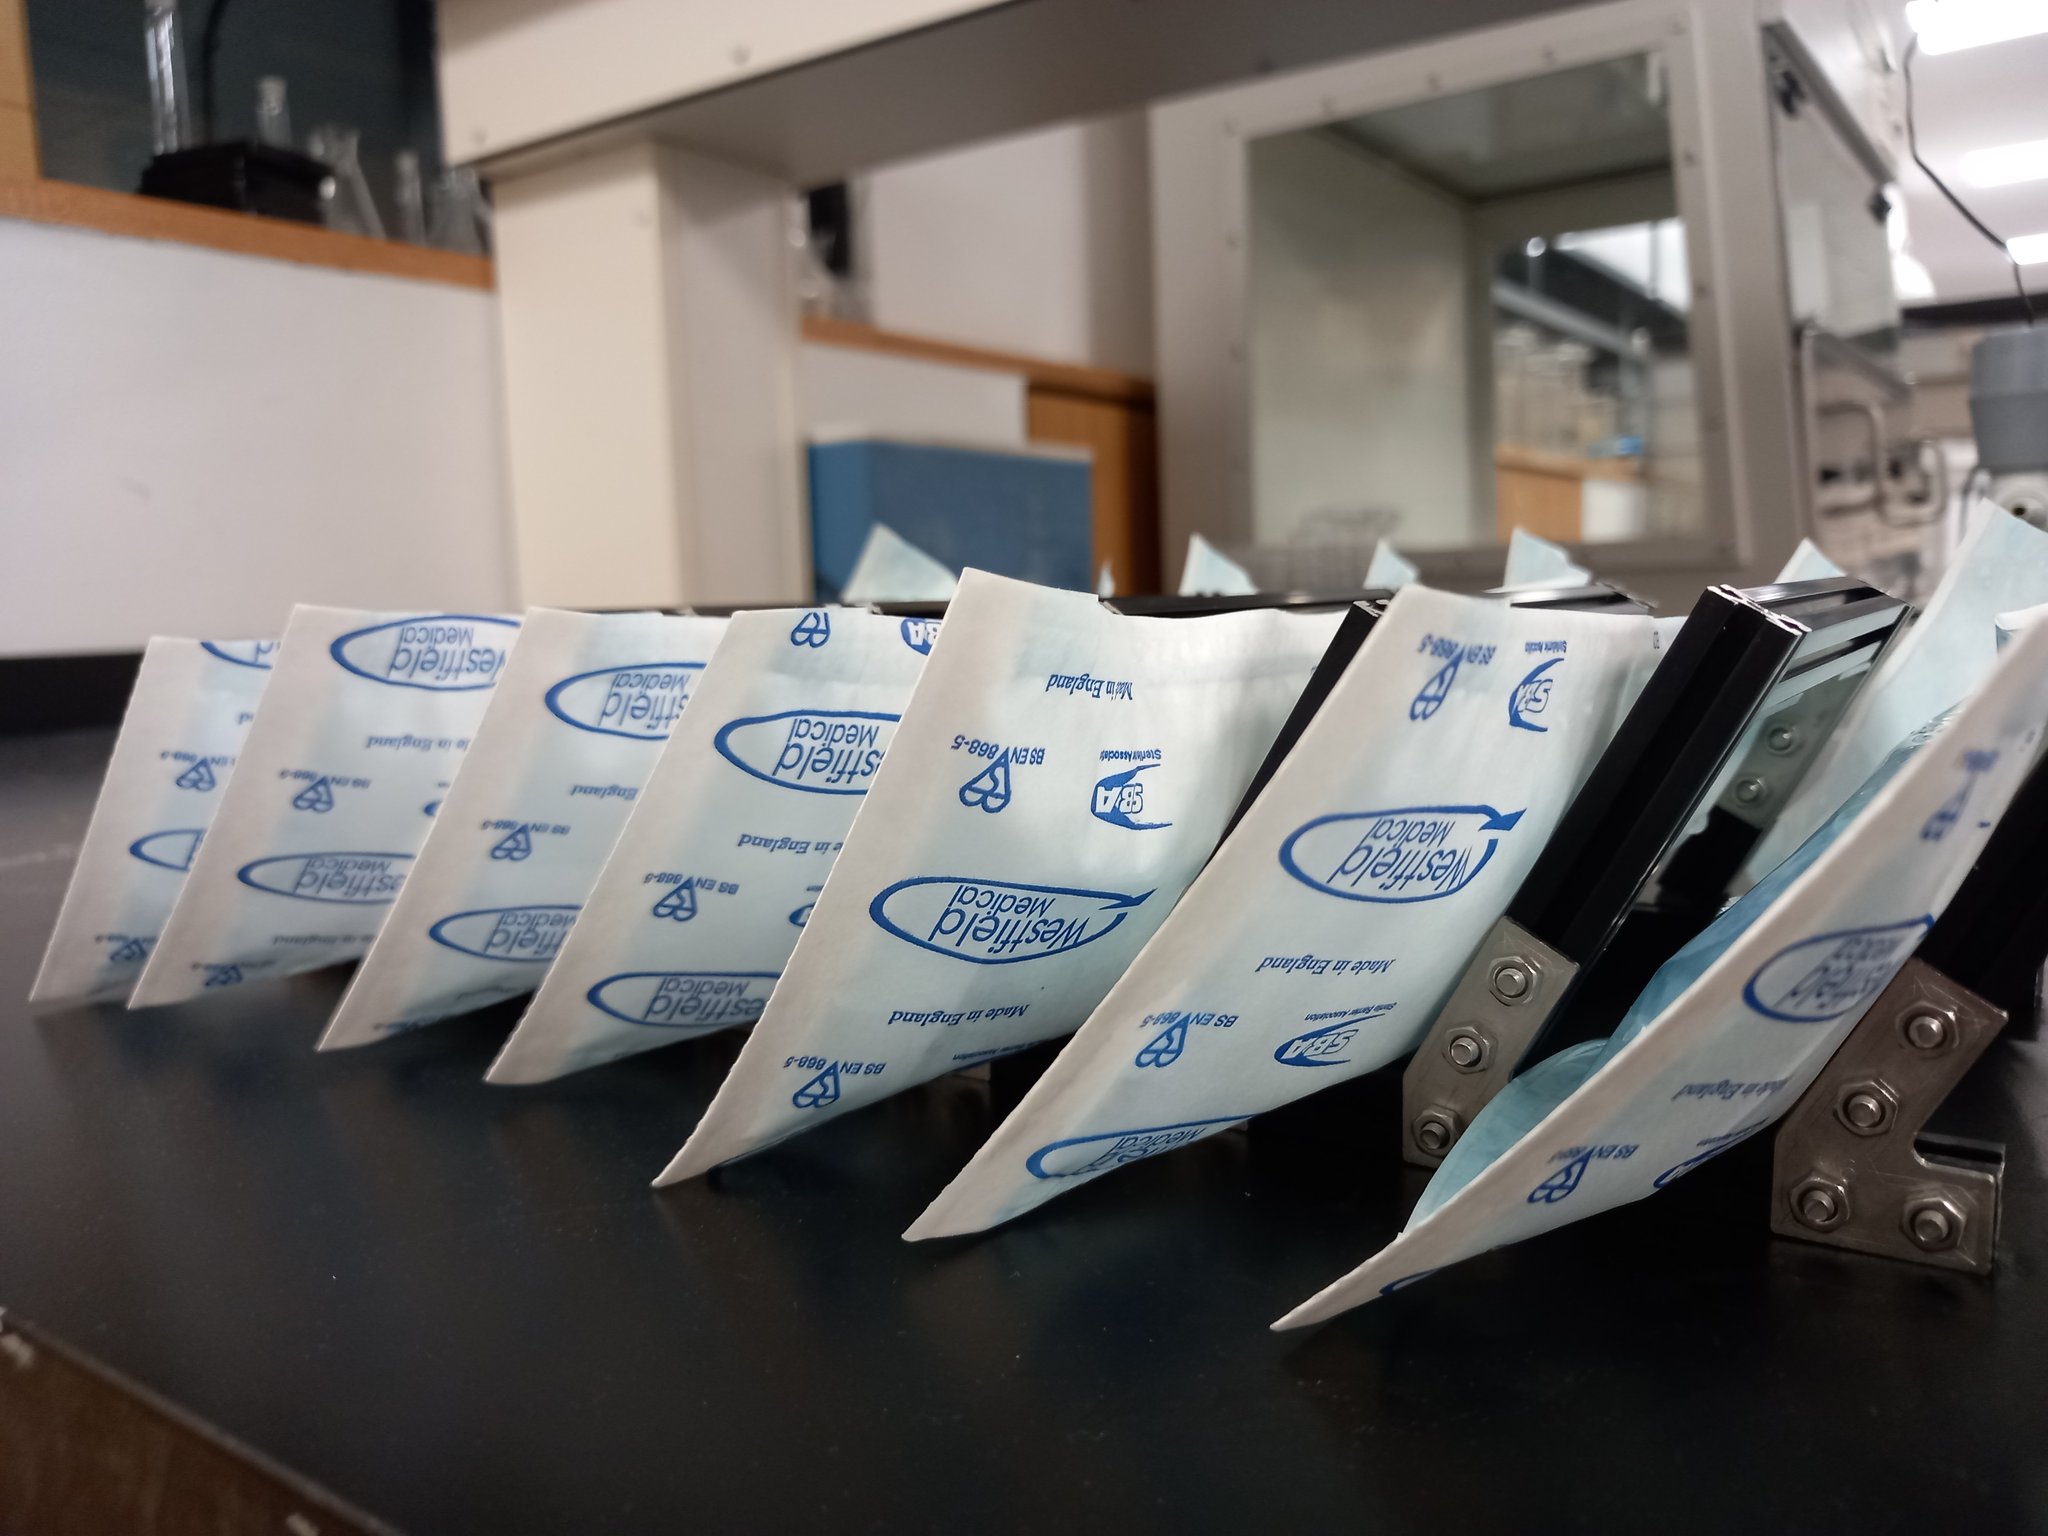
Tom Flanagan (@TFlanaganLab) sent a great tweet. He made his own labware, see pictures.
Peel pouches were coming out of the autoclave soaking wet (in absence of a proper drying cycle), so bodged together a rack out of makerbeam and instantly better!
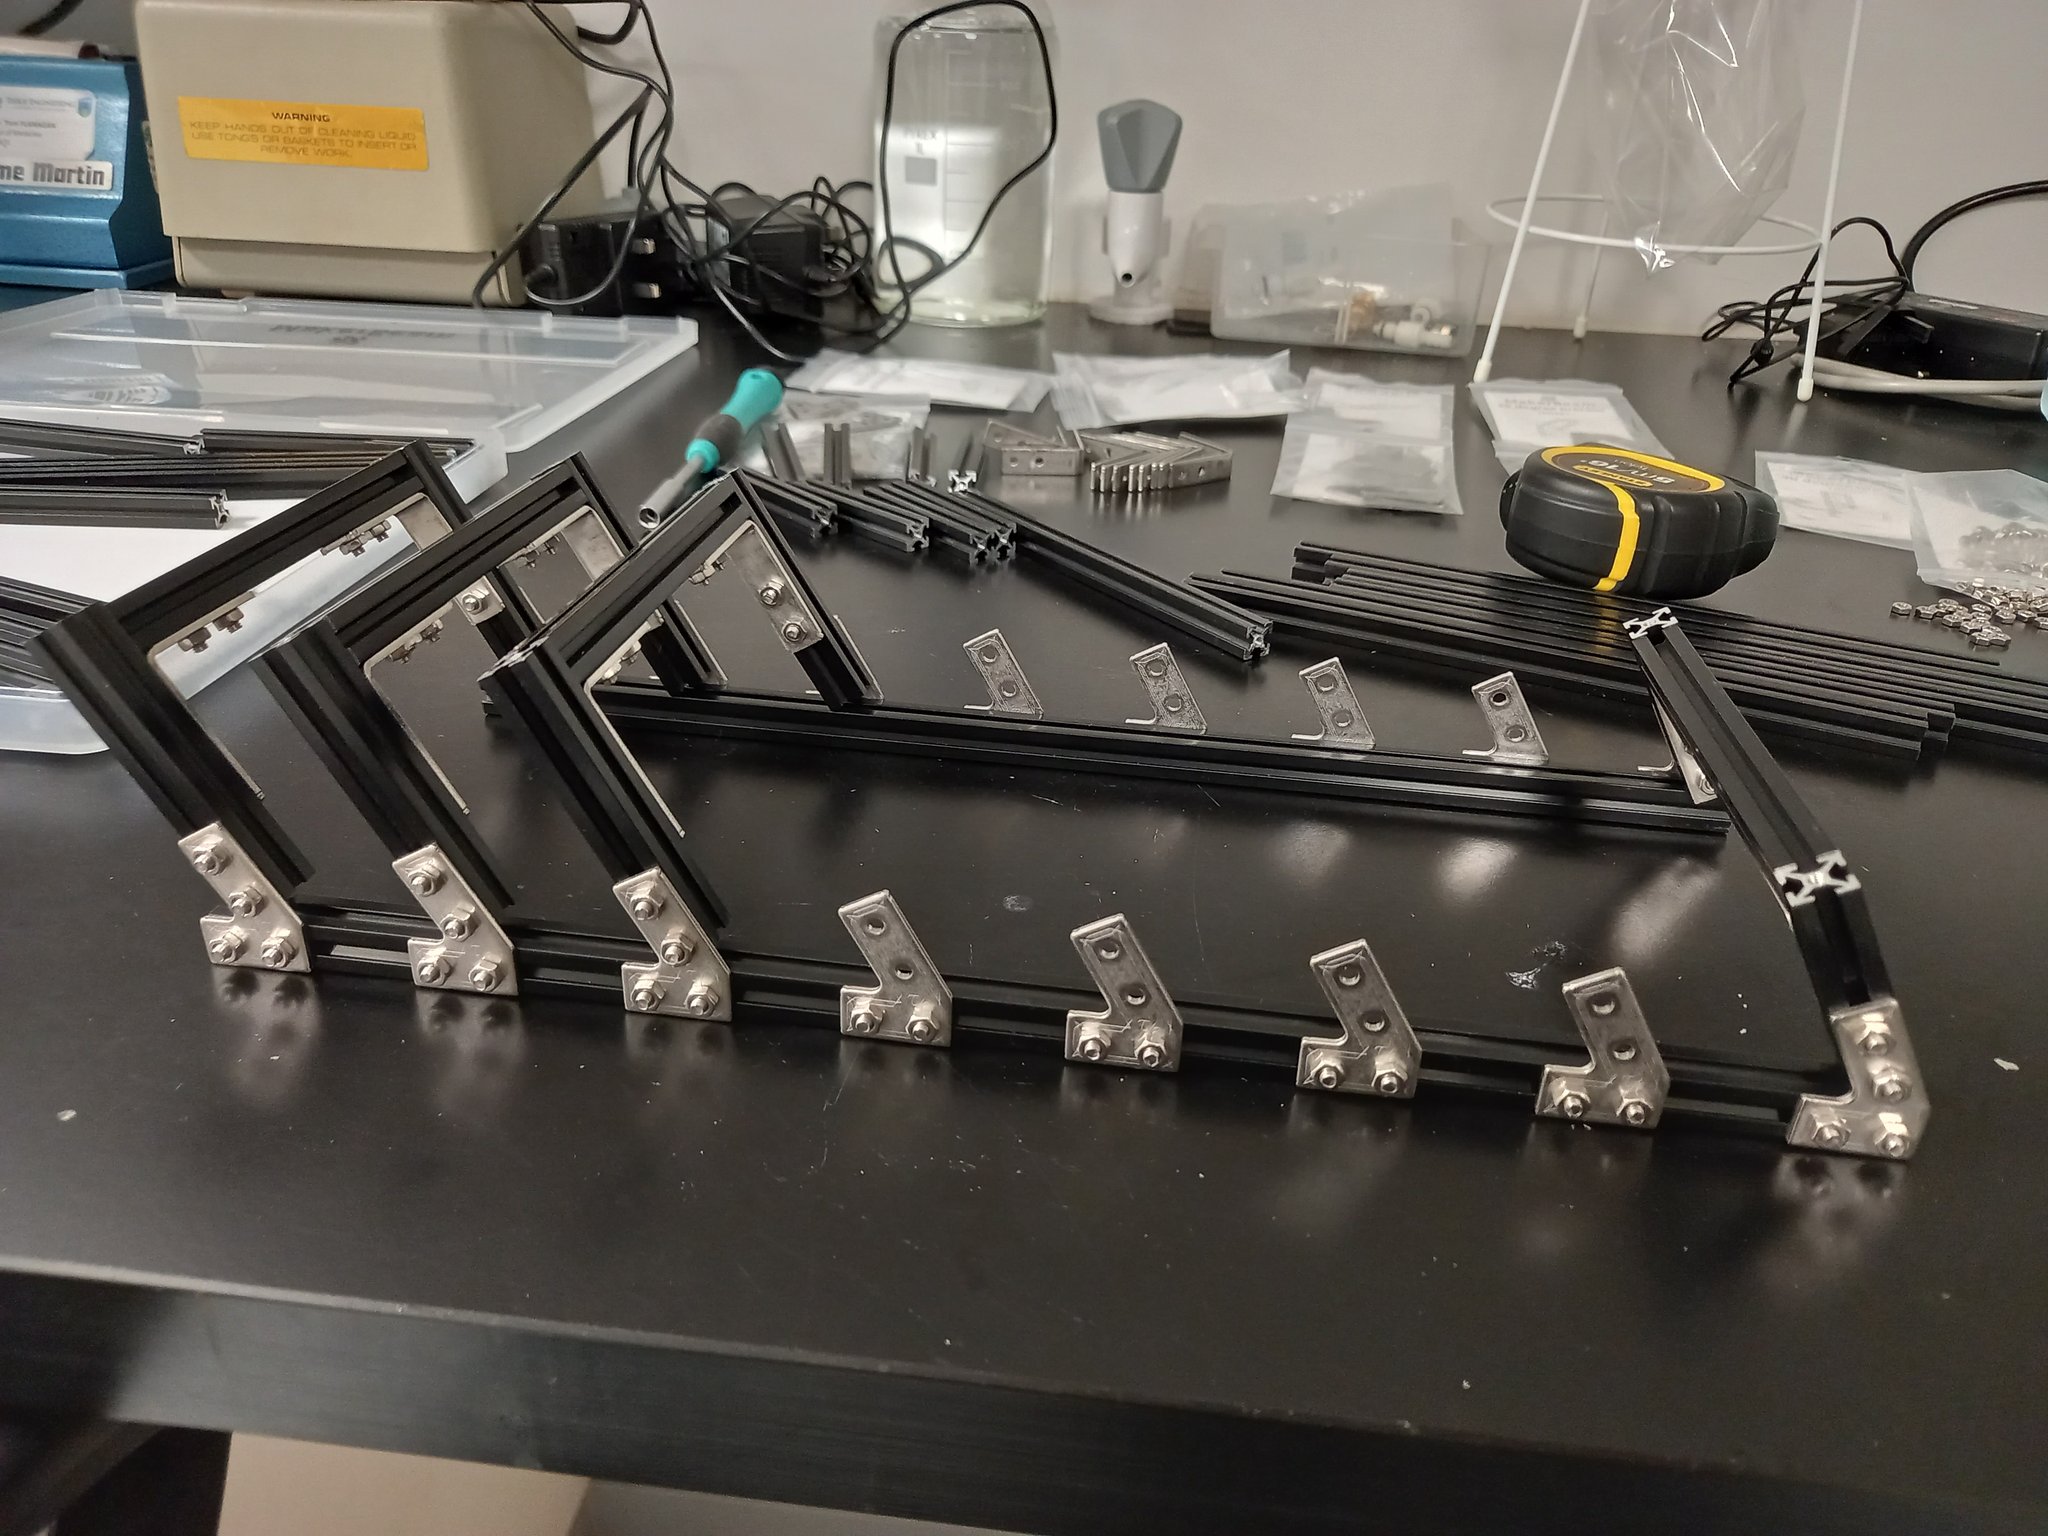
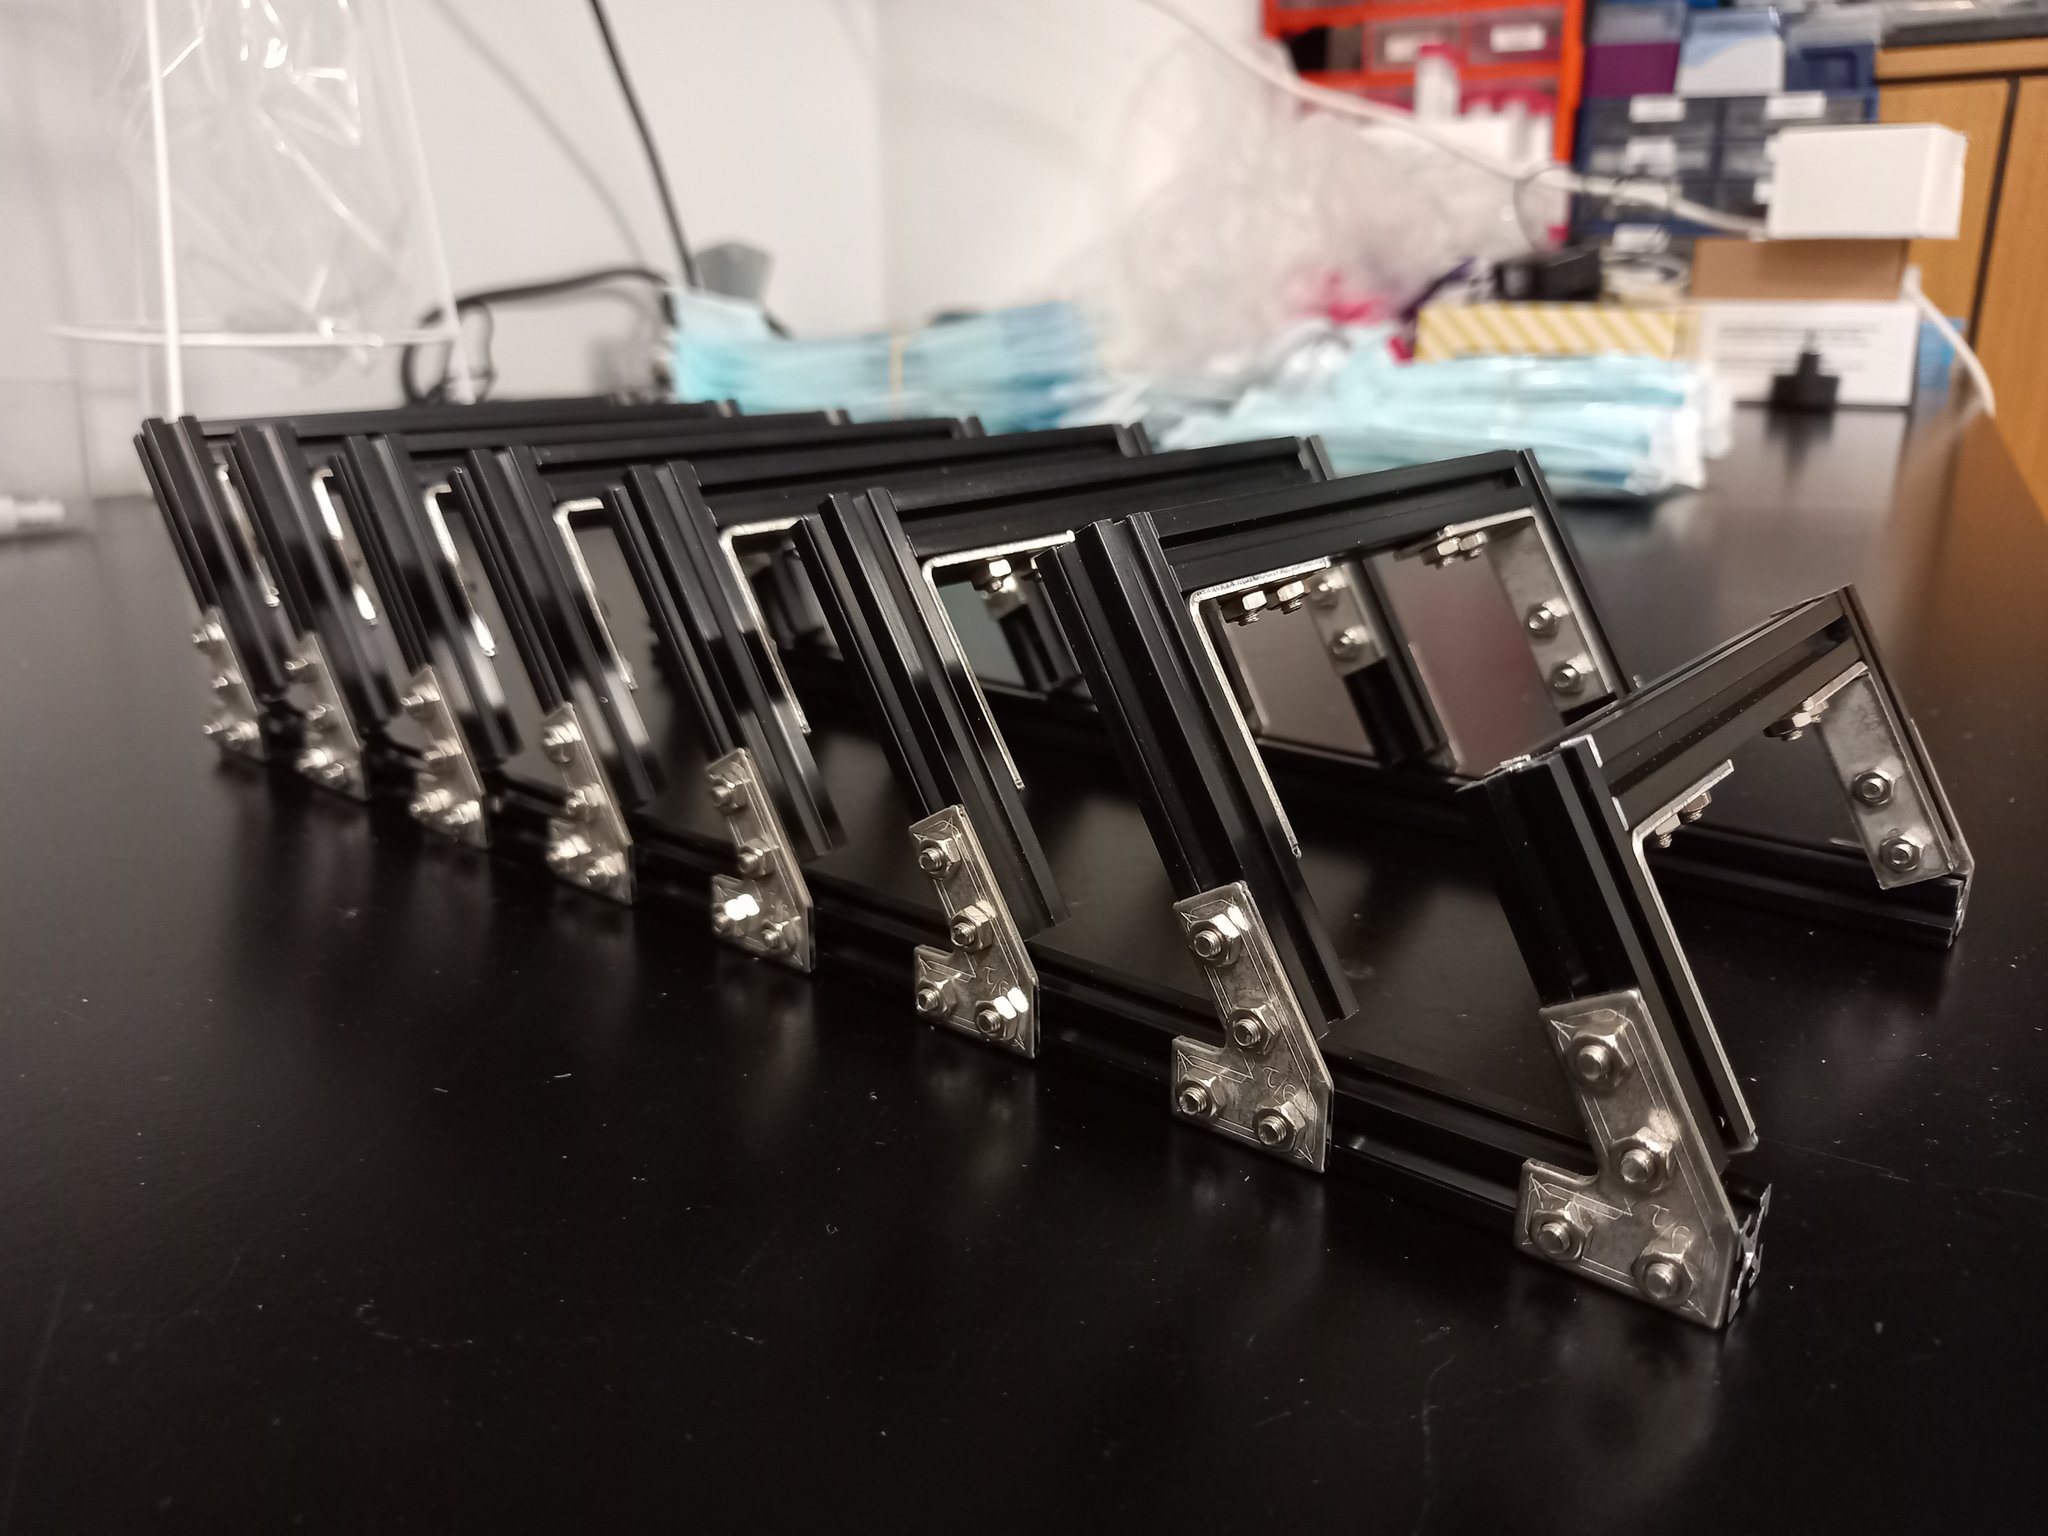
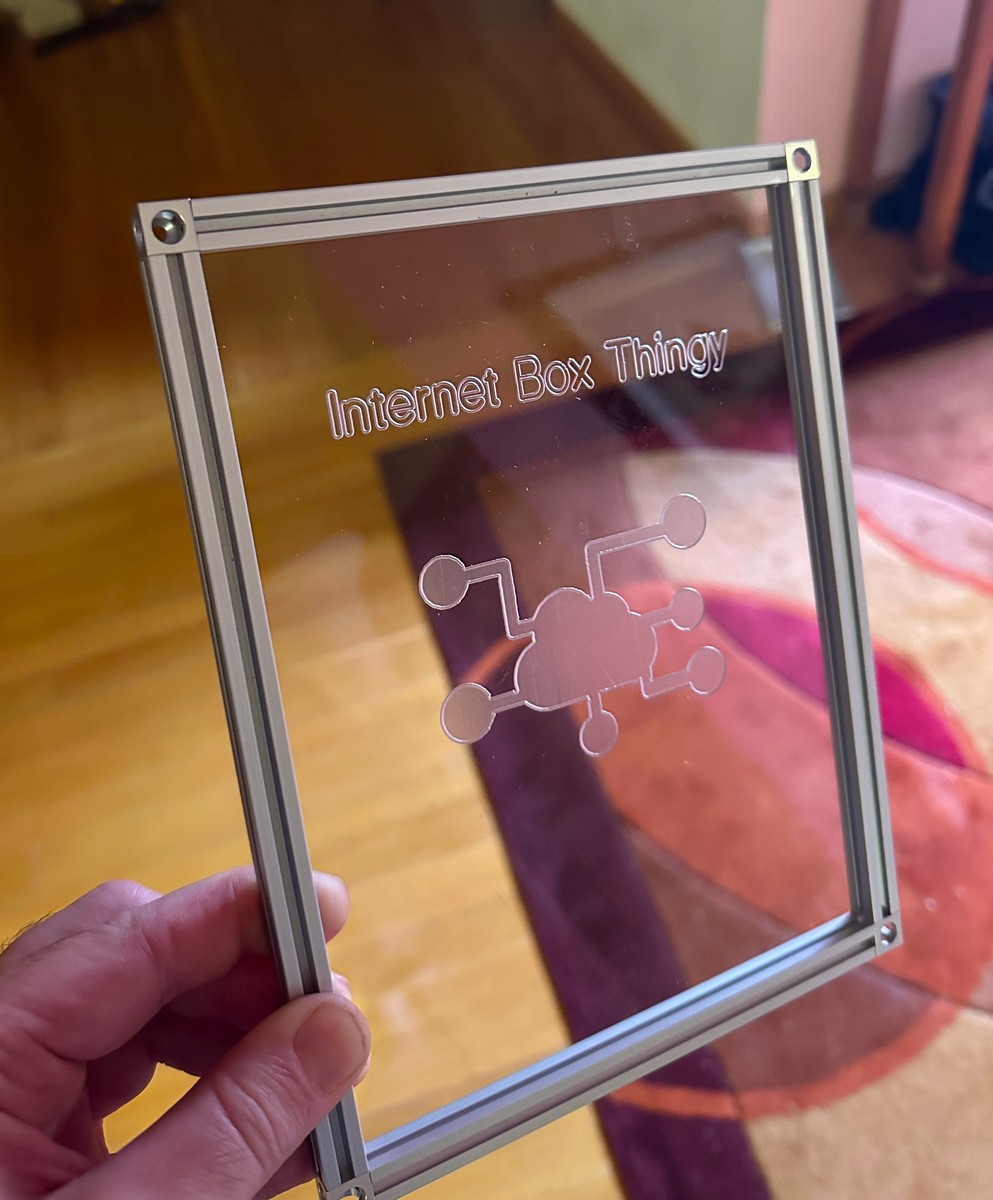
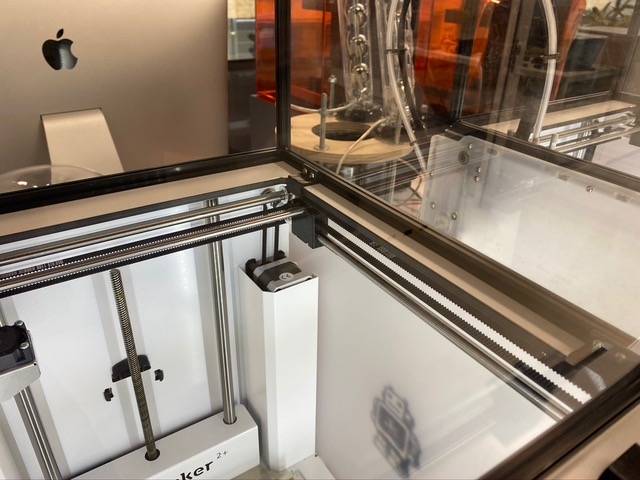
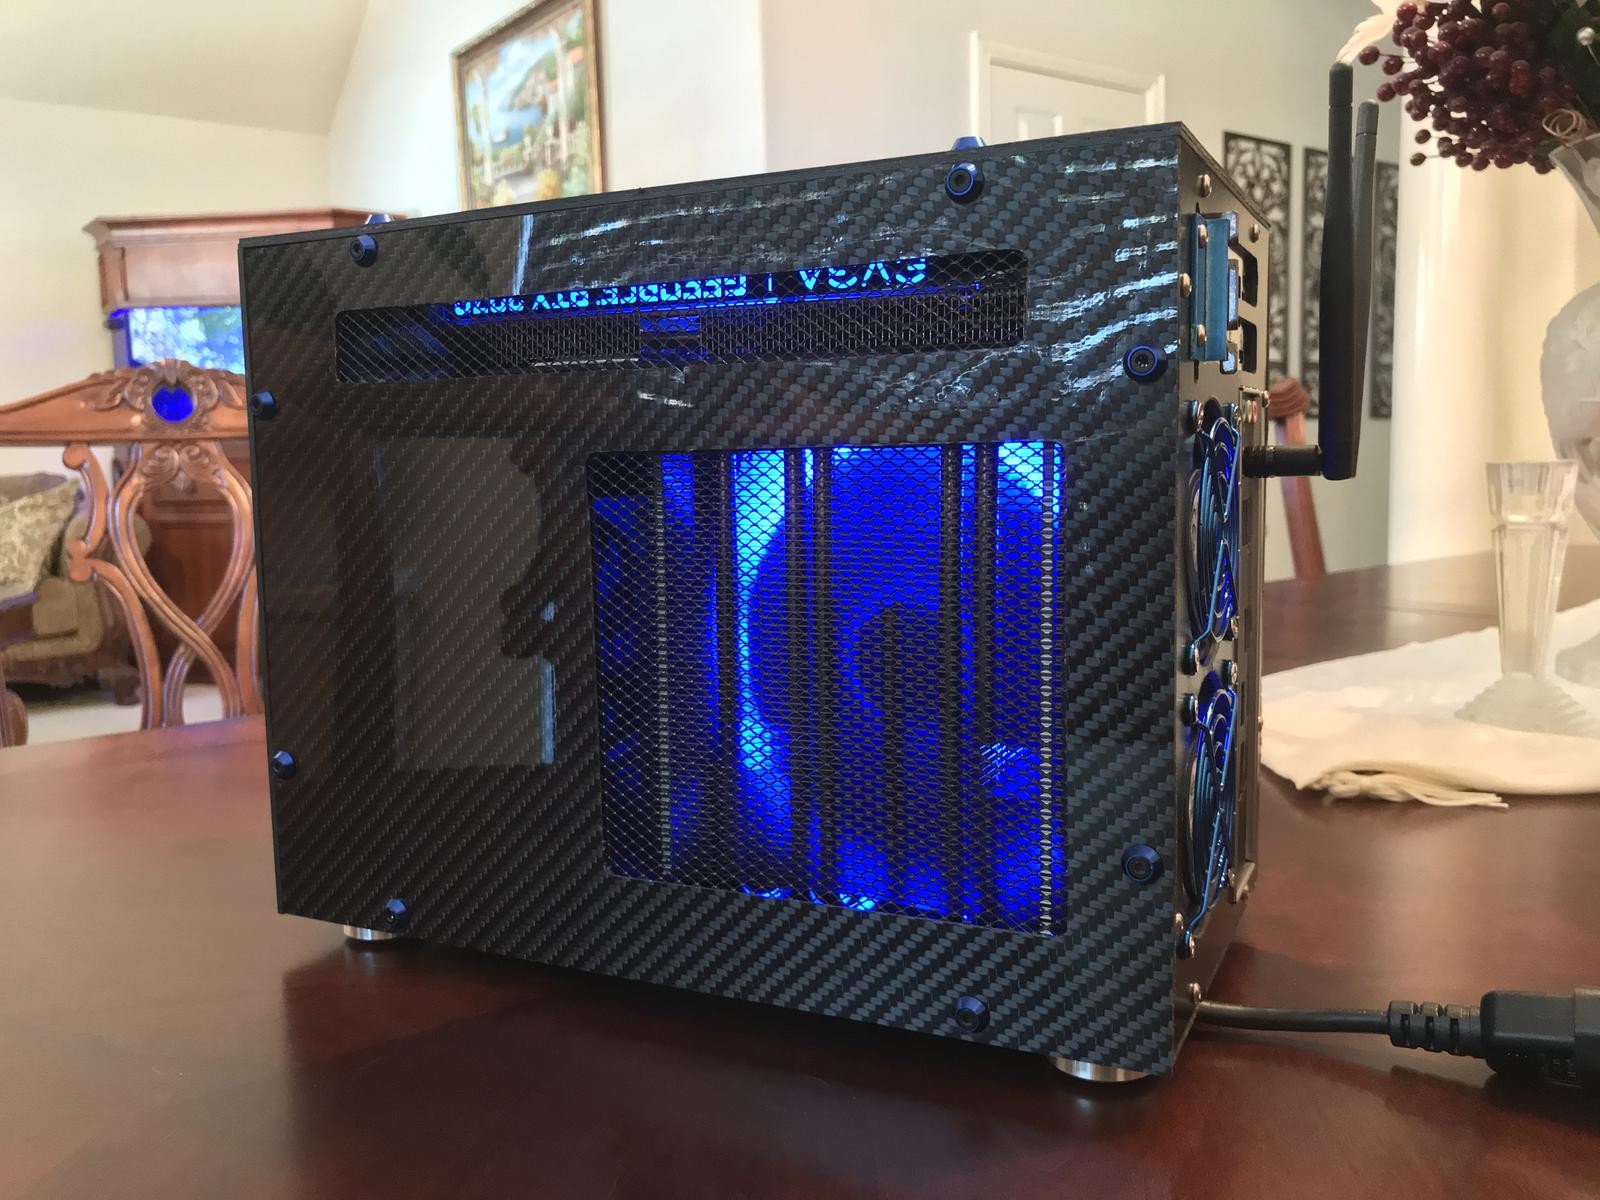
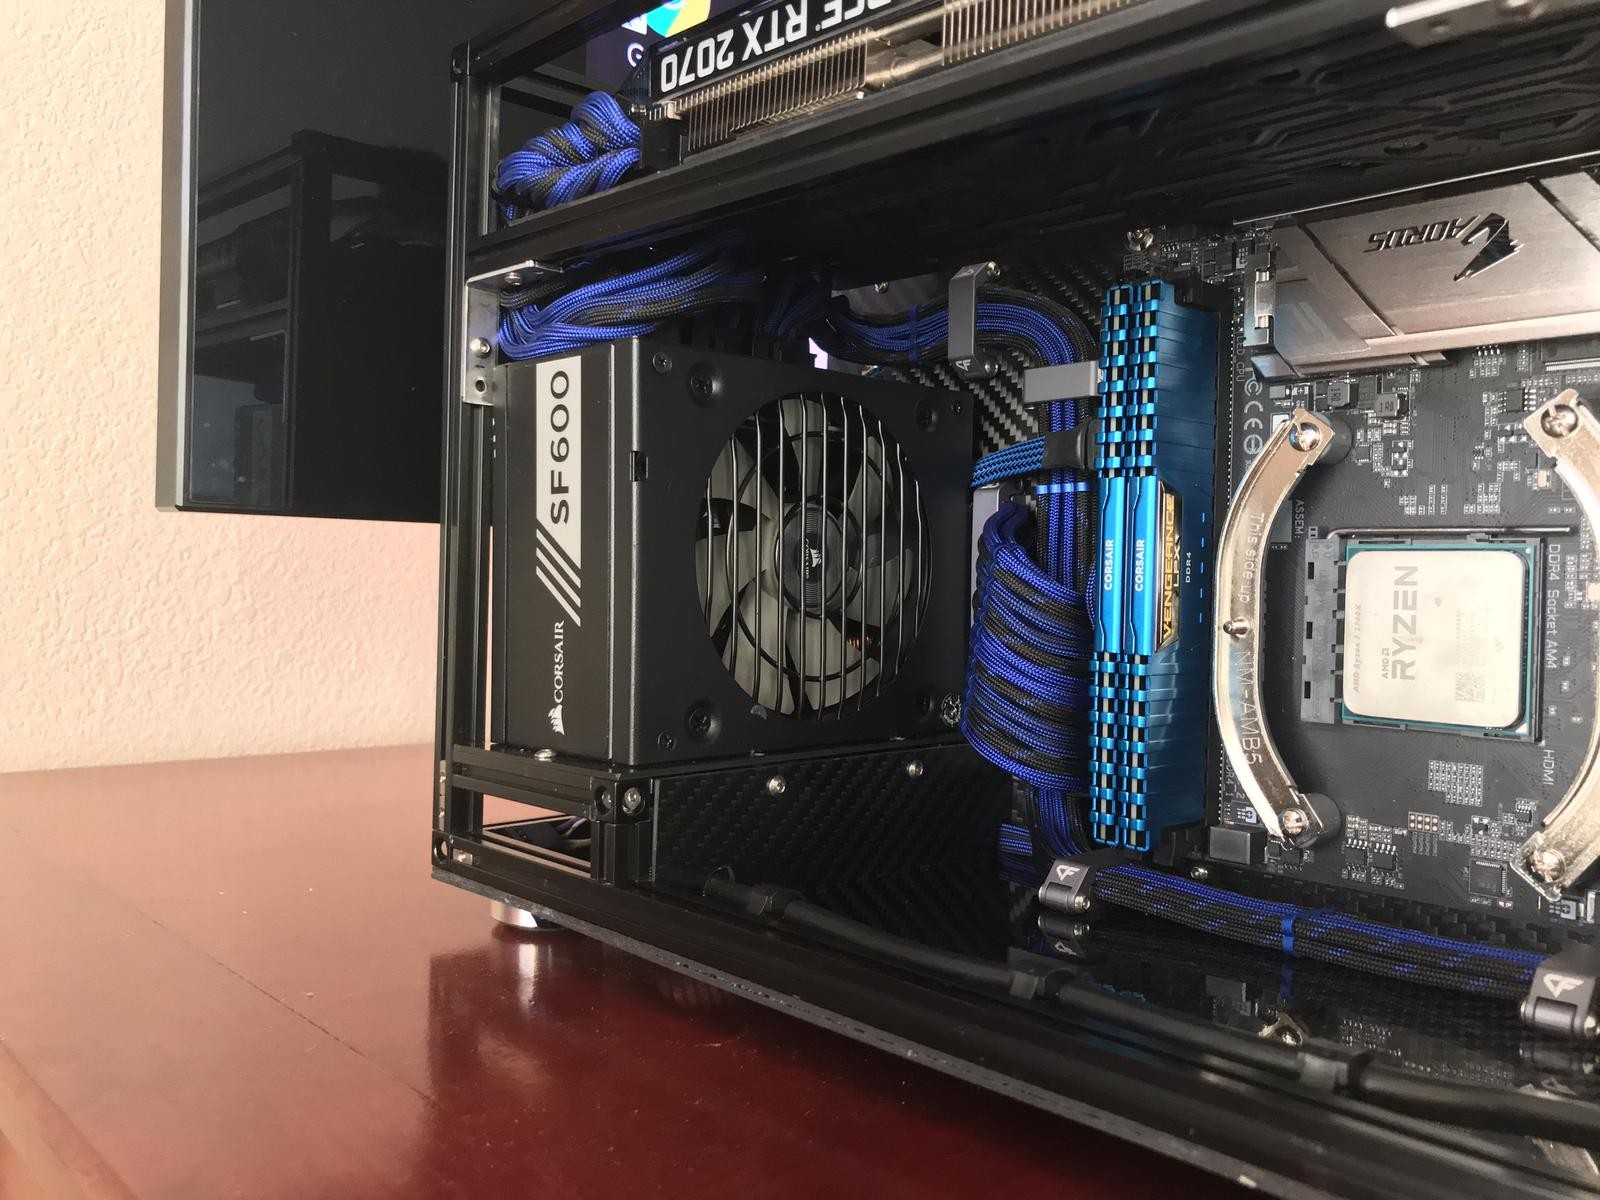
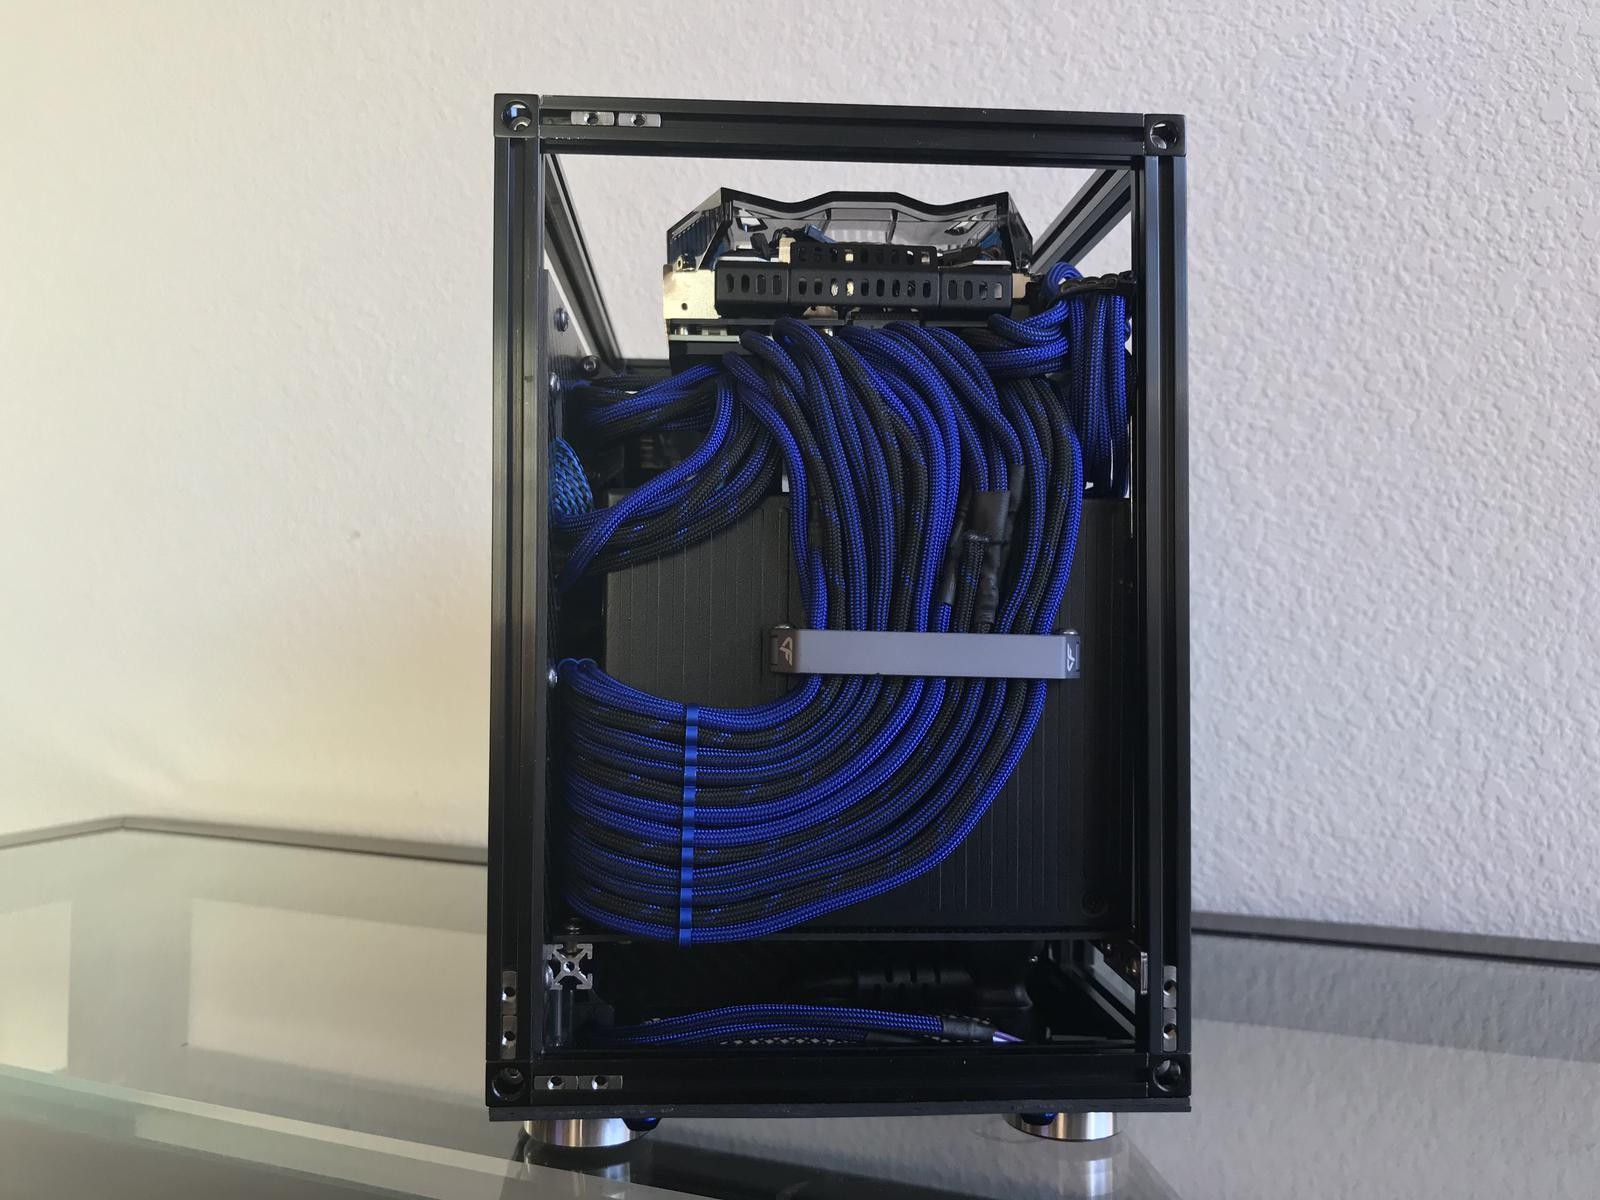
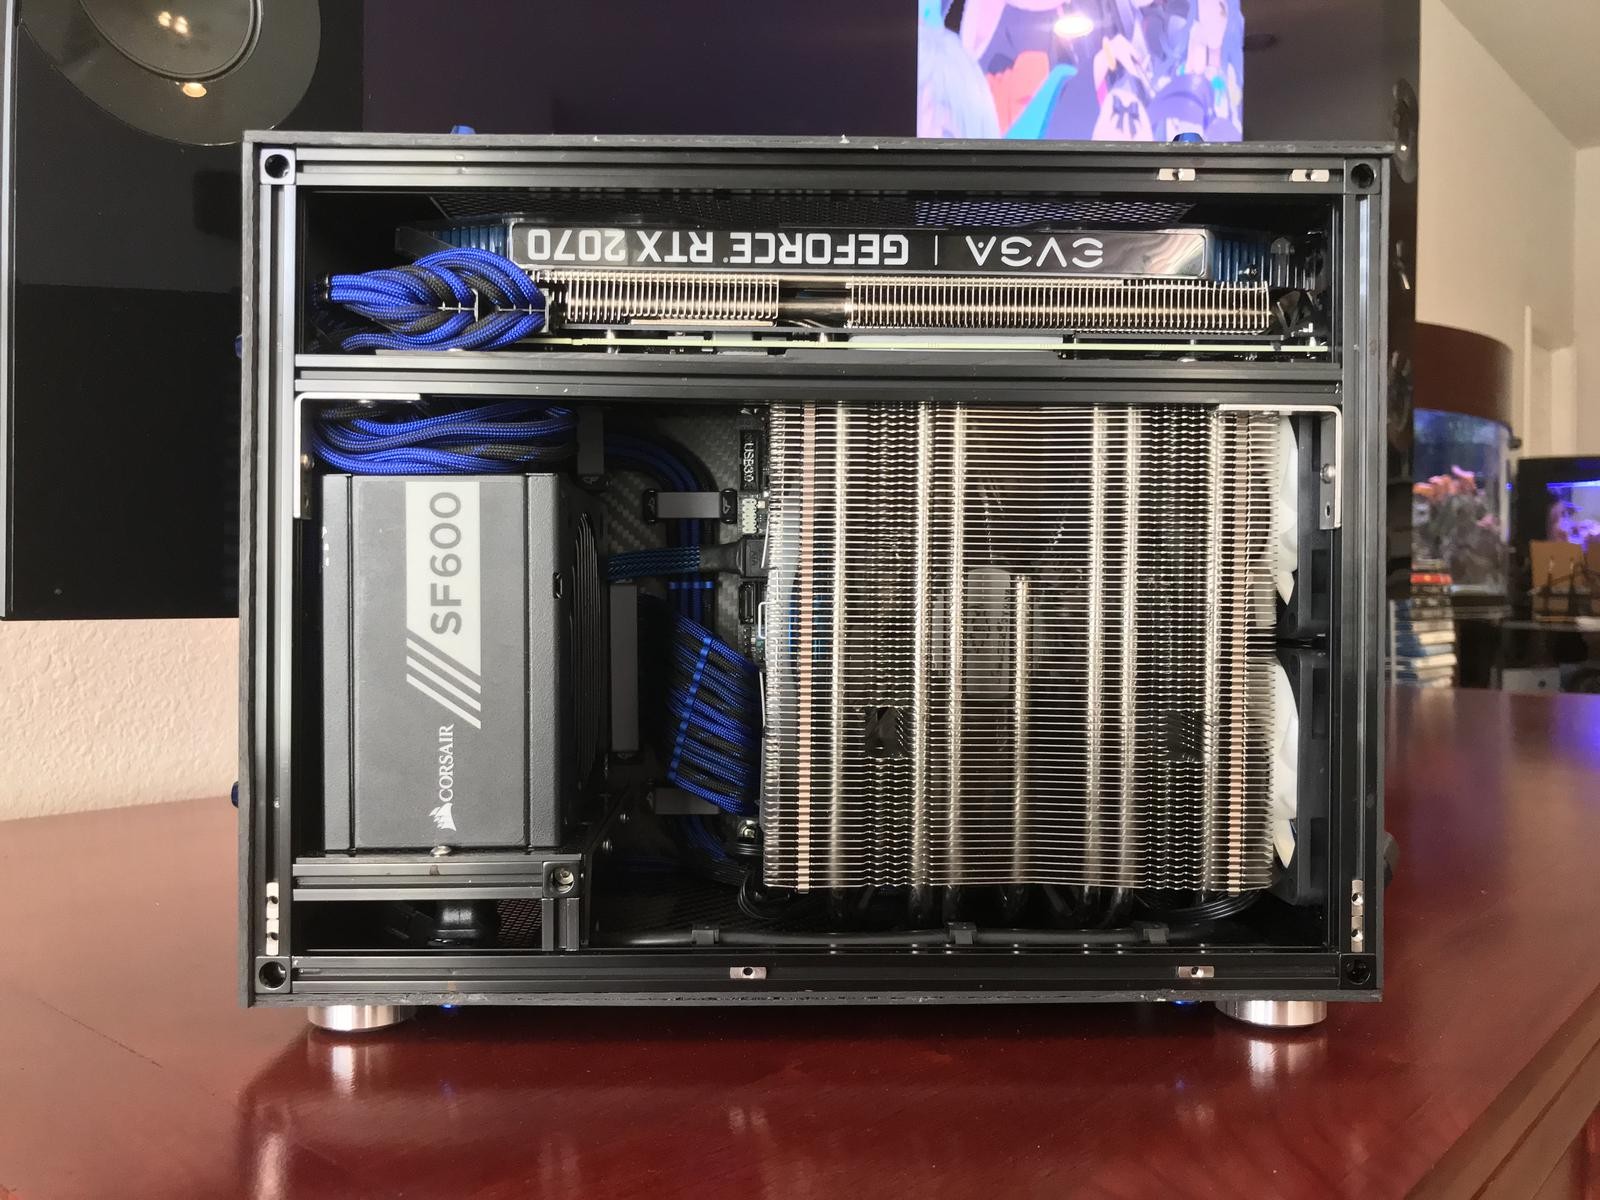
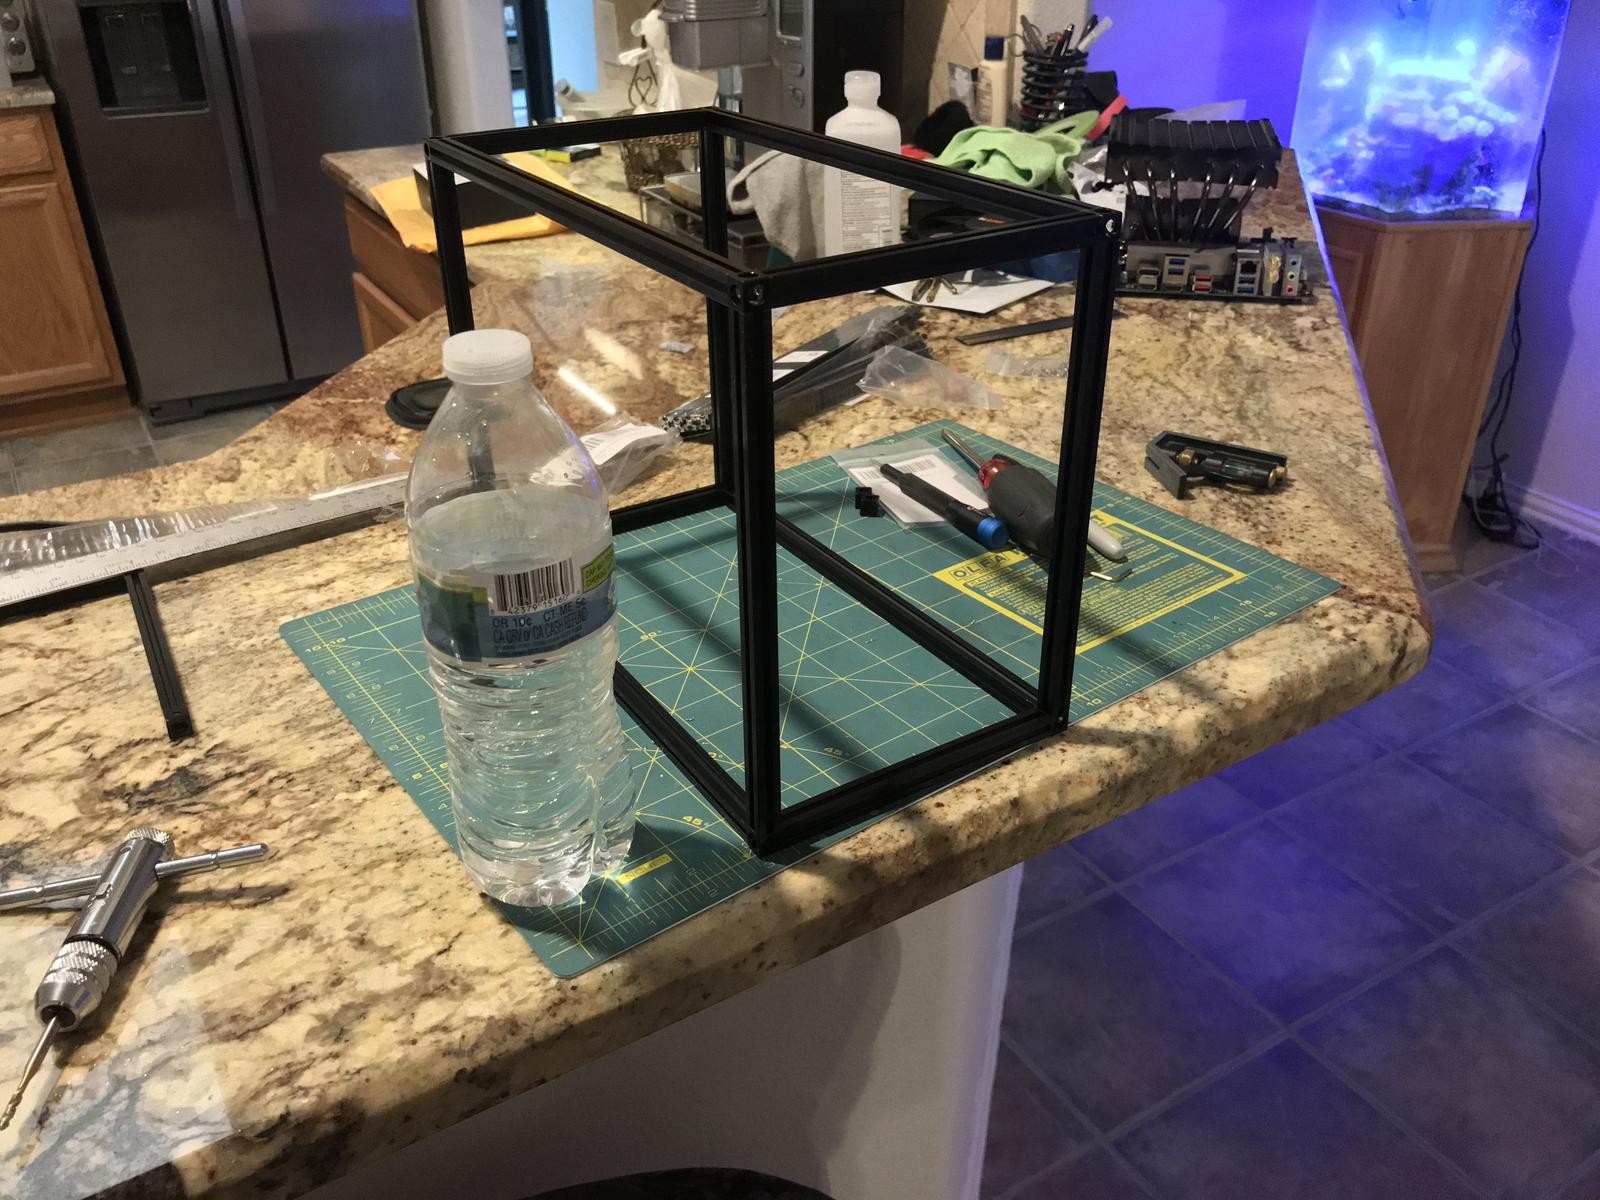
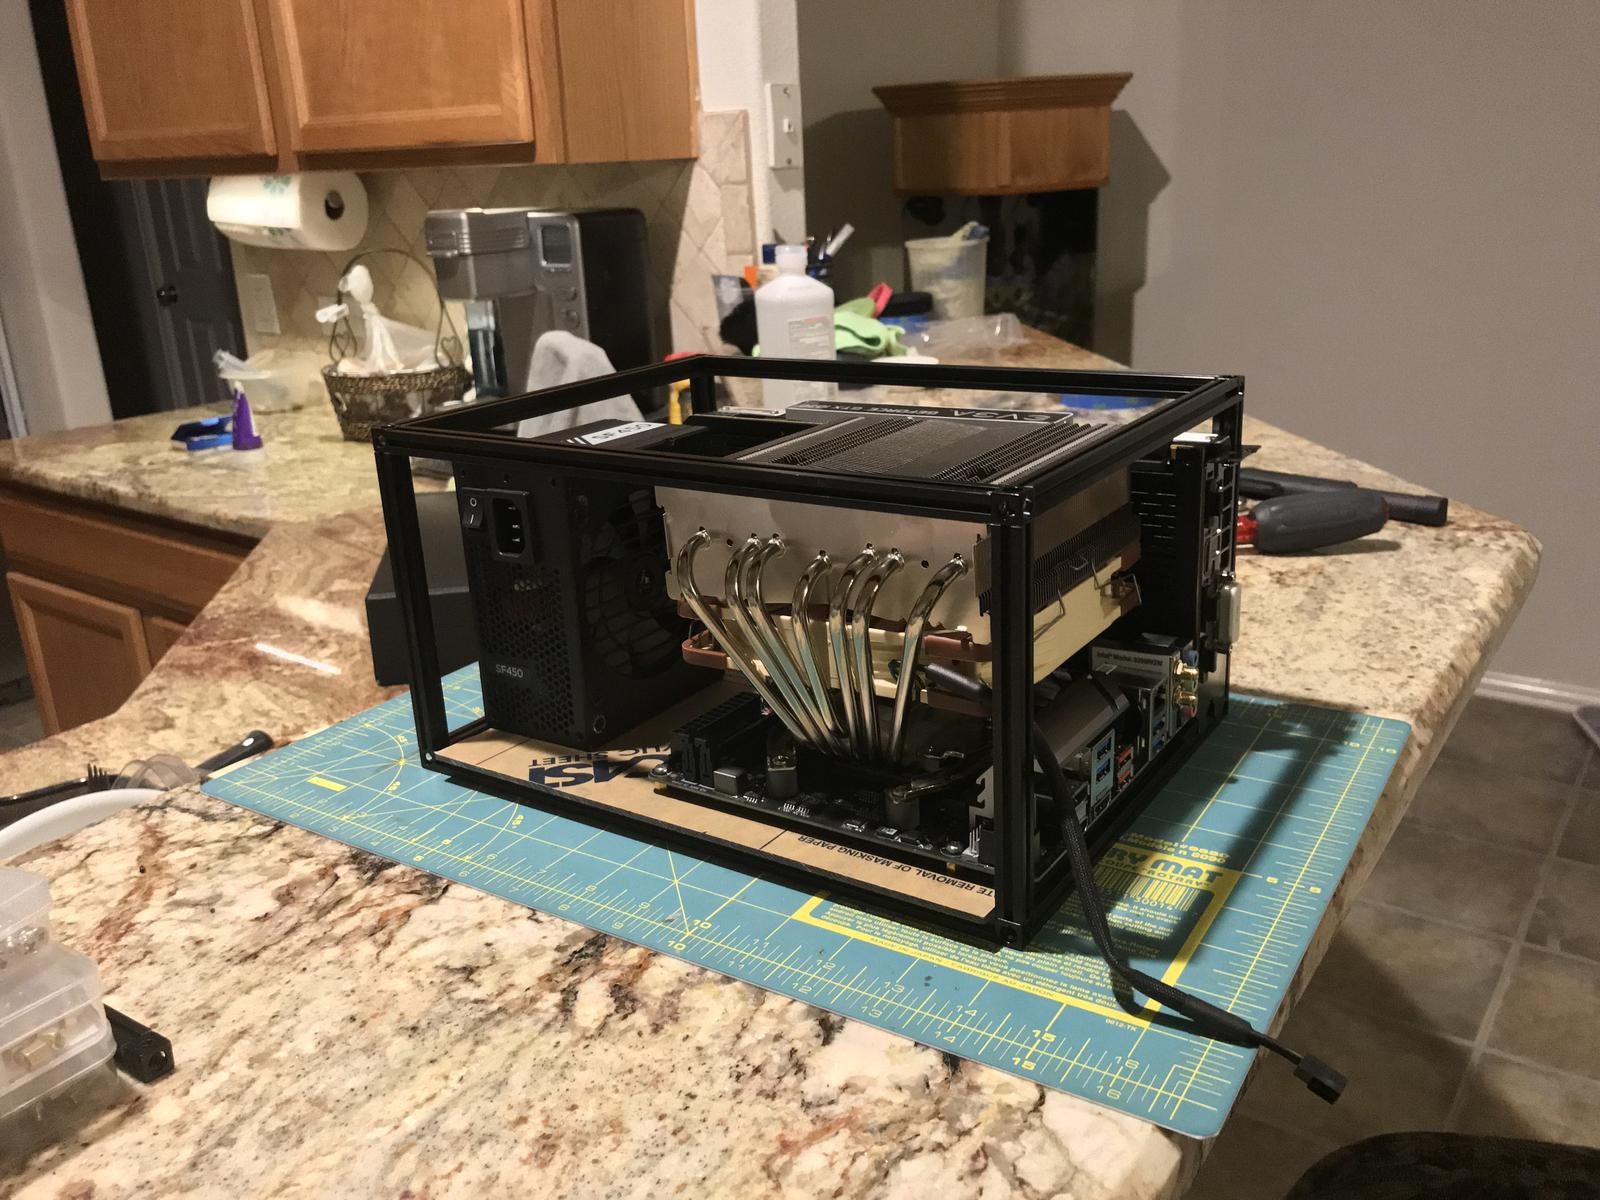
From Sean we received pictures of his MakerBeam mini-ITX case.
According to Sean the stock lengths of MakerBeam work for this exactly. The top and bottom panels he cut using something called the ‘shaper origin’ (a hand-held CNC-router). He also used this tool to cut (and engrave) the plexiglass held by makerbeams. He was very pleased with how it turned out since it is hard to get the corners right. The plexiglass slots right in (<=3mm) but the corners need to be cut just a little to fit. The corner cubes do not have slots.
We agree with Sean. It looks great and is a job well done.
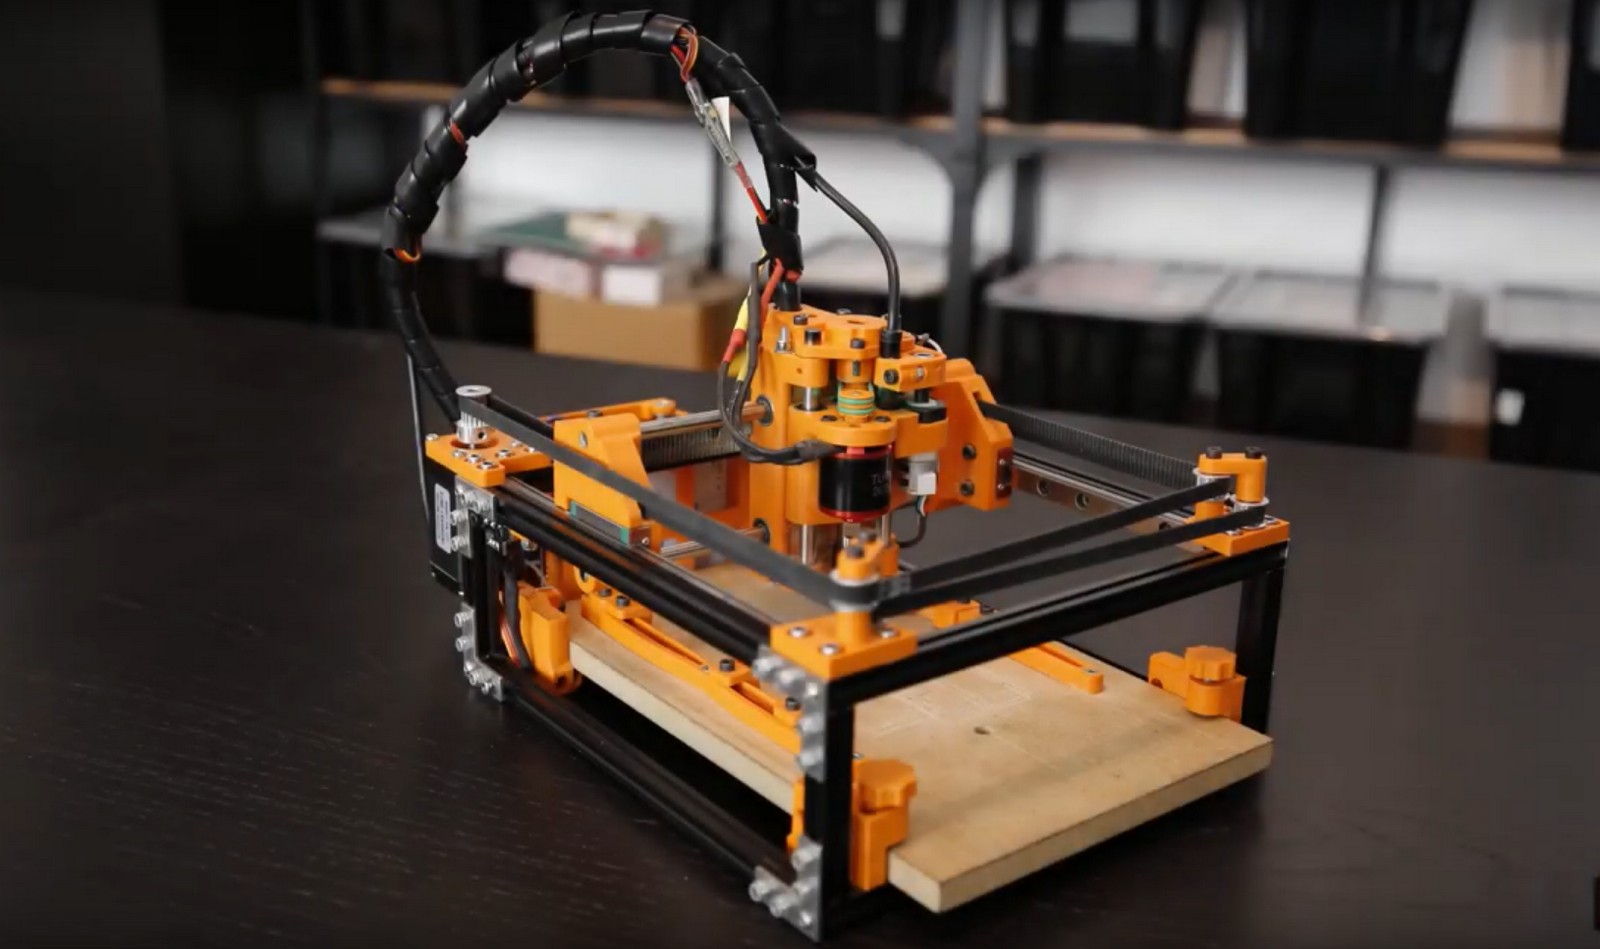
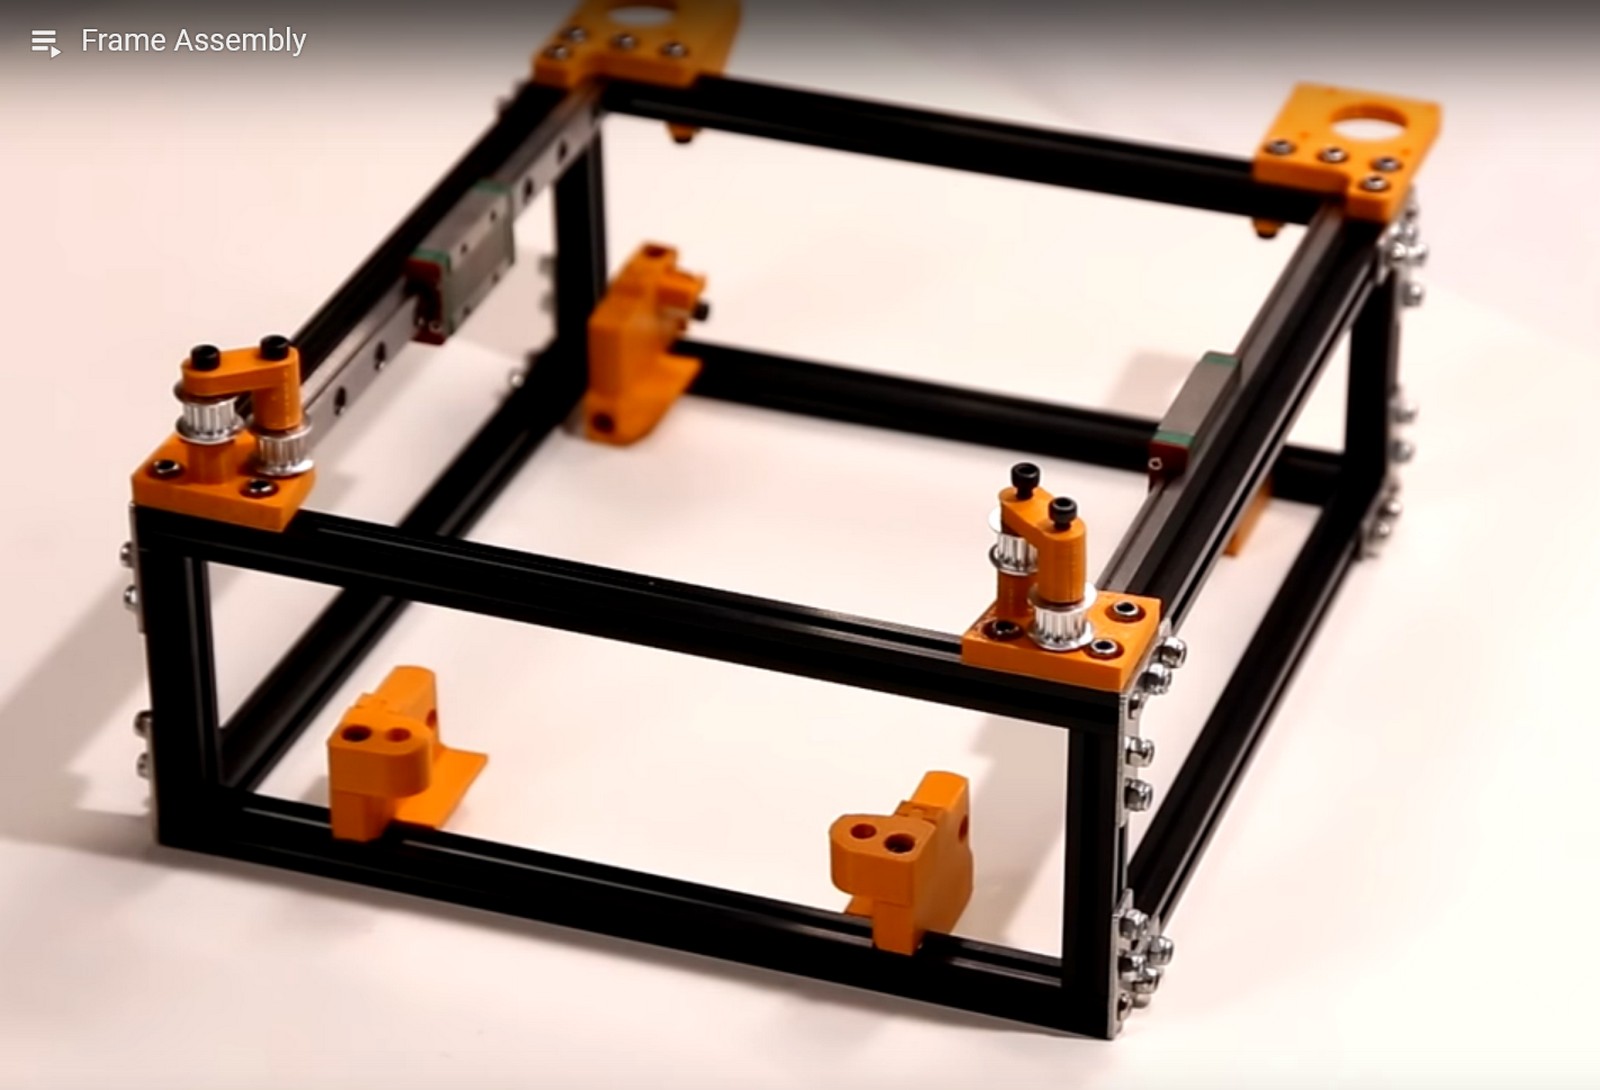
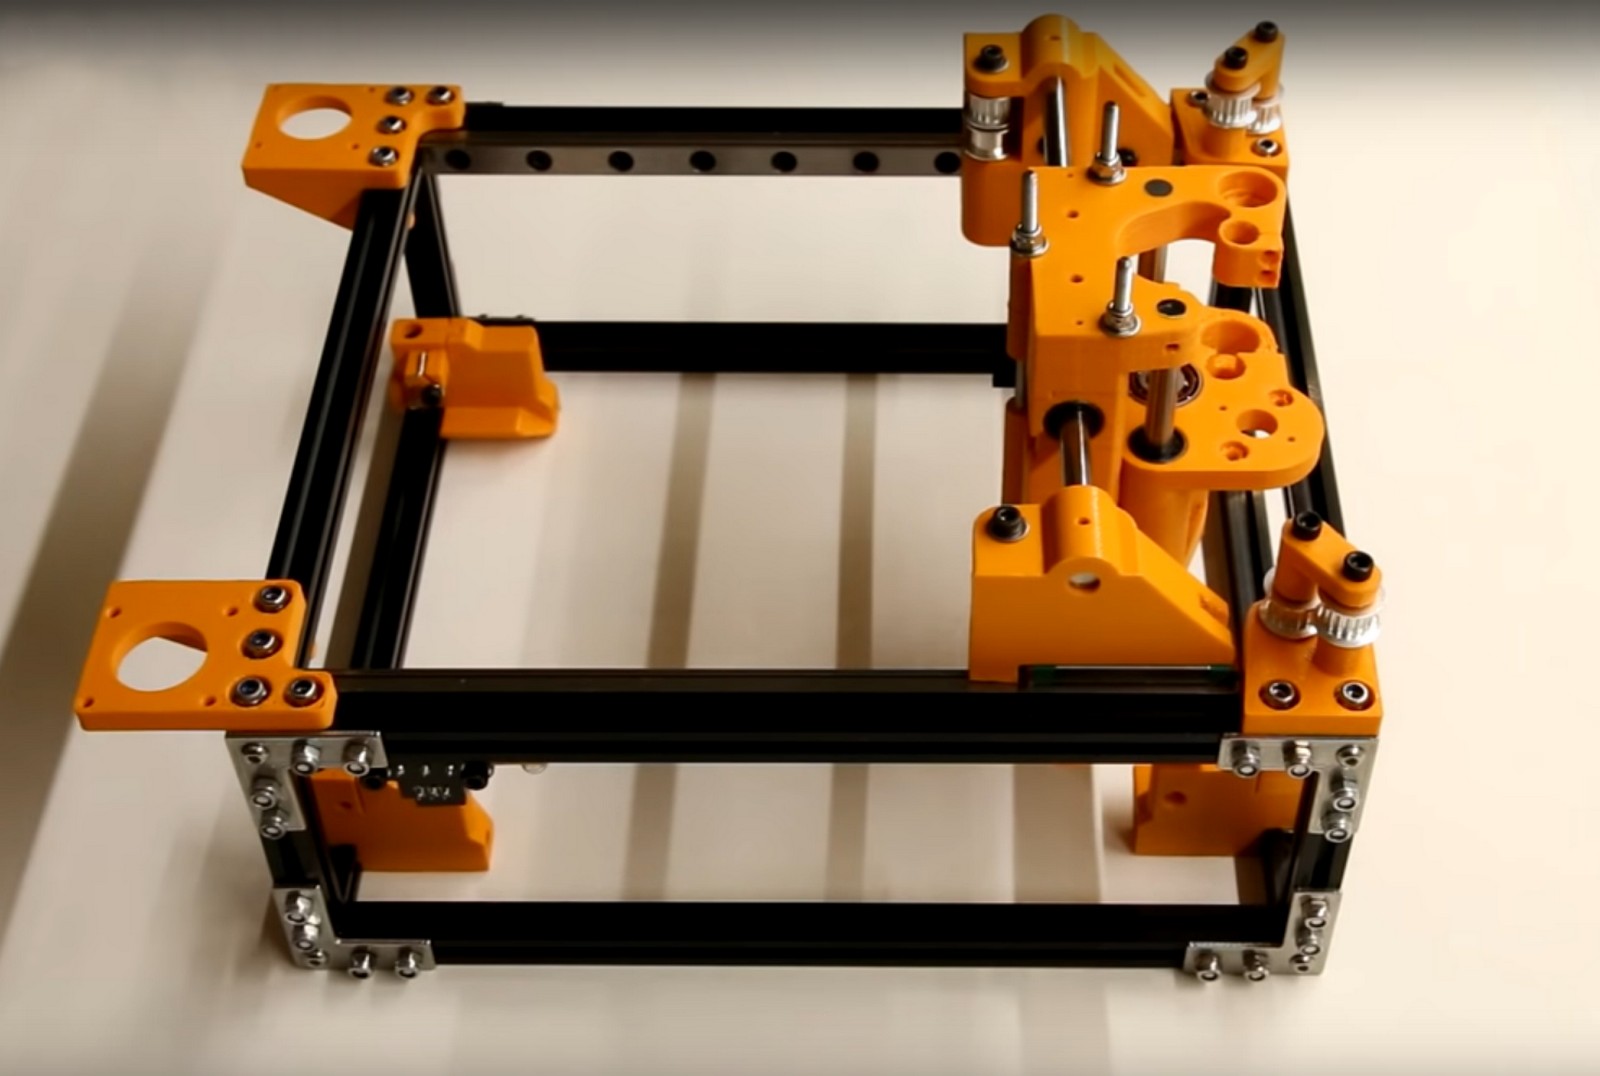
The Ant was a successful project. So successful we never got round to make a blog post about it. The project now seems to have run it’s course. Some parts have become obsolete and hard to get a hold of. Why highlight it then now? It is a classic good MakerBeam project where MakerBeam is used to frame items that are (or were) ready available and custom 3D printed items.
The Ant team also made a series of how to build the Ant step by step in a series of videos. The 200mm (b: 100900, c: 100180) and 60mm (b: 100067, c: 100157) MakerBeam (10x10mm), T-slot nuts (101619), right angle brackets (100326), square headed bolts 6mm (100359) and the 200mm linear slide (104162) and self locking nuts (101619) are all needed for the build and they go through all the steps. You can find these here below.
The Ant team obviously is passionate about electronics. Two of them, Matti and Angelo, have gone on to create videos on the channel Due Makers Asociali (Italian language).
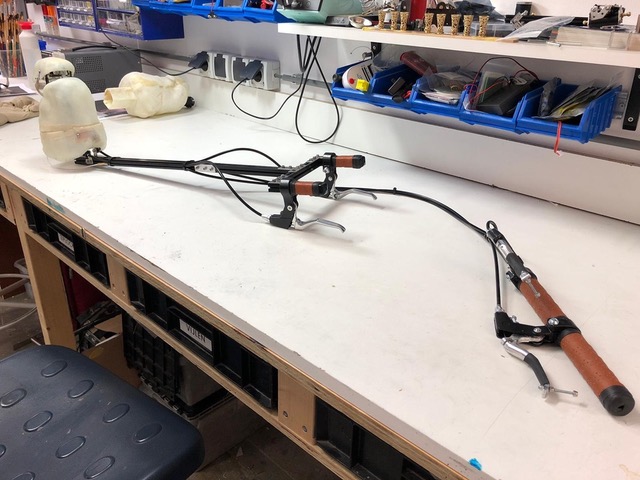
Vincent Mensink of Studio Mensink is a regular customer. He works on product design and special props and effects. He has to come up with ingenious constructions to make these designs work. He loves MakerBeam (10x10mm), MakerBeamXL (15x15mm) and OpenBeam, especially the profiles anodised in black. Here is an example of how he uses MakerBeam.
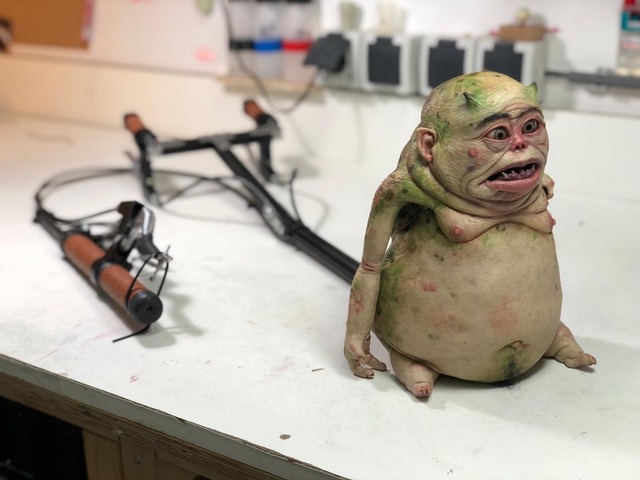
Gurk is a friendly demon that is featured in the series Joardy sitcom, NPO3. Gurk was designed by RFX Propmaking and Studio Mensink provided the mechanics.
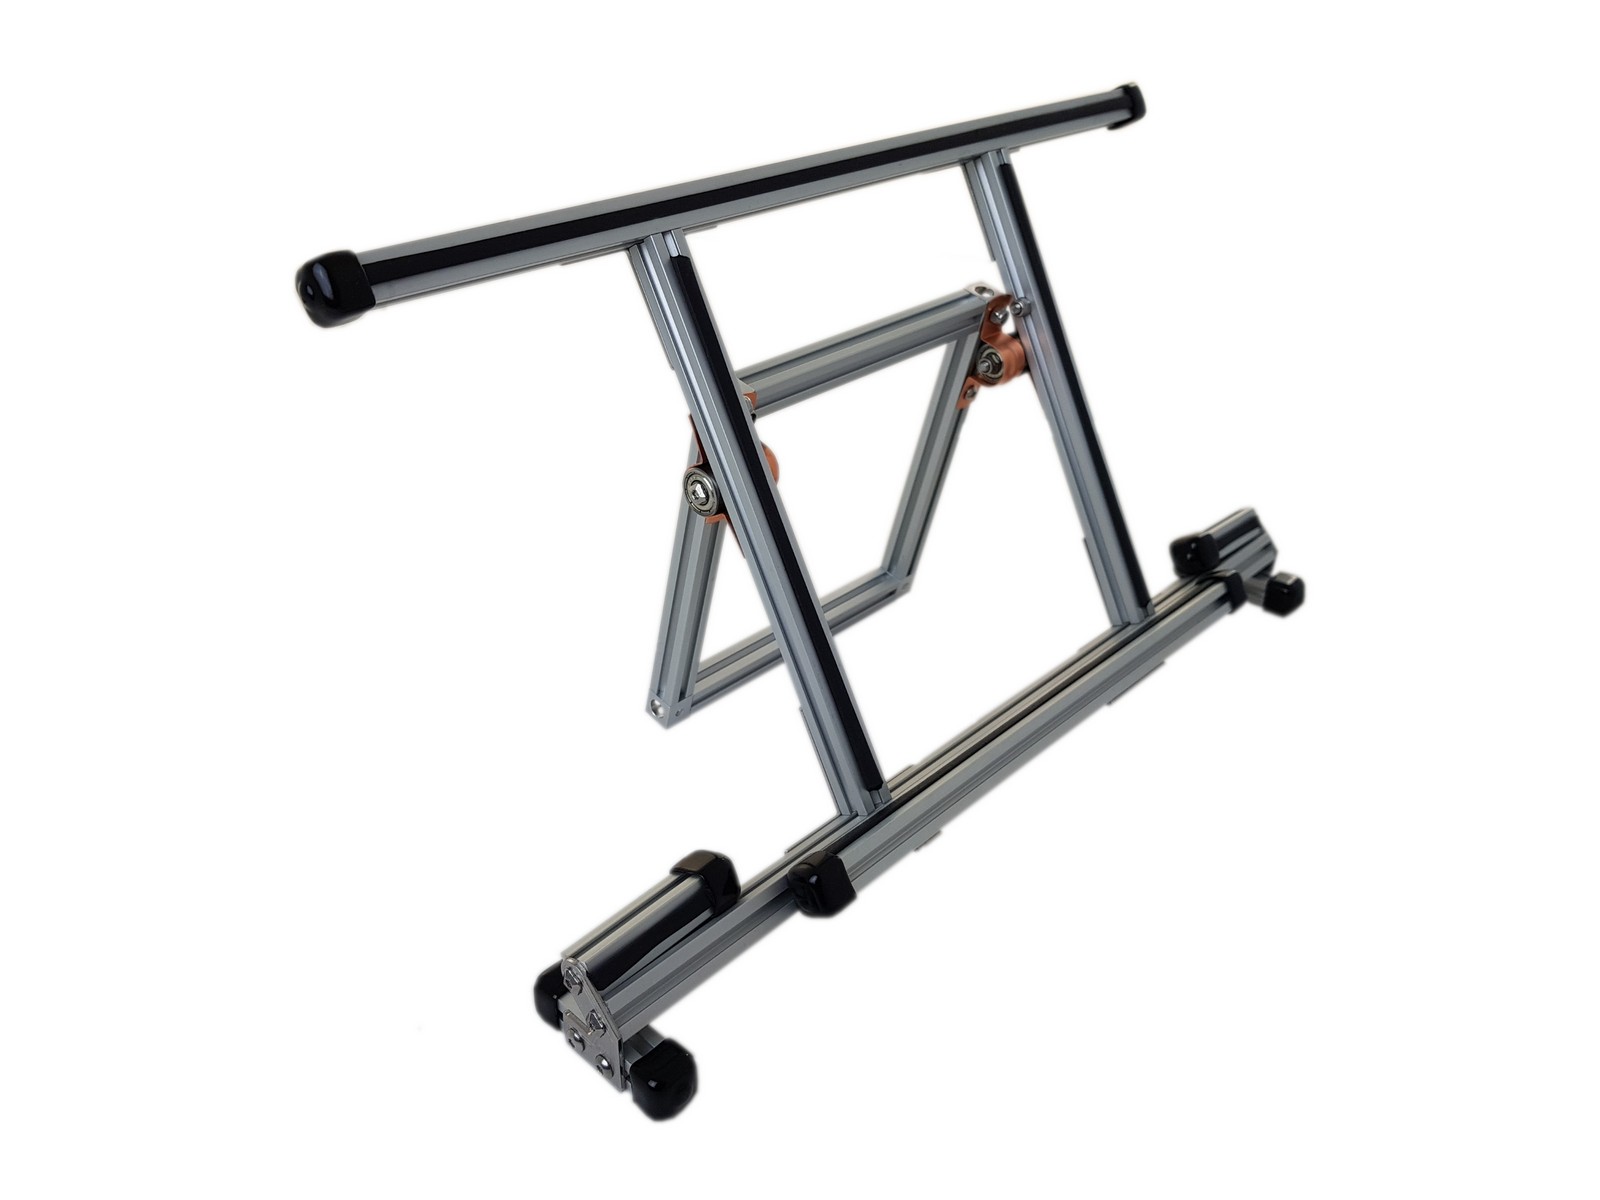
We added a new small product to our product range: sponge rubber rectangular cord 5x5mm for MakerBeam (10x10mm), article number 104454. The rubber cord can be used to create surface protection. Or protection for something else like a tablet, see the tablet stand below.
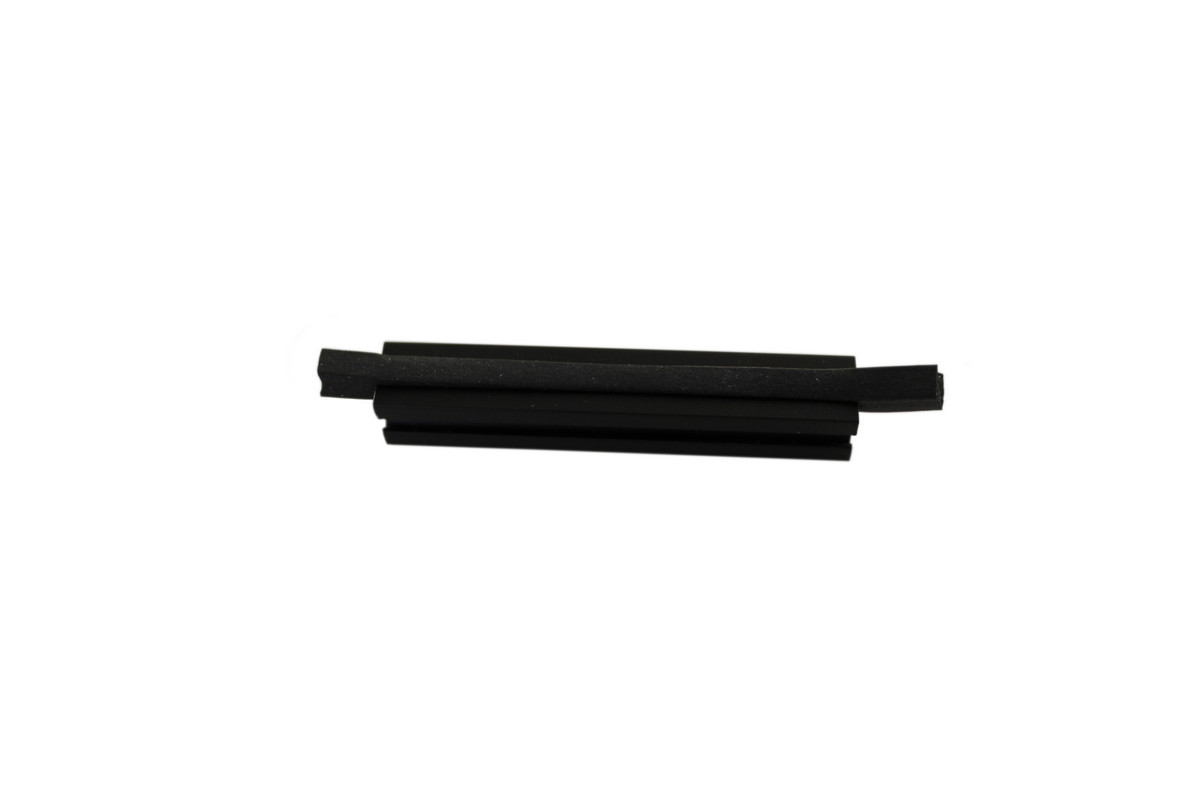
The cord only barely fits the T-slot of MakerBeam (10x10mm). Part of the rubber will stick out and create a cushioning band.
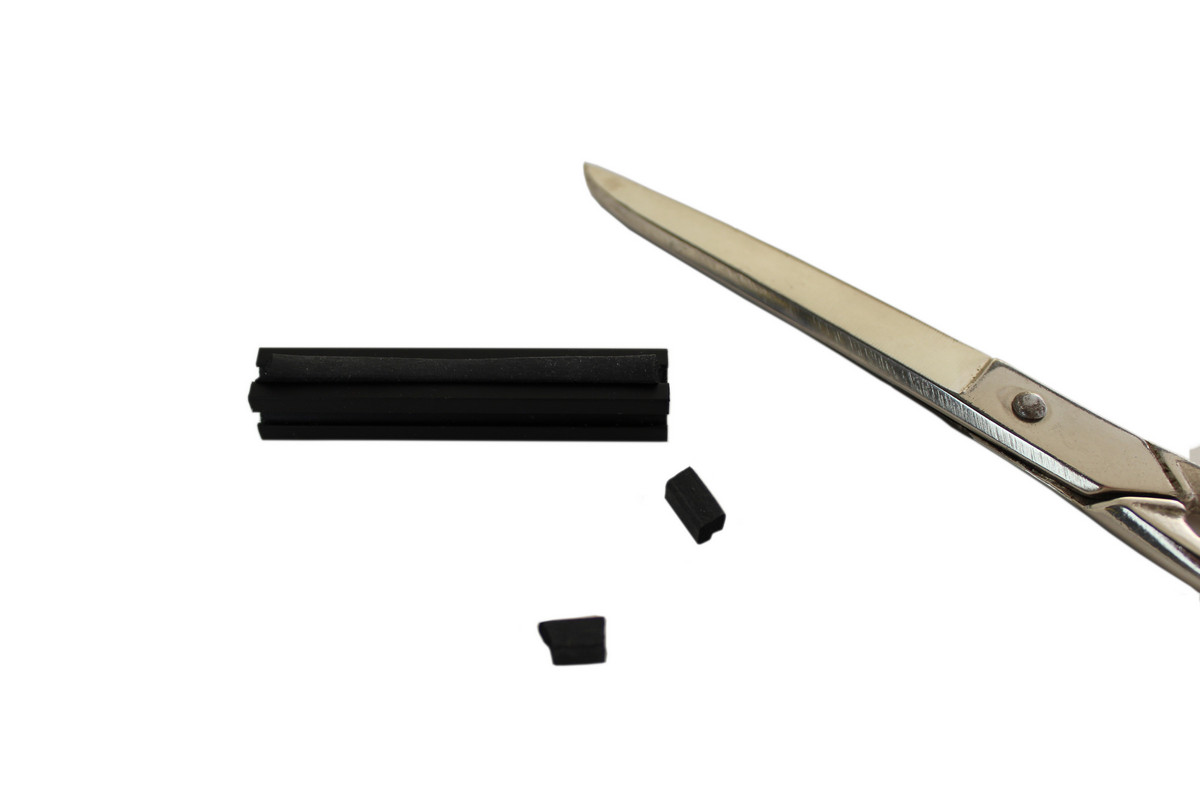
The sponge rubber can be easily cut into the desired custom lengths. You have to stretch the rubber somewhat to fit the T-slot, see pictures.
The 5x5mm cord will only fit the MakerBeam (10x10mm) like this. We are working to introduce an alternative for MakerBeamXL and OpenBeam shortly.
Vincent Mensink of Studio Mensink is a regular customer. He works on product design and special props and effects. He has to come up with ingenious constructions to make these designs work. He loves MakerBeam (10x10mm), MakerBeamXL (15x15mm) and OpenBeam, especially the profiles anodised in black.
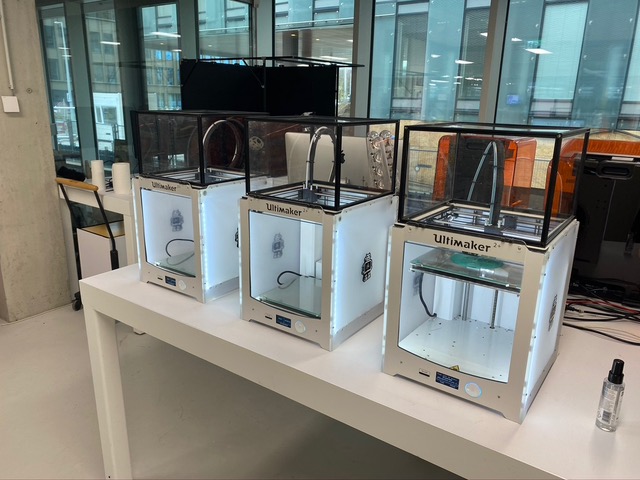
MakerBeam is used a lot in combination with items that are ready available and custom 3D printed items. To create these custom 3D printed parts he has a few Ultimakers lined up.
You will notice the dust covers on these Ultimakers. These covers were especially designed by Vincent to fit the Ultimaker. You can find the special designed brackets and the bill of materials on Thingiverse. You can also find the bill of materials below.
Dust cover designed for the Ultimaker 2+
The Acrylic lasercut plates slide into the MakerBeam frame. The 3D printed brackets lock the cover into place.
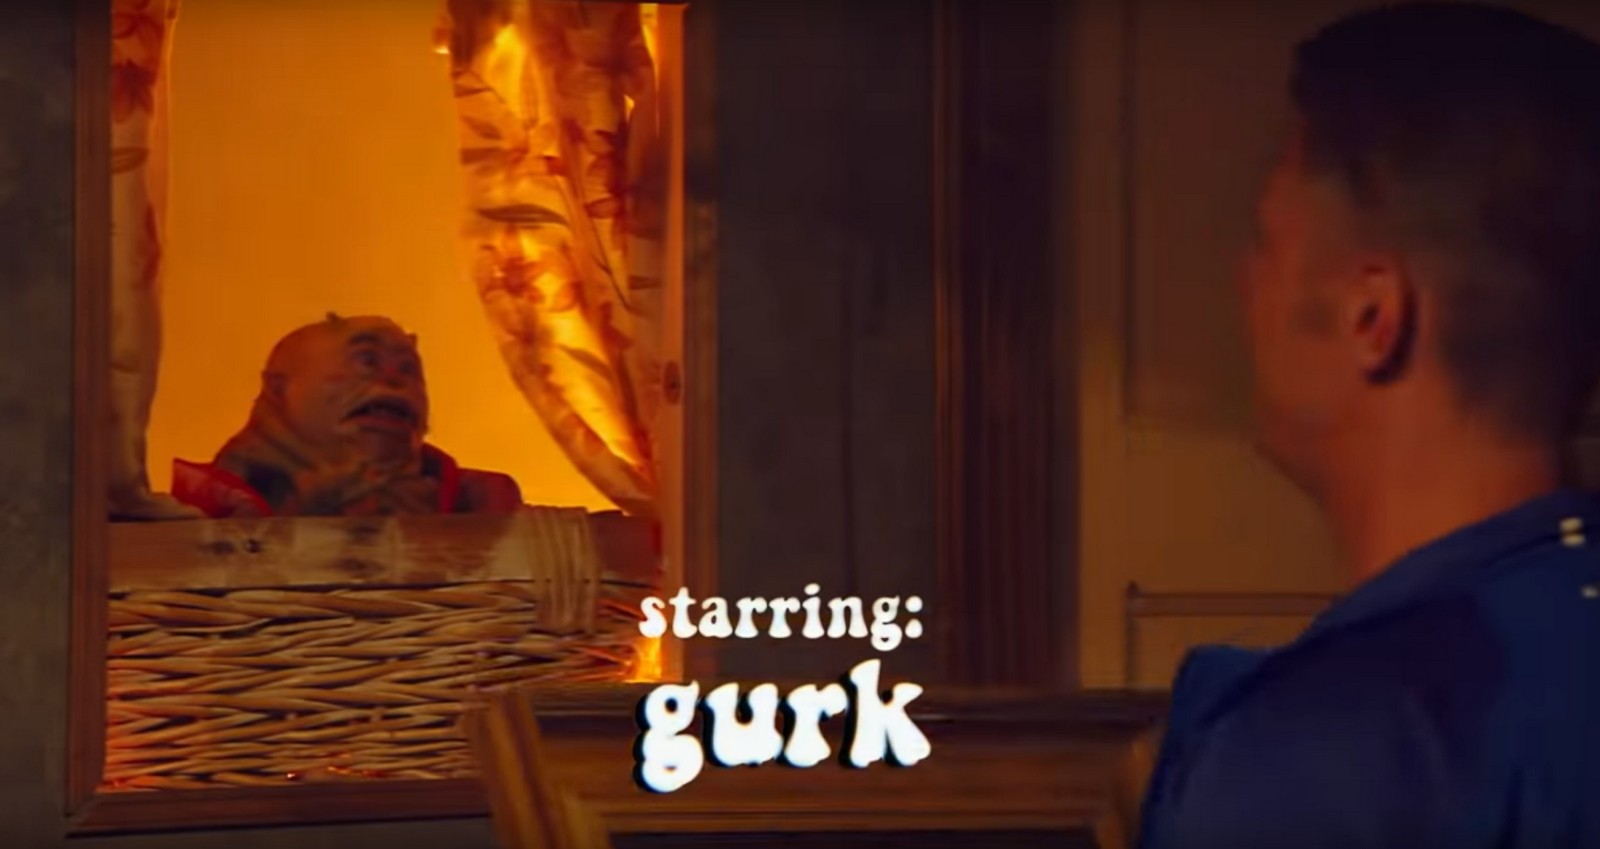
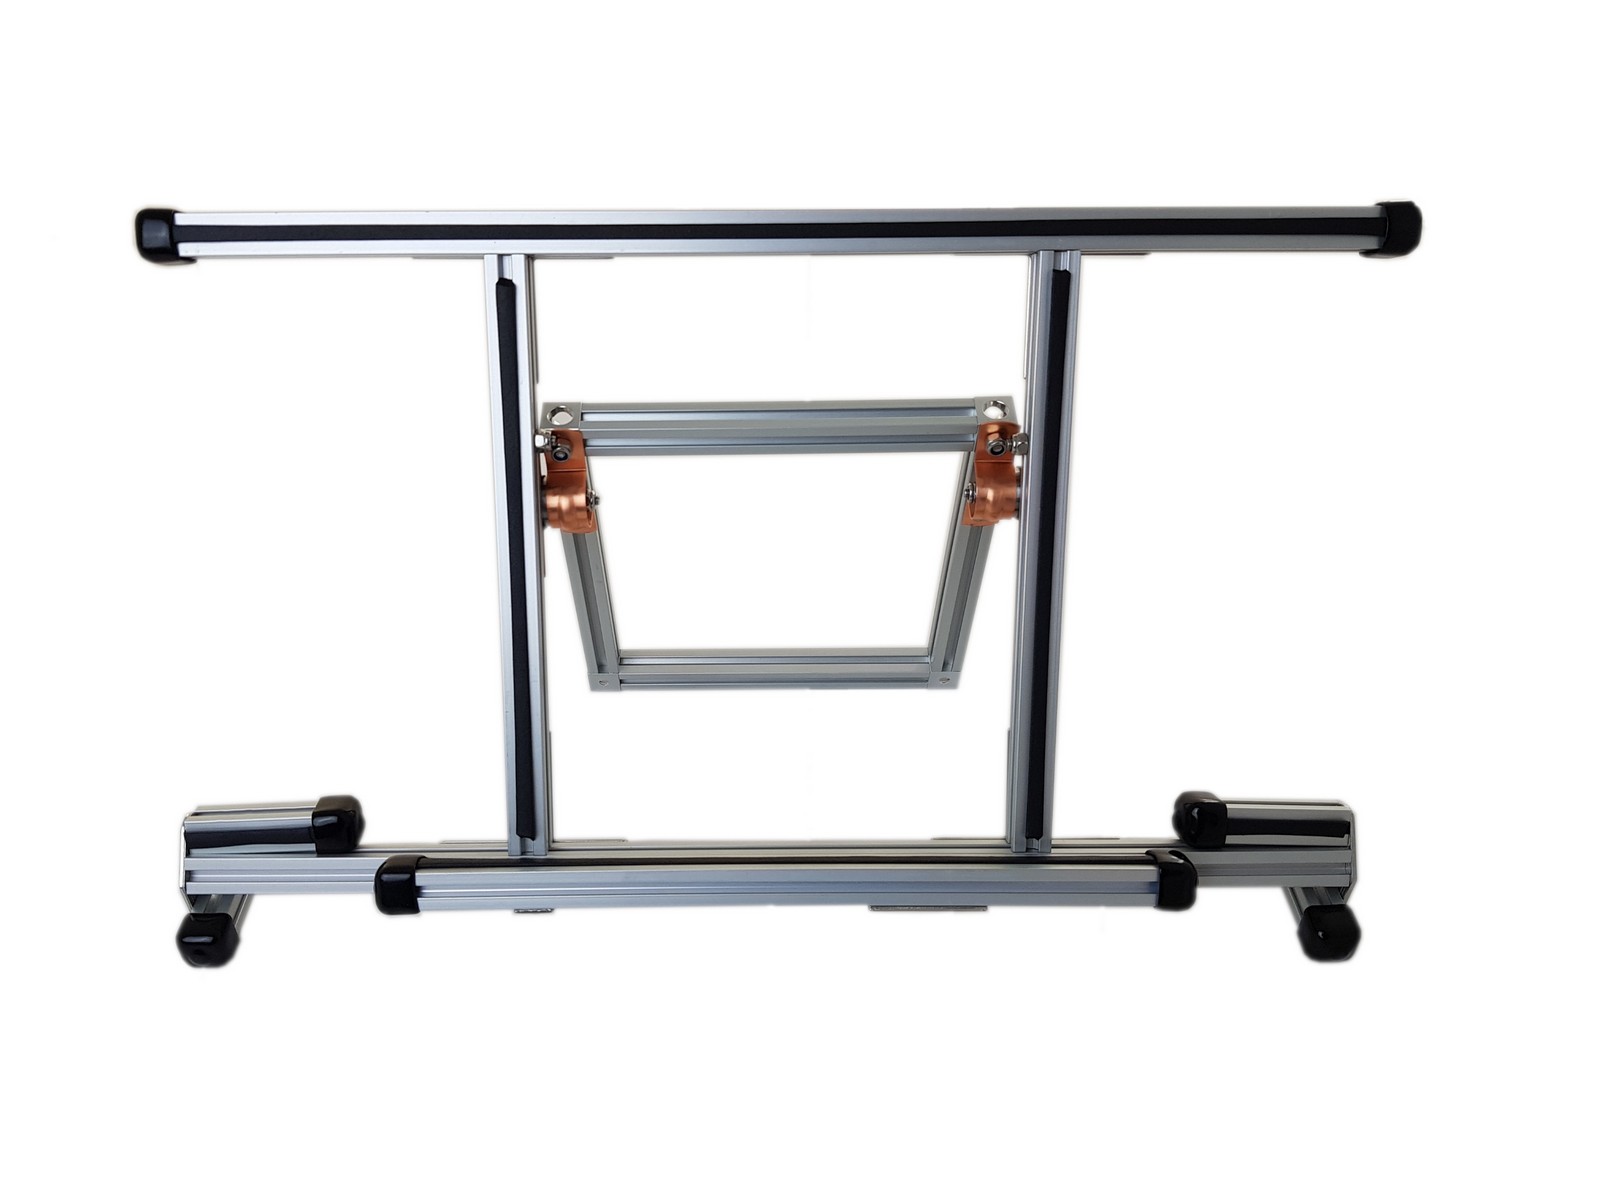
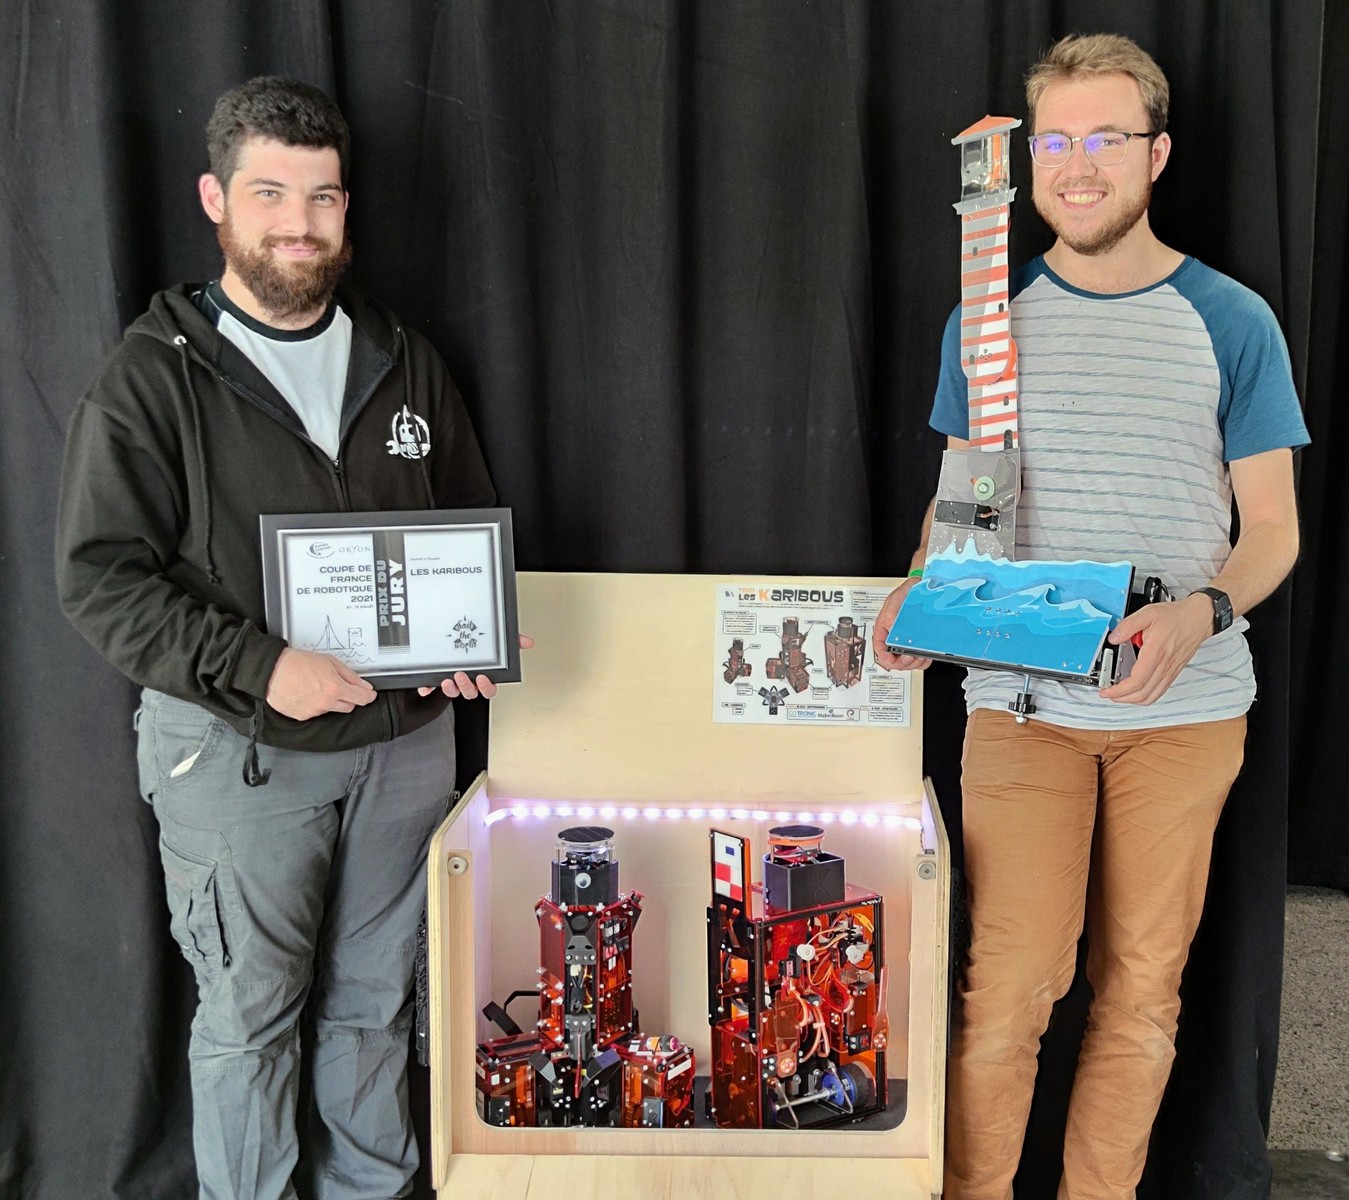
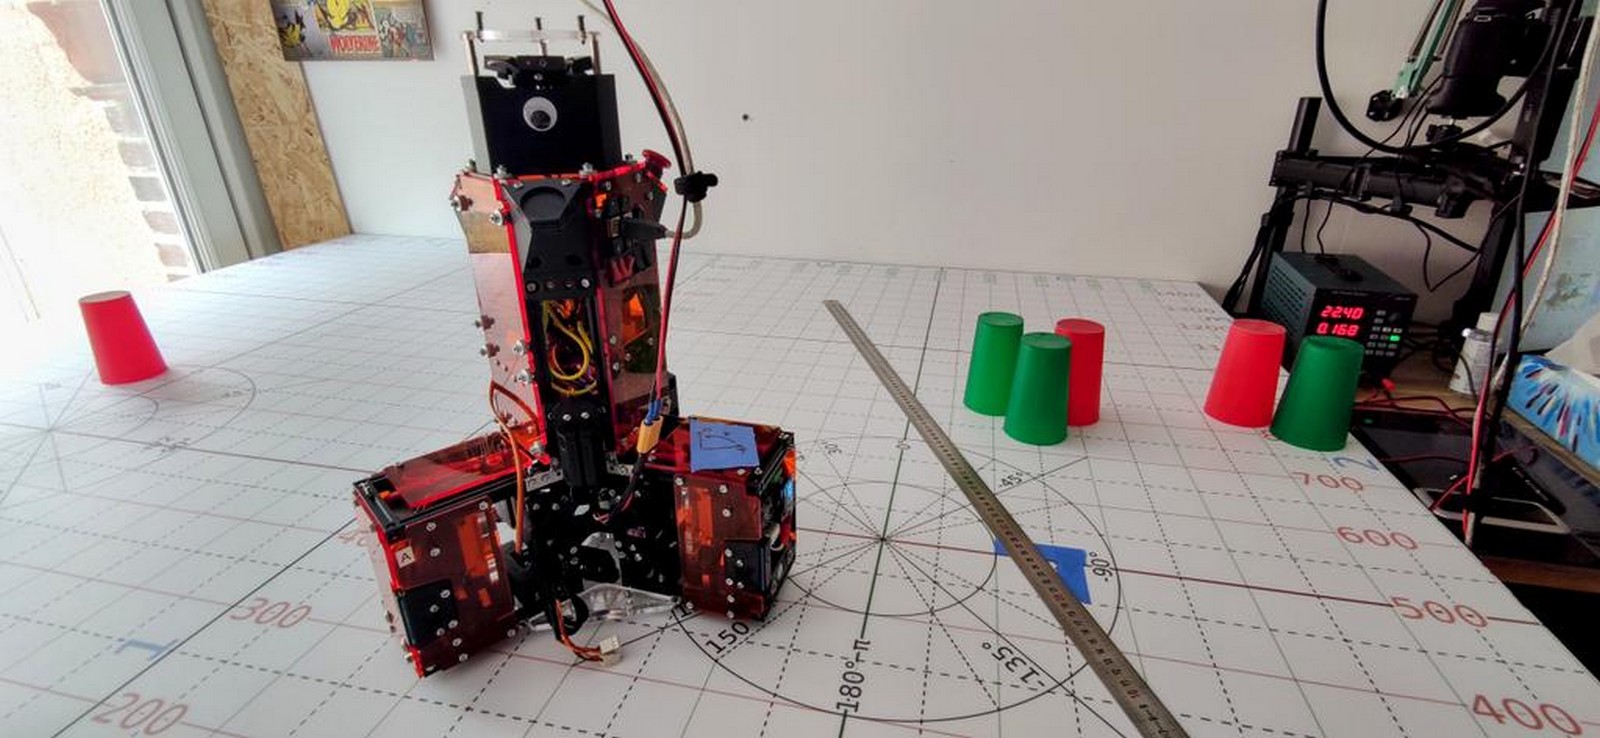
Good news for the team of Les Karibous (@LesKaribous). The Coupe de Robotique France finally could take place. It was already scheduled for 2020 but like with almost everything else it was rescheduled because of Covid19 restrictions.
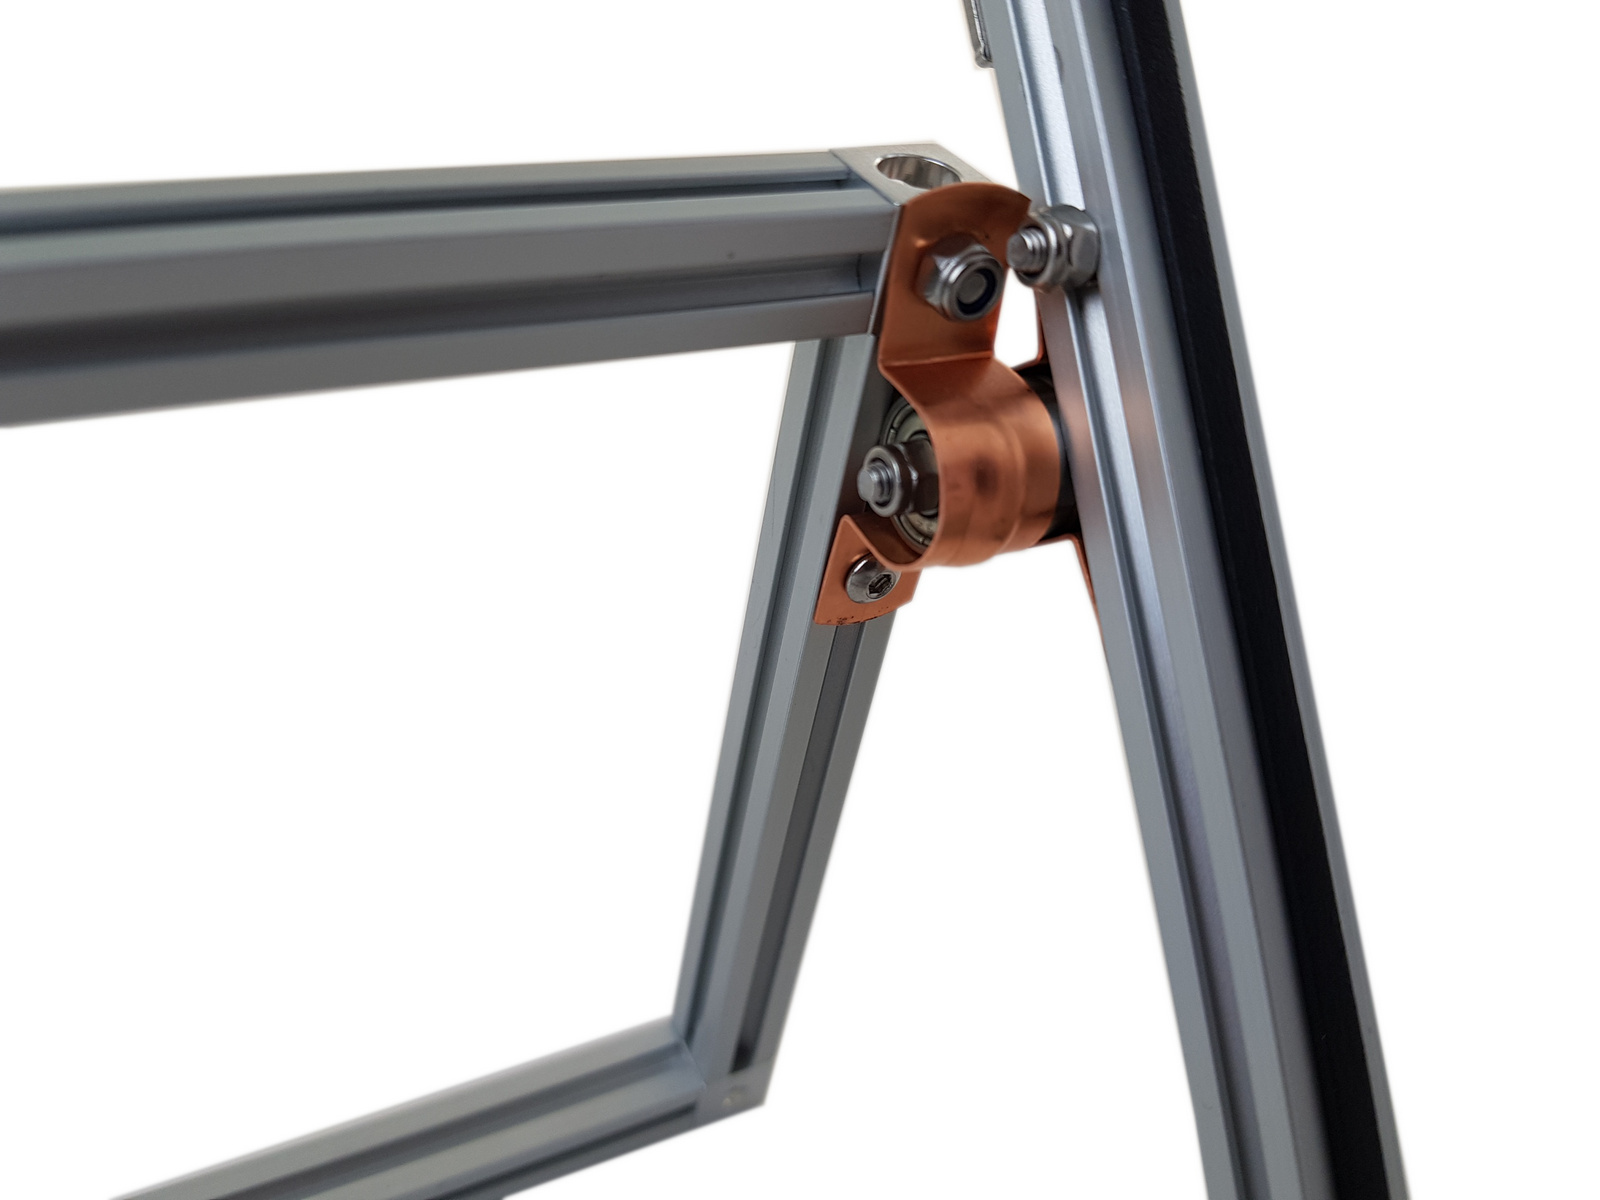
The team of Les Karibous were awarded a jury prize. You can see part of the team pictured here above. For transportation purposes they built a special box. The box was equipped with light and sound effects so it could double as a good display case as well.
Le travail de ce soir résumé dans cette vidéo : notre boîte pour la @CoupeRobotique#cdr2021 est maintenant équipée de lumières et de son en mode "opening chest" de #Zelda 😄 Merci aux viewers et à la semaine prochaine !! pic.twitter.com/zrxQEEEG48
Below you can see the robots of Les Karibous in action during the competition.
For more information about the robots please visit the Twitter accounts of @LesKaribous and @barbatronic (French). For more information about the competition please visit Coupe de Robotique France.
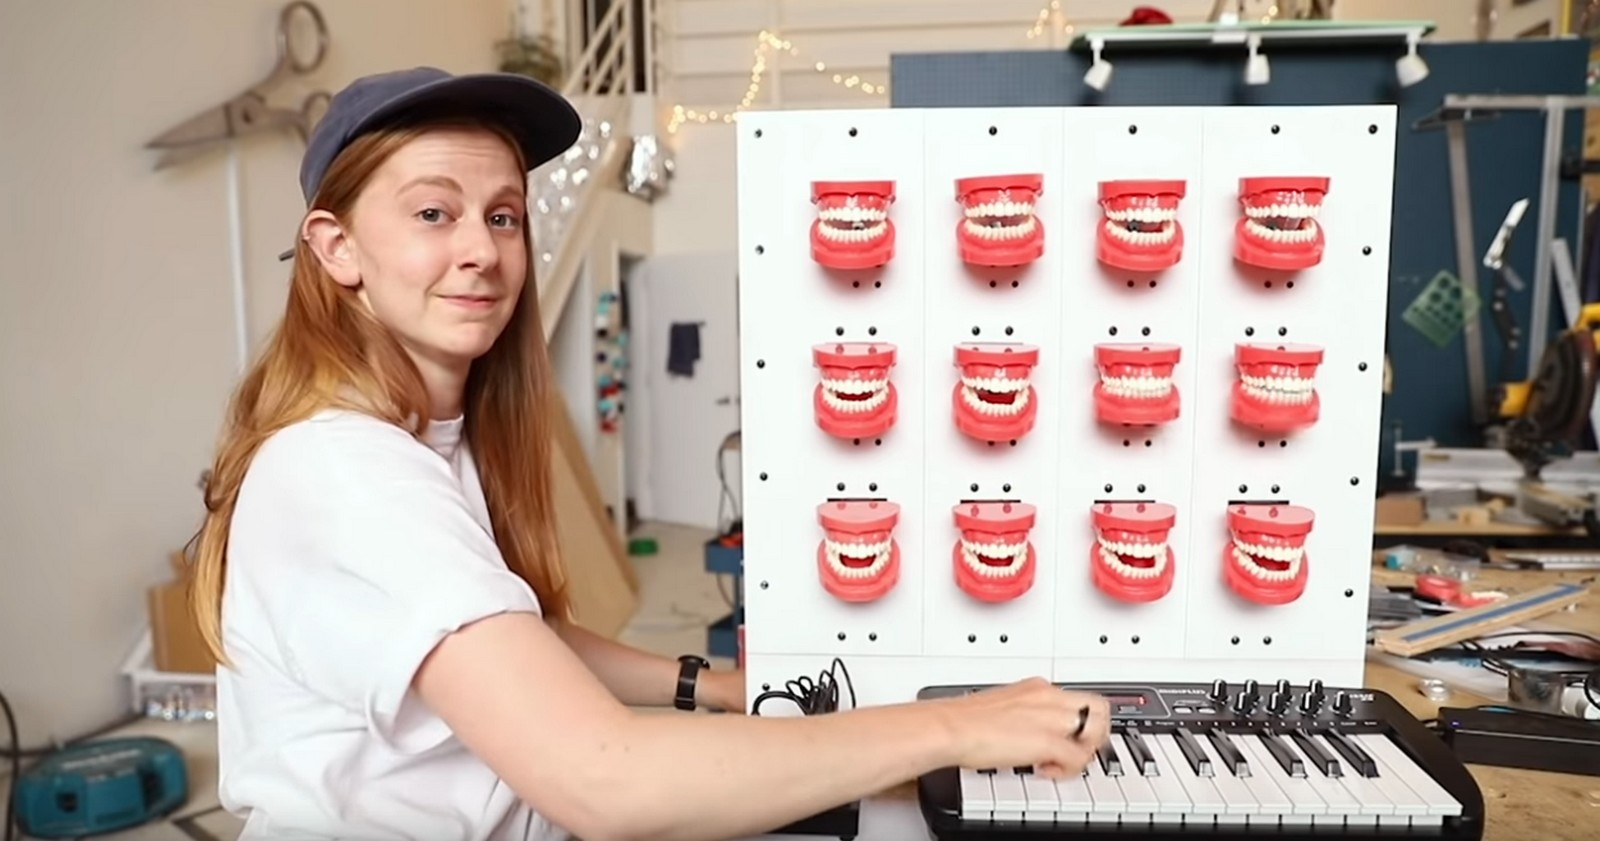
A lot of customers buy MakerBeam with a certain project in mind. Which is good, but MakerBeam is also quite handy to have around. Simone Giertz, inventor and youtuber, makes this clear in her video.
In this video Simone builds a musical instrument. She combines a number of teeth with a keyboard in order to create music. During the process she uses MakerBeam for a temporary framework to test opening and closing of the teeth.
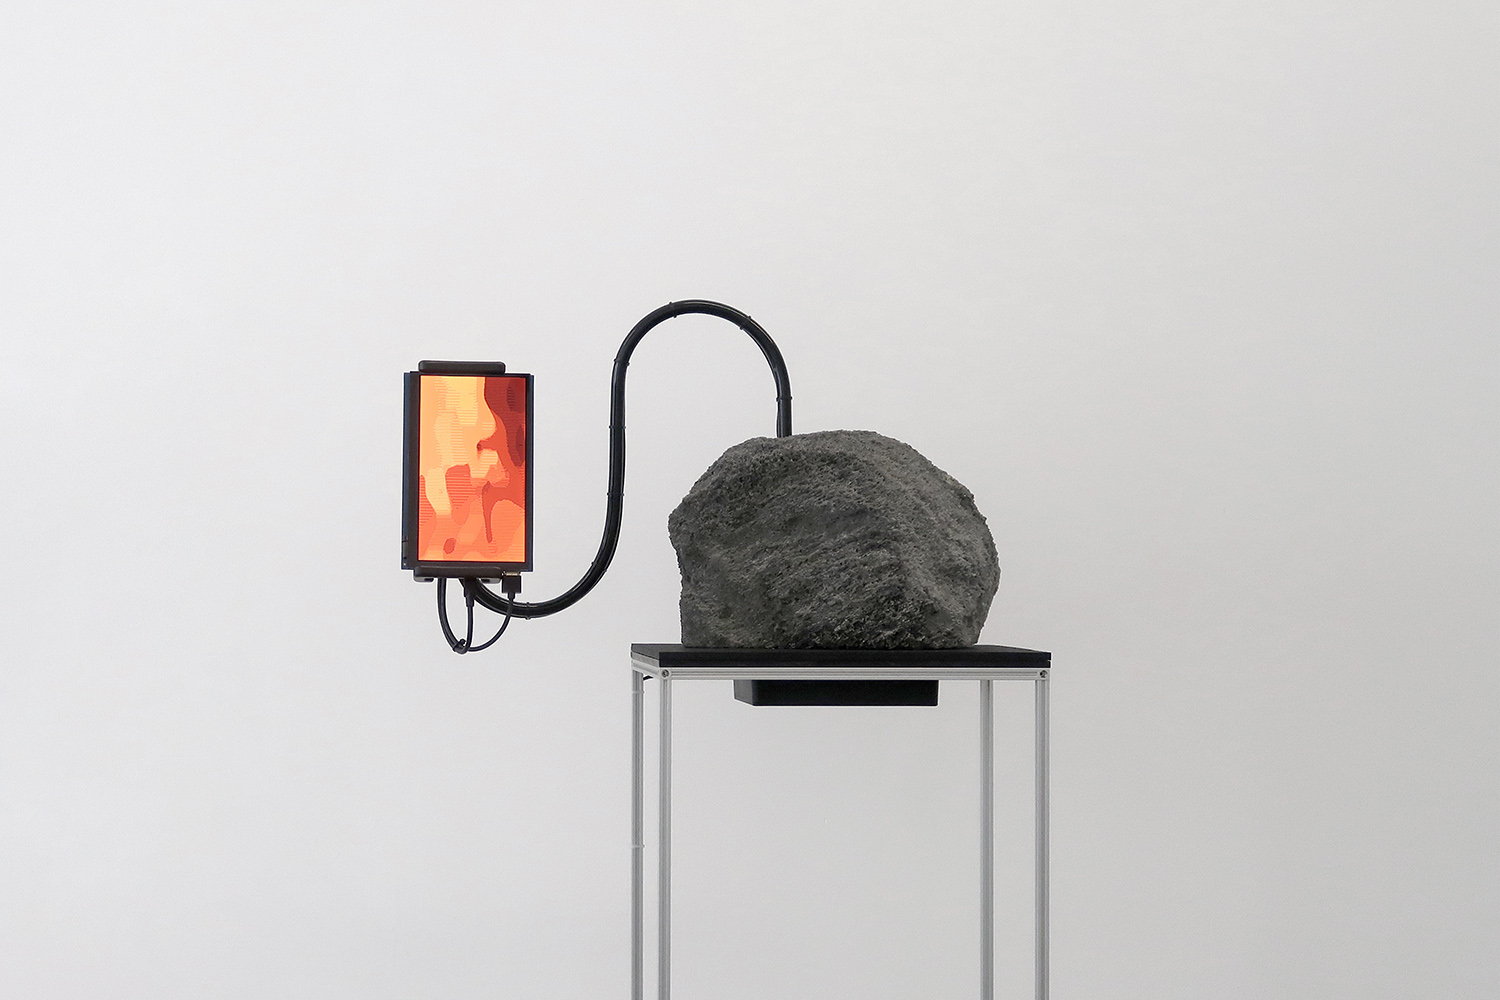
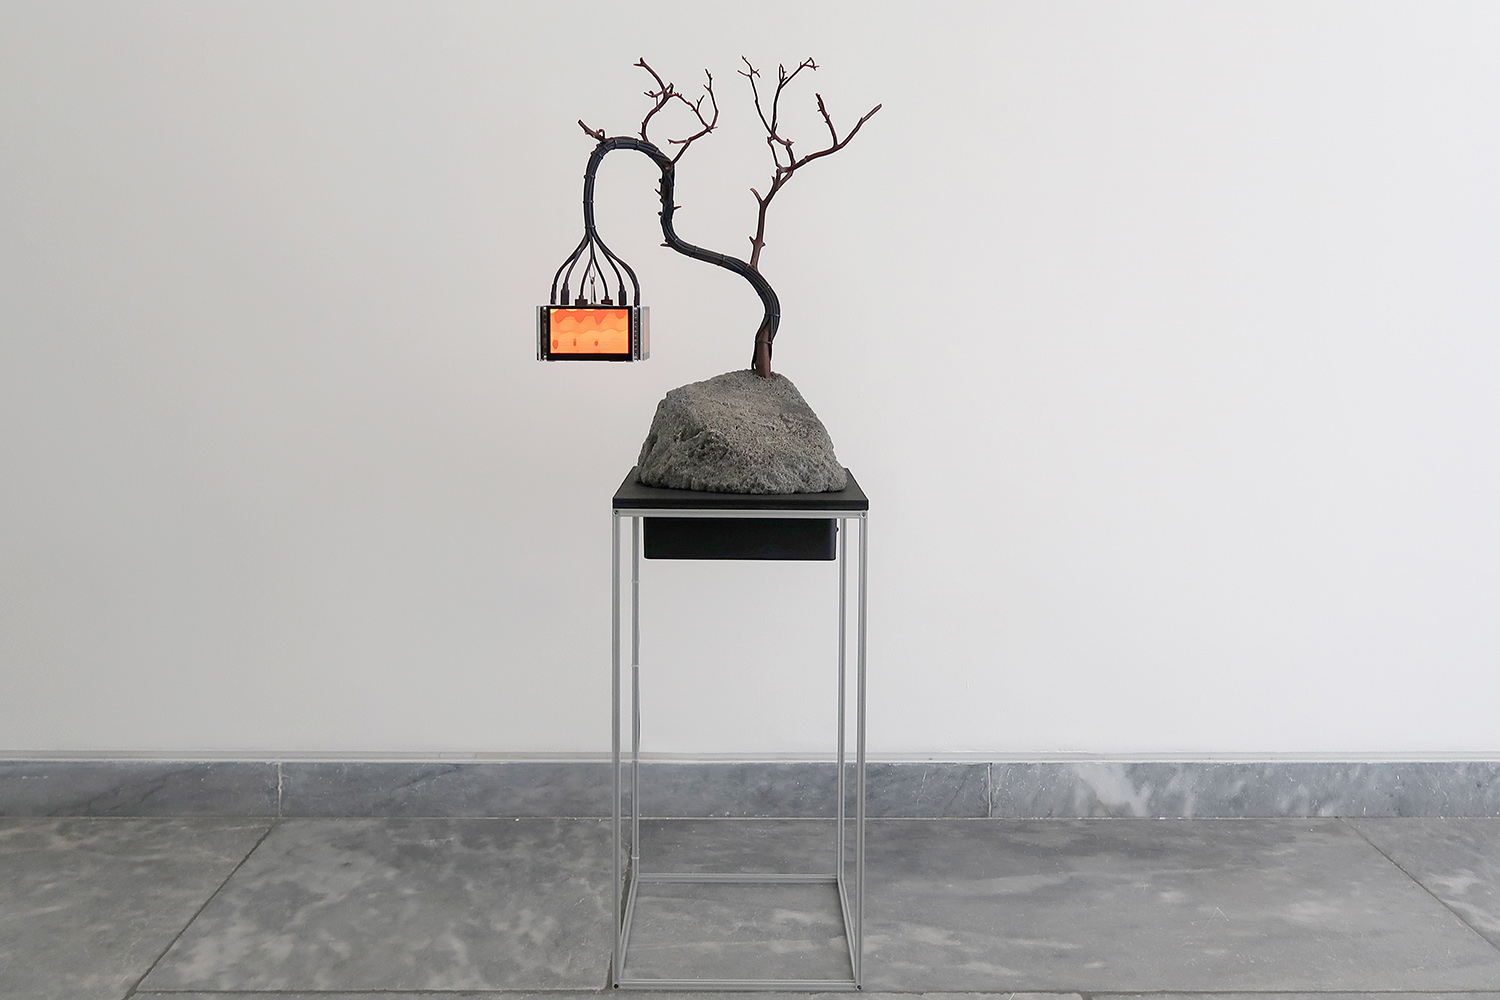
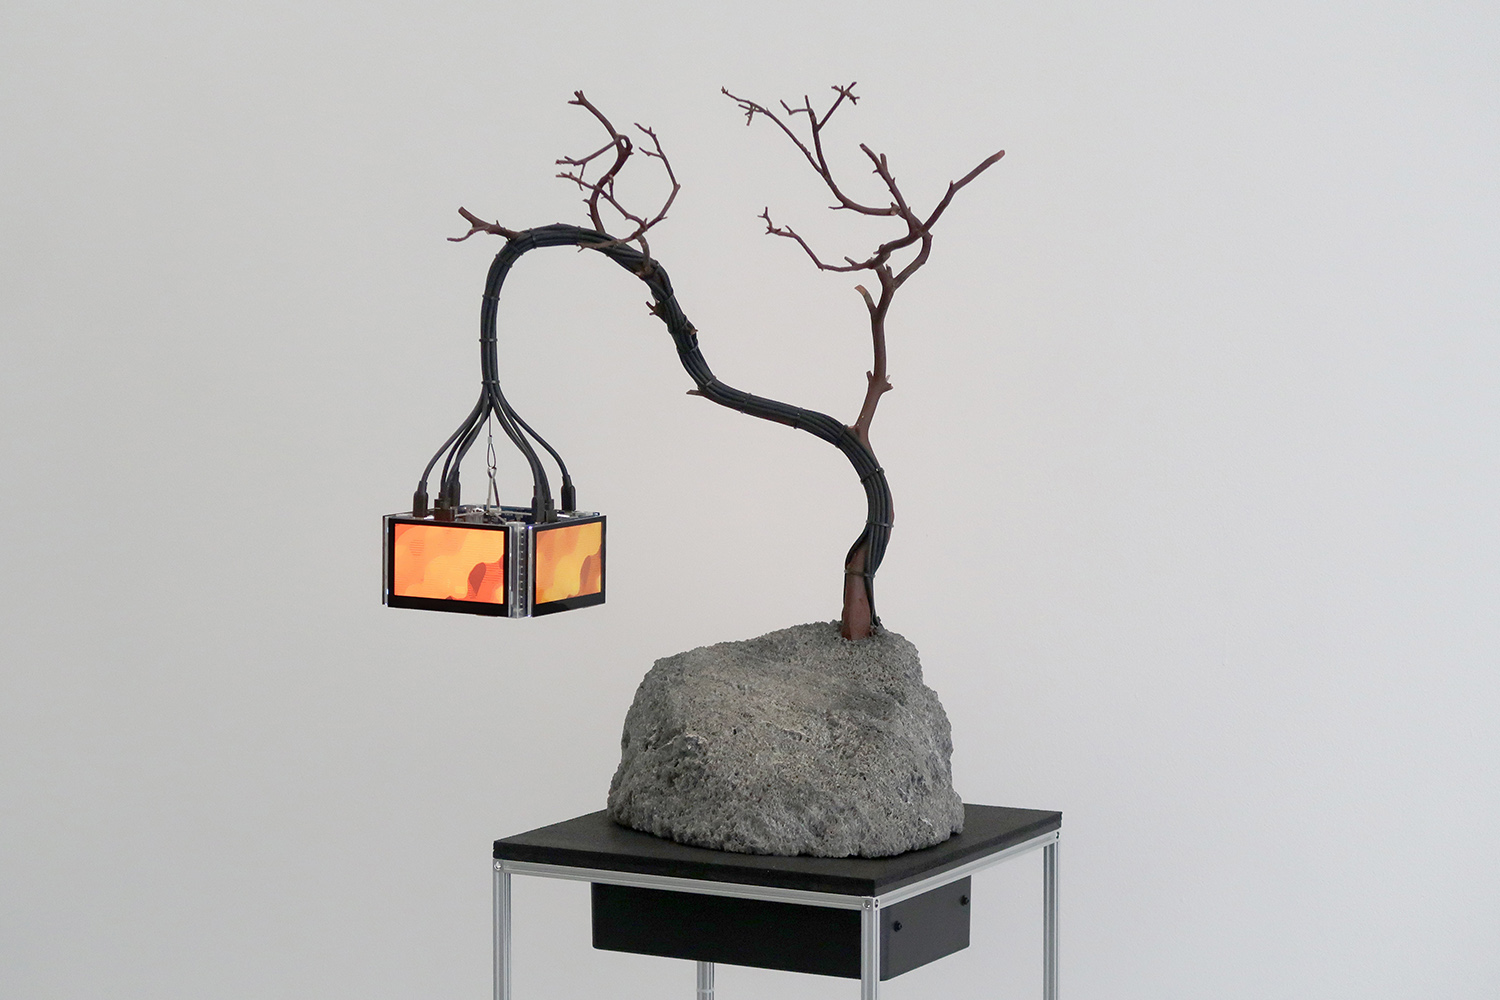
Nicolas Sassoon is an artist based in Vancouver BC Canada. He makes use of early computer imaging techniques to render visions of architectures, landscapes and natural forces. Nicolas often uses MakerBeam to present his work. The featured sculptures are part of a body of work titled “The Prophets”.
The Prophets is an on-going series of sculptures as poetic interfaces between computer technology and geological forces. Composed of small pumice boulders (volcanic rock) connected to LCD panels, the sculptures recall traditional viewing stones (Gongshi, Suiseki) from which electronic hardware and screens emerge to form heads and figures. The LCD screens feature pixelated animations evocative of flowing lava, suggesting a magmatic life silently contained within the stones. In The Prophets, technology becomes a vessel through which inert rocks appear to express another state of existence – a volcanic unrest hinting back at their chaotic origins. The sculptures bring about a singular experience, recounting a partial history of our relation with matter — a speculative geology of our digital condition rooted in volcanological processes and speaking to the connections between organic and inorganic materials.
Visit nicolassassoon.com for more information and more of Nicholas his work. Below are a few more picutures of his work.