OpenBeam – another addition to the family

Everything makerish and beamish – and this new post is definitely beamish. On Kickstarter there is a new and exciting new project to back. OpenBeam – An open source miniature construction system.

OpenBeam looks like  a great addition to what is already on the market: Microrax and of course MakerBeam.

We love it because is addresses the problem we came across. Since the MakerBeam profile uses the M3 standard we had hoped M3 bolts available in any hardware store would do. As mentioned in our blog posts (1, 2 and 3) we could not find a steady supply of M3 bolts. We got lucky on a few occasions, but finally we had to resort to making our own 12mm MakerBeam bolts. Nice as this sounds it is not what we aspire. It is great that OpenBeam tries to resolve this.

It is also the reason why we are currently working on MakerBeam version 2.0. The first samples are in and look promising. The freedom open source gives people is great.  We would love to bring OpenBeam overseas as well when time comes. There are a lot of things still waiting to be made!
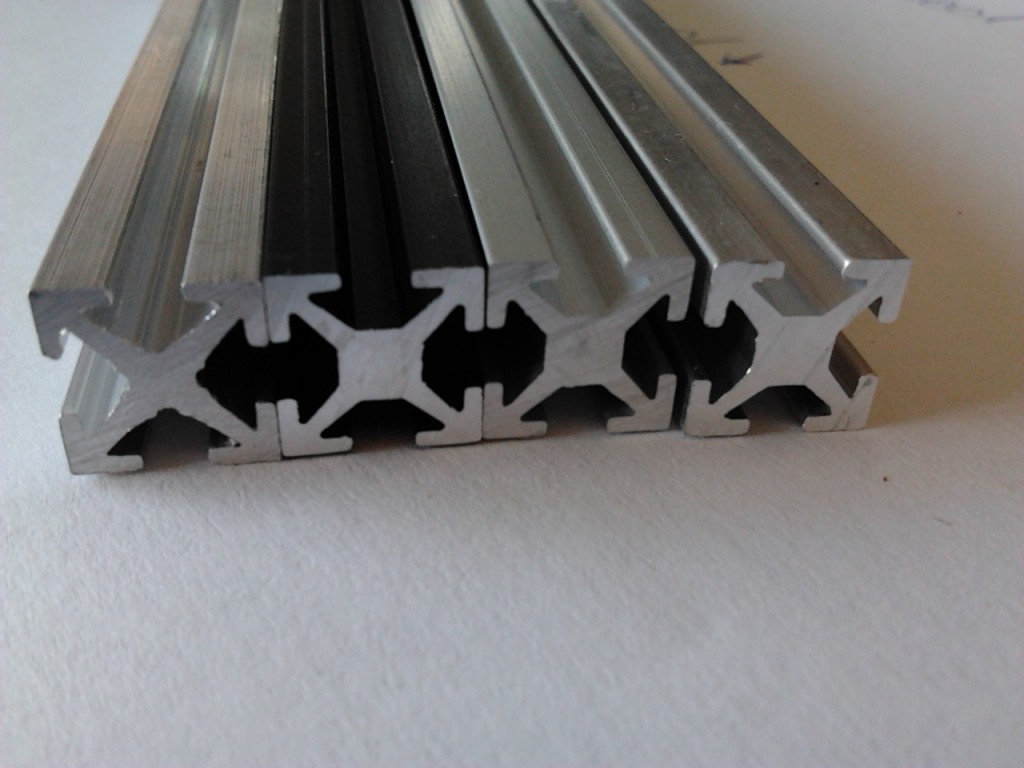
MakerBeam version 2.0 original, black anodised, blank anodised, non-anodised

Team MakerBeam.eu

MakerBeam knee joint by Sean Reynolds

The MakerBeam knee joint video shown here is the first in a series of cSprings videos Sean Reynolds put online. A project page is to come but in the mean time you can find a couple of videos  under his YouTube channel.

httpv://youtu.be/EPOEfrlR3uI

You should definitely see the other videos as well. They are great and very interesting. We of course love them because of the use of MakerBeam! I chose this video because at first glance it shows a simple setup.

It is a good example of MakerBeam as rapid prototyping tool. The added equipment, like the spring and hinges, make it clear you can add lots of things yourself. In the video an Arduino processor is driving the best servo on the market with a 5-20 lbs spring for flexability on the MakerBeam skeleton. MakerBeam provides the basics and you can build from there.

Team MakerBeam.eu

MakerBeam as a tool

We always love to receive pictures or video material.

Here is a video and story by MSquare.

httpv://youtu.be/hw6dS4NsWYg

on 12-02-2012 Msquare wrote:

Attached a few snapshots of, not so much a project, as a short-and-quick tool: I needed to wind a handful of electromagnetic coils. One motor to turn the coil, and something to move the winding wire to-and-fro so the wire is densly packed. I have plenty of spare motors and other stuff .. if only I could get something to hold them in place that was simple yet effective…? ! Yes- The new Makerbeam stuff!

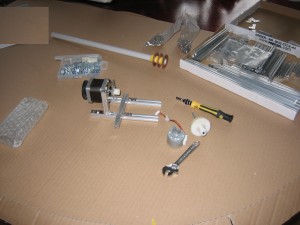
The first picture shows the first evening (an hour or so) mounting the first stepper motor. Pure Makebeam stuff.

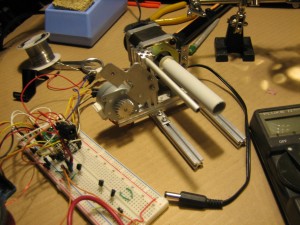
Then the second motor was mounted and for that I cut a little aluminium strip and drilled a few holes. The plate was attached to a makerbeam using the usual screw/nuts.  Although I prefer to keep my Makebeams “unharmed” so they are resuable, “the exception proves the rule”: So I drilled a 6mm hole in one makerbeam, which made an aluminium tube/axel fit very snugly. (no additional screws required. It wont budge). It only took a handful of hours (this weekend) – and it is the best piece of mechanical infra structure I have made for any of my projects. That makes me a very happy Makebeam owner.

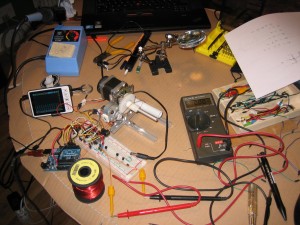
The last picture shows a truism of most (of my) projects. They are a mixture of Mechanics, Electronics, and Programming. So the Makerbeam bit, although as essential as the rest, is just one part.  It is not quiet finished yet. It needs to prove itself. The software needs a tweak or two and something to hold the other end of the coilcore.

Kind Regards,
Msquare

Hex nut drivers regular and small

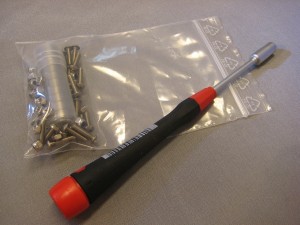
We think hex nut drivers are crucial in working with makerbeam. To get started you need a hex nut driver. To make one available at a better price we added a small hex nut driver to our shop. We also added this small hex nut driver to our new Smaller Beam Starter Kit. It is cheaper, but still offers everything you want to get started.

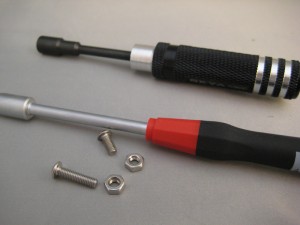
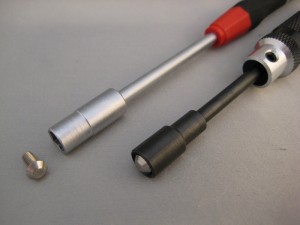
The small hex nut driver works well with our standard M3 6mm screws that are part of a starter kit. Unfortunately it does not work well with our new longer 12mm bolts.

On the left you can see that our standard 6mm MakerBeam bolts fit right into the small hex nut driver. On the right you can see the 12mm bolt is just to big. It sticks out and therefore it is not possible to completely tighten the bolt.

Something to remember when you are interested in our bearings. The bearings come with 12mm screws. If you want to work with our bearing than you need another hex nut driver. We then ofcourse recommend our regular hex nut driver!

Team MakerBeam.eu
Buttons to suit MakerBeam 2

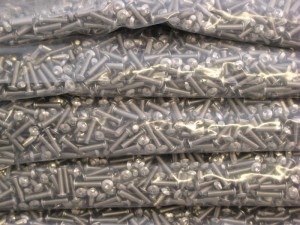
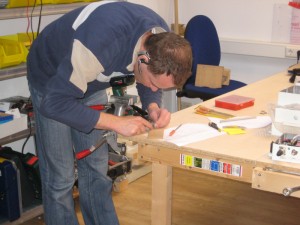
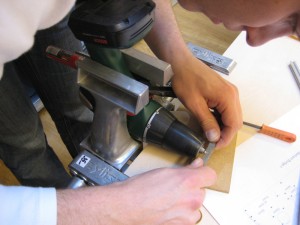
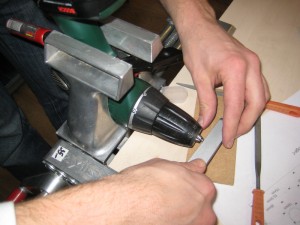
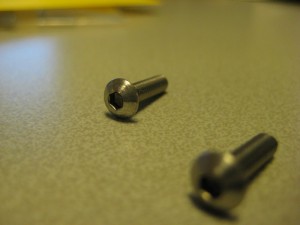
We already had a blog post about the difficulties with our quest for good fitting 12mm, M3 bolts. We thought that finding other lengths – other than the fitted 6mm M3 MakerBeam screws we offer – would be easy. Unfortunately this has proven to be more difficult. Not all screws fitted in that nicely. We now have resorted to actually grinding the screws to fit, one by one.

We had a limited number of screws that actually fitted.  Or fitted at least three parts of the makerbeams. They are now all gone. Understandably the grinding of the screws to fit, one by one, is not a durable solution. For this reason we will reduce the number of screws we pack with our bearings from 12 to 10 pieces.

We are making good progress with an affordable custom made solution (thank you Andy!!). We hope to be able to offer you these new screws in the new year. We then also hope to pack more screws again. Remember we went from 15 to 10. Ofcourse we will keep you posted.

Team MakerBeam .eu

MakerBeam & The Latest in Hobby Robotics

On 18 November Frits Lyneborg of Let’s Make Robots fame posted a video featuring MakerBeam (after 2:43).  Now it has almost been a month since his video ‘3D Carver of Invisible Stuff’ came online on the Make Magazine blog. And what a month it has been for a small webshop that is trying to build a name! We were overwhelmed by the demand that followed this video. The MakerBeam Starter Kits were flying of the shelfs that week in mid November.  It was awesome!

httpv://youtu.be/qczLVOGbdtw

Ofcourse we were pleasantly surprised. We had our worries too. We were contemplating to order a new batch just before. That week we knew we had to order.  We tried to speed things up but there was a moment we were looking at almost empty boxes.

Luckily we had ordered longer beams before. We knew there was a demand for the 900mm beams. There were some people that even had requested this length. We were really happy these arrived. Meanwhile we also had to order bearings, eye plate kits, cap nuts and more.

Shortly after, the batch of beams we ordered arrived. With this arrival we were almost fully stocked again. Only the production of shorter beams (<150) was  delayed and so we created a Longer Beam Starter Kit.  It has proven to be a good substitute for some people or even more to their liking.

And the regular starter kits? We just have to wait a little longer. We still do not have a set date yet for the arrival of the shorter beams. The manufacturer expects them to have them ready before the holidays. Then they need to be shipped to us. We hope to be able to ship the starter kits early in the new year.

Team MakerBeam.eu
MakerBeam in a box

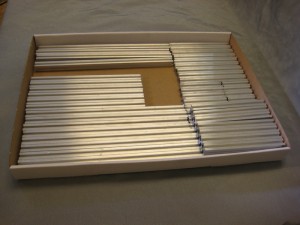
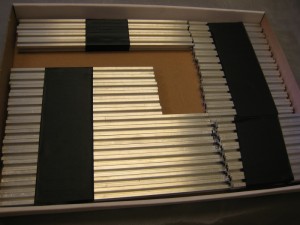
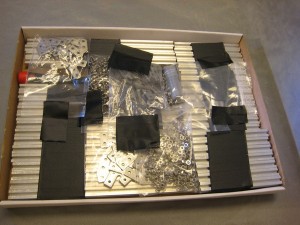
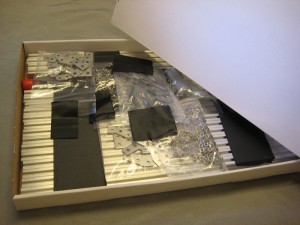
Do you send the starter kit in a storage box as shown in your demo kit posts we were asked. The answer is we do not. In order to ship the starter kit as an envelope we chose to pack the starter kit as neatly as possible. We want to ship the kit in an envelope because it really helps to keep the shipping cost reasonable. Especially since we want to ship MakerBeam throughout Europe. First we used cardboard envelopes to pack the starter kit. Now we have boxes with a lid that still fit a post box.

We find they look a bit better than the ones we used before. For the kit to arrive safely we need to keep everything in place. Padding material sometimes raises the lid a bit making it bulkier. This could prevent the package from fitting a post box. Since this is the most important requirement for a package to be shipped as an envelope we want to avoid that. We use gaffer tape instead. It does not really look nice but certainly does the trick and does not leave any sticky residu. Very important! Here is how it looks like. Pictured are a starter kit and a little extra: a hex nut driver and a package of bearings. This still all fits.

Team MakerBeamEU

Buttons to suit MakerBeam 1

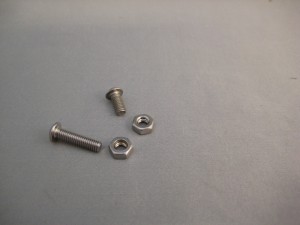
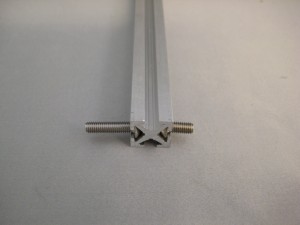
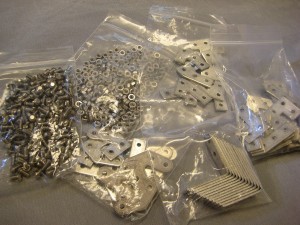
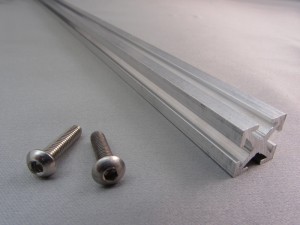
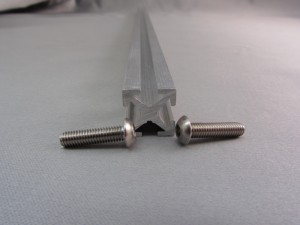
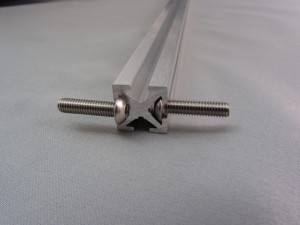
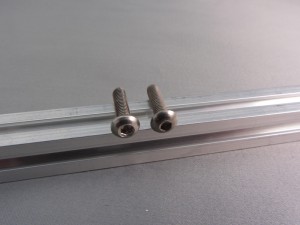
MakerBeam offers fitted button head screws with the Starter Kit. They are 6mm length M3 screws and especially made to fit the MakerBeam profile. Since MakerBeam is made to fit M3 we thought that finding other lengths would be easy. Just take some M3 button head screws and slide them into the MakerBeam profile. Unfortunately this has proven to be more difficult. Not all screws fitted in that nicely.

After some trial and error we thought we found the distributor with just the perfect screws. Socket Button Head Screws, M3, 12mm length. The screws we need to fit our bearings. We had some packages from one batch and one from another batch. And yes, you probably guessed it by now, these screws from a different batch did not match. Aaarghhh!!

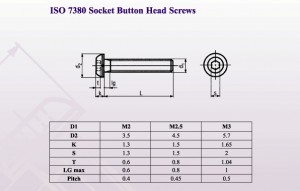
We thought the problem was with the manufacturer not accurately applying the DIN standards. M3 socket button head screws adhere to DIN standard 7380. This standard stipulates meticulously most features of a M3 screw. But not all we found. The DIN standard does not stipulate the curvature of the button heads. That is what is the most critical for the MakerBeam profile.

We now have a limited number of screws that actually fit. For this reason we will reduce the number of screws we pack with our bearings from 15 to 12 until we have found a more durable solution. Right now we are working on an affordable custom made solution. Of course we will keep you posted.

Team MakerBeam.eu

X-Y carriage

James Hardiman made a x-y carriage using MakerBeam and the bearings we sell through our webshop. It is the world’s first MakerBeam x-y carriage. Or so we think. Let us know if we are wrong.

httpv://www.youtube.com/watch?v=asl5LT2QF_U

The design looks good. We do have some comments though.  Here the bearings are on the inside of the frame. If you put them on the outside there is more space for the frame to move. Also if you use three bearings in one dimension it is stable. Then a single beam would be stable  and you do not need a frame to realise stability.

James Hardiman is working on a book about 3d printers. He is also looking into the power of making. What is happening with 3d printing, homemade cnc machines, sites like etsy.com and makerfaires in various places is sometimes referred to as the industrial revolution 2.0 or micromanufacturing.

Johan and James met each other in the Netherland at ProtoSpace, the fablab in Utrecht. There Johan handed James a MakerBeam starter kit. The x-y carriage is James his first serious MakerBeam project in connection with his book on 3d printers. We love the initiative. Thank you James!!

Team MakerBeam.eu