Business and pleasure: Hannover MakerFaire

For us the MakerFaire started with this picture online, see below.

We were preparing a family visit to the Hannover MakerFaire.

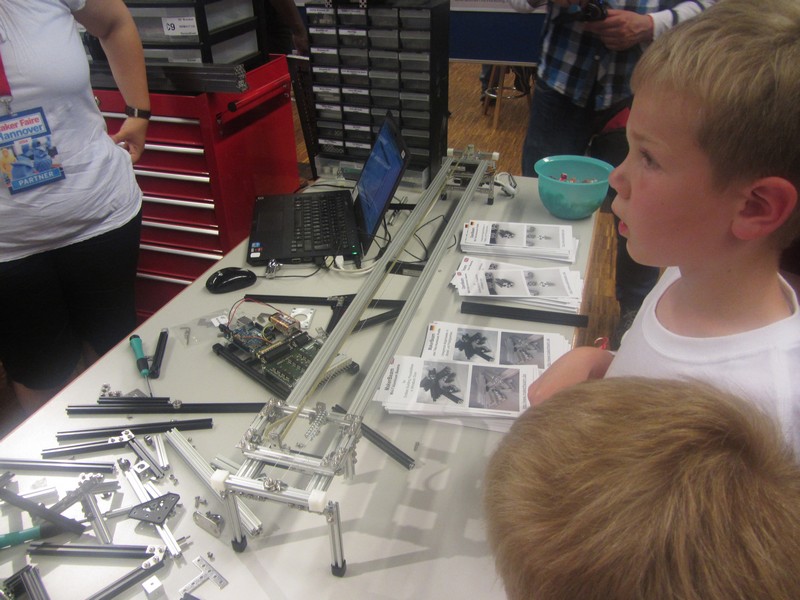
MakerBeam was represented at the MakerFaire in Hannover by Chartup.
Thank you Anton!!

Saturday July 5th Johan travelled to Hannover to visit the Hannover MakerFaire. Since MakerFaires are fun for the whole family I followed later with our boys.
On Saturday he would focus on business. Sunday was scheduled for the pleasure part.

Preparing the business part.

Some impressions of the pleasure part.

Chartup with MakerBeam and OpenBeam in Hannover.

Elsie was a big attraction!

We had a great trip and wonderful days. Loved it!

Author:
Marlies de Stigter
Team MakerBeam

Review – Corner Cubes

Introduction
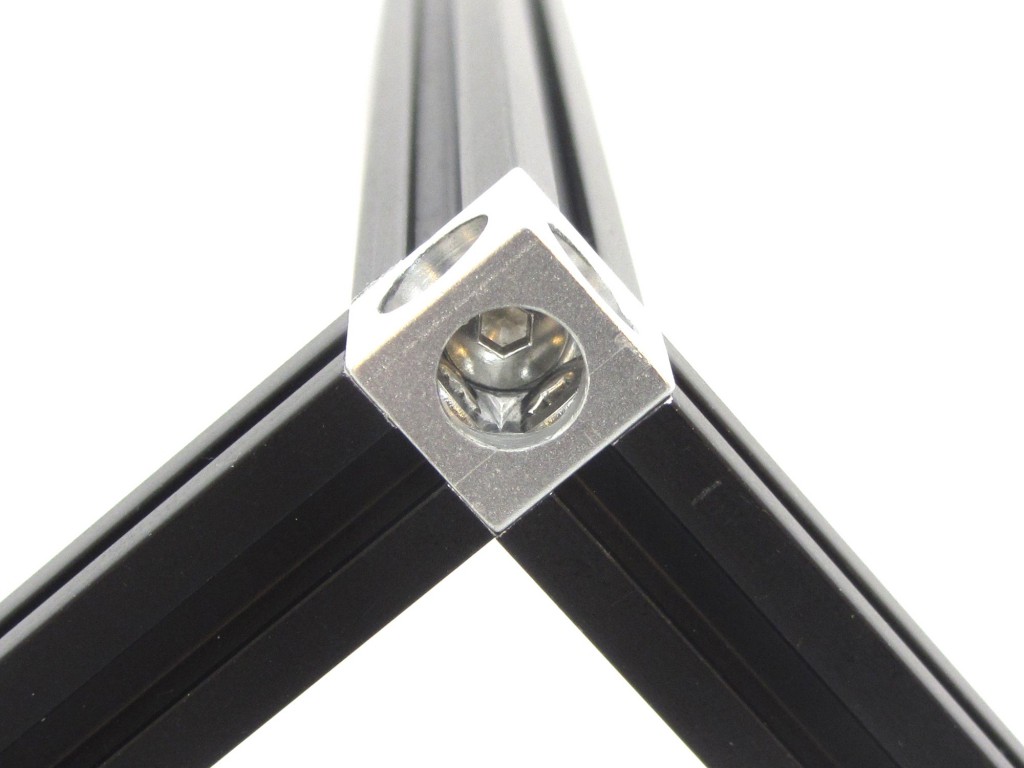
Everyone of you who already used MakerBeam knows how difficult or rather time consuming it is to construct a corner out of three beams. Beside that, it costs a lot. You need up to three L-Shaped brackets, 12 bolts and 12 nuts. A new product solves this issue. It is a so called ‘Corner Cube’: a single piece of aluminum and three screws.

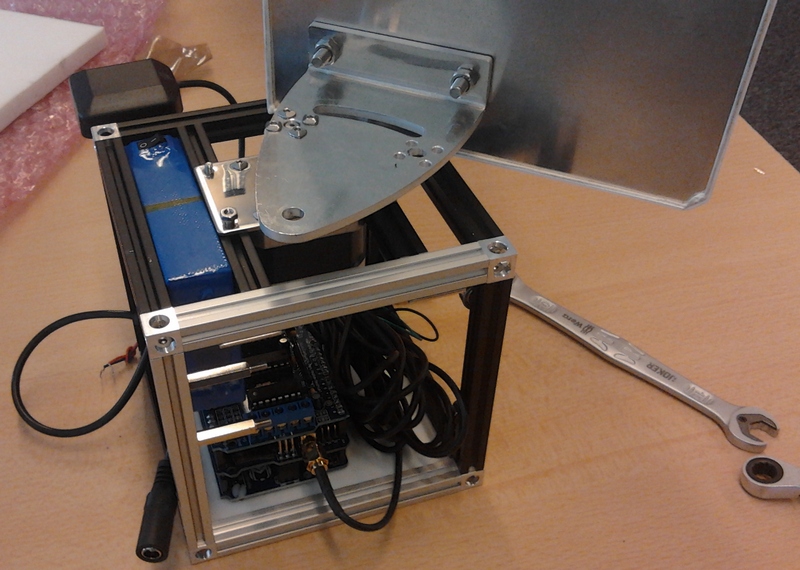
The biggest advantage of this new product might be that you can finally construct cubic corners. With the old method, using the L-Shaped brackets, you could not construct a cube as one beam was always “sinked” into the other. The new Corner Cubes connect the beams at their faces and therefore it becomes possible to create cubes as shown in this picture below.
Stability
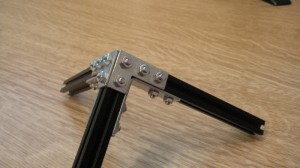
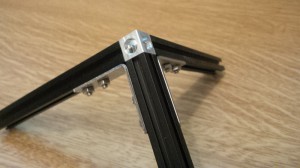
Let’s start with the most obvious factor, stability. So far, we have all been used to the flat brackets which are screwed onto the beams with two screws per beam. The resulting joint provides a very stiff connection, see left picture below. It is obvious that the Corner Cubes will not provide the same joint strength due to their different design. However, our tests showed that this will not be of any issue for most applications. If required, the connections can be reinforced using the 90° corner brackets as shown below to the right.


Precision

This point is probably not that obvious at first, but after some thinking it becomes clear that the precision of the cubes themselves and especially the tolerances across different cubes matter a lot.
We have taken some measurements and the results were quite satisfying. From 12 cubes, we’ve found none that had difference from side to side larger than 0.1mm. A comparison between the dimensions of the 12 cubes lead to the same result: they are all equal to each another within a tolerance of 0.1mm.

Compatibility
The Corner Cubes only work on the new MakerBeams which have a threaded hole at each end. Therefore they can not be used with your current set of MakerBeams unless you have the tools to make a hole and wire tap the ends yourself.

This is also a limiting fact when it comes to custom sized beams. As the threaded center hole at the end of each side is not continuous, you also have to bore a new center hole and cut a thread yourself. However, only few people might have the tools and the knowledge to do this. Good thing that you can still use the old method!

Costs
Finally, let’s take a more detailed look at the costs. As mentioned earlier, you need quite a lot more pieces to build the traditional corner.

COST COMPARISON CORNER BUILD
Corner Cubes 90º L-brackets
Piece Price Quantity Total Piece Price Quantity Total
Cube 1,06 1 1,06 L-Bracket 0,65 3 1,95
Bolts Included Bolt 0,06 12 0,72
Nuts Not needed Nut 0,03 12 0,36
TOTAL 1,06 TOTAL 3,03

A traditional corner costs you €3,03. Compared to the €1,06 you have to pay for a ‘Corner Cube’ corner, that is quite a lot! Note: You can use just two 90° brackets to create a corner but then not each beam will be connected to both others.

Conclusion
The Corner Cubes do not only make it possible to create cubic corners, they are also about three times cheaper. Should you already own the new MakerBeam with the threaded hole at the ends, the Corner Cubes only drawback are the lower stability compared to the traditional method. However, it is possible to use the 90° corner brackets to reinforce the construction.

Author: Joel Bodenmann of B-Electronics

MakerBeam Corner Cubes – micrometers matter

The corner cubes arrived yesterday (May 15), late in the afternoon. While I was excited, made a few packages and started emailing customers, Johan tested some cubes and was not entirely pleased. What he discovered is that micrometers matter.

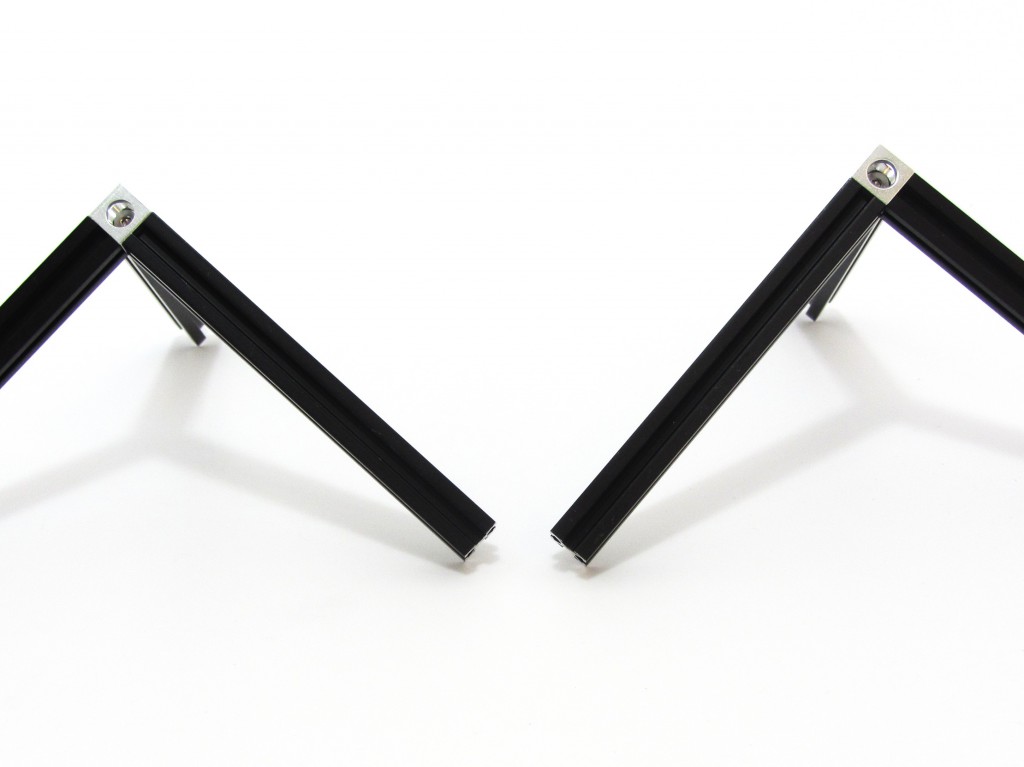
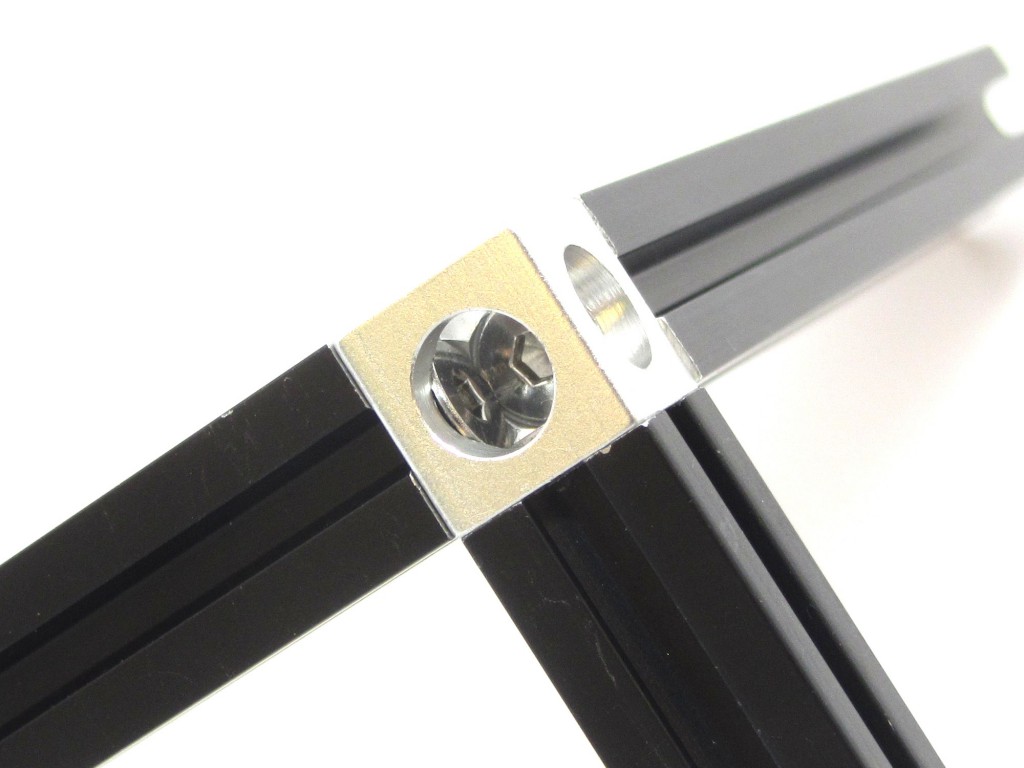
Notice the difference? Cube on the right shows a bit more shadow round the countersunk bolt as it should.

It looked like the special countersunk bolts did not sink as deep in the cube as should. First there was a sense of disbelief. The corner cubes are from the same manufacturer where we ordered our first batch from. Only for this batch we opted to have the cubes anodised.
Then we thought it maybe was a flawed screw. The particular screw used in that instance had an extra rim as Johan noticed. Other screws in the pack looked fine and tested fine, or did they?

Using a hex key driver and some force they looked okay. At that point we did not know whether it was this flawed screw or whether these cubes are different. Ever so slightly different and with the naked eye hard to identify. Especially in a hurry since I wanted to ship out backorders!
Later that evening we did some more testing and found that this batch of corner cubes is indeed different. The bolts do need sink in as deep. We are talking micrometers here. Here is a picture below.

Bolt on the right did not sink properly making it even more difficult for the bolt on the left to sink in.

We contacted the manufacturer. They are not to blame here. The difference is within their tolerance. There is a little room left. We made new drawings and are working on producing a new batch. Meanwhile we are thinking of reworking these corner cubes, 4000 pieces!

Johan did some testing on that as well. Here is picture with a reworked cube.

Bolt right and centre show the space that is needed for the bolts to properly sink in.

So for now it is back to the drawing board. Hope to have new, excellent, cubes here as soon as possible!!

p.s. The corner cubes were reworked and are back in stock.
We also worked on resolving the problem in the next batch. (20140613)

Author:
Marlies de Stigter
Team MakerBeam

Bracket design

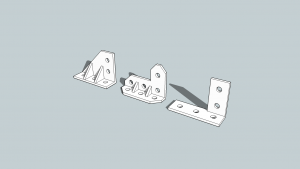
In november 2013 a guy called Aleksandr sent us an email asking our input for a design problem.  He sent us an email with some Sketchup pictures laying down the problem. He also made some sketches of possible solutions.
The brackets he proposes will not be taken into production, but the sketches are great to discuss here.  They clearly demonstrate a design problem we often encounter with MakerBeam. In working on our stepper motor brackets for example we encountered the same problem. The problem in short: MakerBeam is definitely small in size!

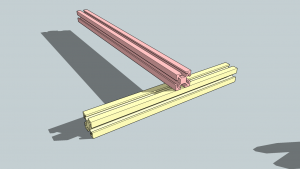
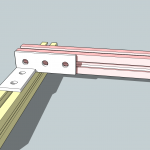
First the problem Aleksandr had. Aleksander wanted to connect beams crosswise, see below.

Beams to connect crosswise.

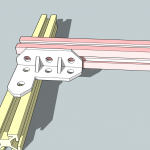
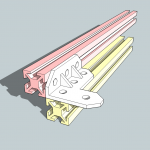
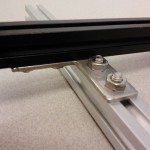
He also made pictures of possible brackets that will solve this problem. He was thinking of what looks like a combination of the 90 degree bracket and the corner bracket. We could see his problem. We could also see that this problem could be easily solved by our right angle bracket. Back then we just had received some samples. This helped to explain Aleksandr we were working on a solution. You can see his drawings below and a picture of our solution at the far right.

The brackets suggested by Aleksander make clear it is not easy to create brackets for MakerBeam. Here is an overview of his suggestions.

Suggested corner style brackets

What is not immediately obvious from these drawing is the problem of space. The corner style brackets leave no room a nut driver. Or, since you do need a nut driver, it is better said they leave no room for the bracket itself.
Let’s do the math. The diameter of the nut driver is 8mm (nut outside dimension: 5,5mm). The width of the beam is 10mm. This leaves for ony 1mm of space on both sides for the material. This is too thin for metal to make a strong corner connection.
The diameter of the screw by the way is 2,8mm (M3).

The right angle bracket is a much simpler solution. It is now available in our shop. Here is a link.

Leaving room for a hex nut driver is something that is overlooked in a number of bracket designs we received. We love to hear ideas regarding brackets and are always looking forward to receive new ideas for brackets.  Or for other products suited for MakerBeam (and OpenBeam) for that matter. If you think of designs remember MakerBeam is a wonderful small and lightweight product with the emphasis on small!

Team MakerBeam

New MakerBeam products: Wing type bolts and Hinge bearings

Wing type bolts and hinge bearings: available in our webshop as of today.

Wing type bolts
On our wish list it still read ‘wing type bolt’.  The possibility to slide in a bracket midway between brackets already fastened was our aim.

When fastening a bracket to a beam the square headed bolts need to be slided into the beginning of the beam. This is not a problem when your project is all clear and you know exactly what you want to fasten. But when you decide to add brackets between other brackets you need to loosen and remove a bracket before you can add another one. This is time consuming and our wish was to come up with a bolt that would make it easier to add screws to an almost finished structure.

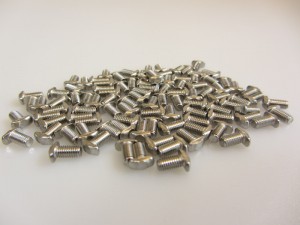
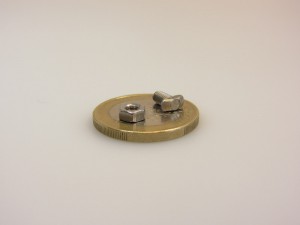
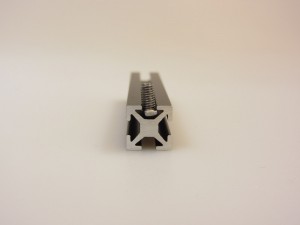
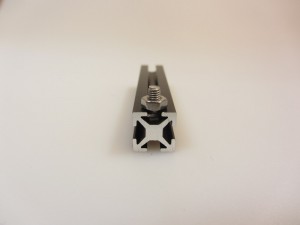
We’re happy to introduce the wing type bolt: the rectangular screw head of the wing type bolt gives the possibility to add screws midway. You can insert the screw midway of a beam and turn it  to ensure tightening. This  makes it easier to add brackets.

The wing type bolts come in a bag of 100 pcs and cost € 8,13.

Hinge bearings
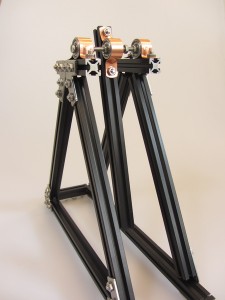
We came up with hinge bearings to extend building possibilities. Hinge bearings make it possible to rotate 2 beams relative to each other. You can use the standard bearing to have beams rotate around a fixed point or axis. Making a miniature trebuchet now is possible!
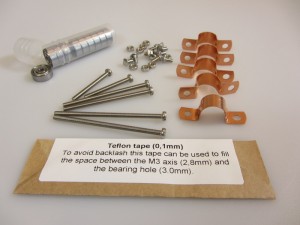
Hinge bearings are an assembled product consisting of
– Bearings (10 pieces)
– Copper saddle band clips (5 pieces)
– Axes (6 long bolts in 3 lengths: 3 cm, 5 cm and 6 cm)
– Teflon tape (18 cm)
– Square headed bolts (10 pieces)
– Nuts (10 pieces)

Hinge bearings cost €17,50.

We plan to include a manual to the hinge bearings soon.

Team MakerBeam.eu

Brackets for servo motors and micro stepper motors

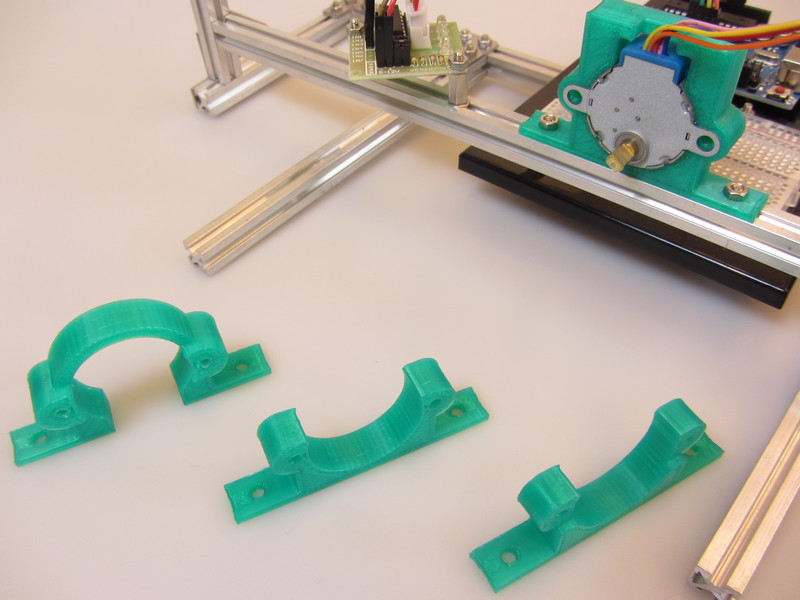
It is a fact the NEMA 17 brackets are in demand. What about servo motor brackets and brackets for micro stepper motors? We wanted to give it a try. Pieter Bos (@pieterbos) gave us a way out. He is the guy that makes our 3D printed end caps. 3D printing is a fun and easy way to try new ideas and 3D printers are very popular with makers. Why not have more 3D printed parts for sale in our shop? We asked Pieter and he started prototyping. You can see the steps he made in the picture below.

The first idea was to completely encapsulate the micro stepper motor. From there it went to the lean figure on the right. This design, printed in black,  will go on sale soon. They are printed in PLA – polylactic acid.

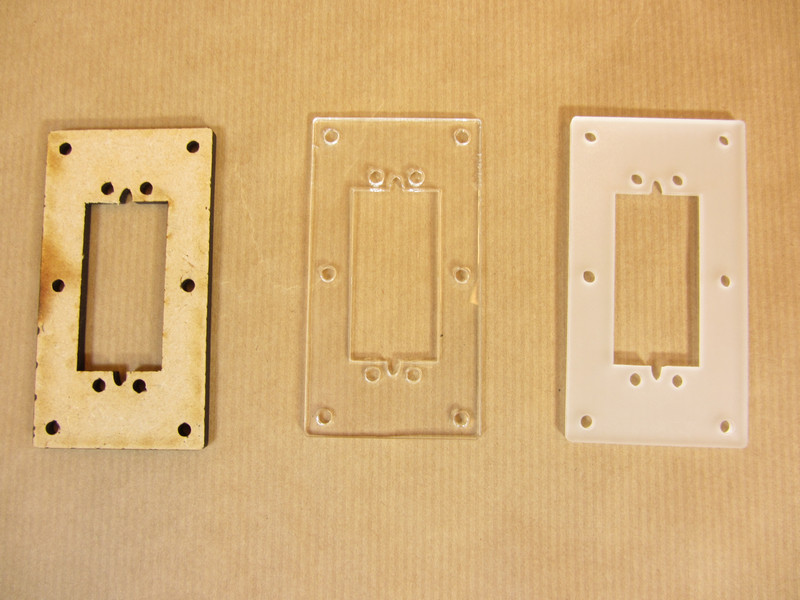
With the servo brackets we dismissed 3d printing but thought of laser cutting. This posed no problem for Pieter. He made some brackets and tried different materials.  From left to right: MDF, transparant perspex and finally opaque perspex (or polymethylmetacrylaat). We liked the last one the best. This one will go on sale soon.

Team MakerBeam.eu

NEMA 17 bracket update 3

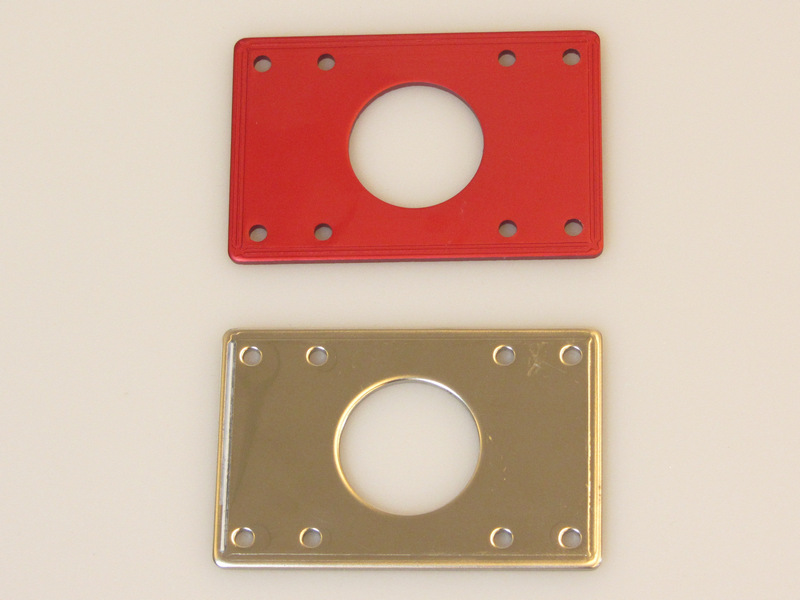
We ordered stainless steel NEMA 17 brackets. The samples came in and we were really pleased with their look, the polish and the MakerBeam artwork around the bracket. There was a surprise as well. Our manufacturer had added some aluminum anodised brackets in various colours. We thought the red bracket looked great. They go very well with our clear and black anodised beams. Below you will find a picture of the two.

A delivery time will be announced on our homepage soon.

Team MakerBeam.eu

NEMA 17 bracket problems update 2

Good news and bad news. The good news is that we ordered lots of MakerBeam NEMA 17 brackets made of stainless steel. The bad news is that we have to wait a while because of Chinese new year. We expect this new batch early March. We will post a message on our website as soon as they come in.

When we published the last update concerning the NEMA 17 brackets (end November 2012) we thought our NEMA problems were over. Good quality NEMA brackets for a good price! Unfortunately this did not prove to be durable solution. We were unable to order a second batch with this European manufacturer.

At this point we knew that the second manufacturer we had approached earlier (also European) was unable to deliver the NEMA brackets he had invoiced. Exit this manufacturer as well.  Now we knew we had to go find a manufacturer all over again.

It was then we the manufacturers we already have a good relationship with – those who we order the parts for our starter kit from – came back with good offers. We decided to go with our Asian partner.

Our wish for the new year – Chinese or other – is to have a hassle free supply, stock and sale of NEMA 17 brackets!!

Team MakerBeam.eu

Starter kit content

We improved the content of the MakerBeam starter kit!

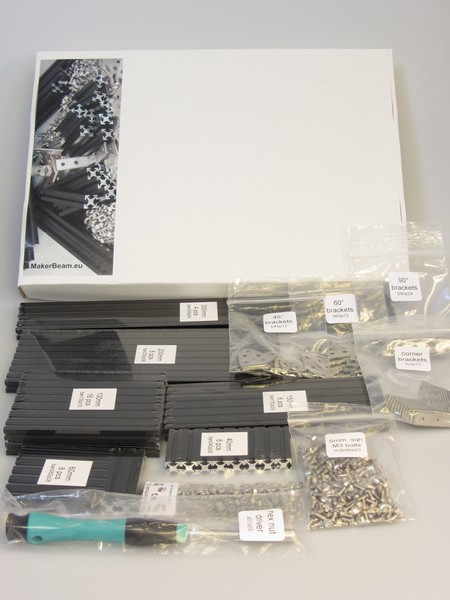
First, we decided to add a hex nut driver to every starter kit as a standard part of the kit. We feel with this the starter kit is a more complete product. The hex nut drivers we had were very expensive (wiha pico finish) or less effective (the small hex nut drivers). Now we have the best of both worlds with the our new hex nut drivers. One MakerBeam hex nut driver will be added to every starter kit from now. Important to mention is that the price of the starter kit remains the same!

The other improvement we made concerns the bolts. There was a blog post about new bolts recently. In that post we blogged about having received samples of square headed screws. We thought it would take a while before we would receive bags of this type of chamfered square headed bolts. To our surprise we have them here already! From now on you can find a bag (+/-250pcs) of these bolts in every starter kit instead of the ‘old’ 6mm bolts.

The screws with the serrated head bottom will be on sale for a while to come.  In our opinion the square headed screws are the better option for our starter kit. We had good reviews about the serrated type screws, but the square-headed screws will end any occurrence or suspicion of occurrence of problems with tightening once and for all.

Soon to come is a leaflet we are working on. We are also working on new products (brackets for bearings for example) and there is more to come ….

Team MakerBeam

MakerBeam.com

Sam Putnam was the one who came up with the idea of MakerBeam. You can find his story on Kickstarter. He thought of all the measurements, bracket types, quantities etc. and had the first batch made.Johan here thought it was a very good product. He backed Sam his Kickstarter campaign. Unfortunately Sam did not take his idea further. The next step, a website: makerbeam.com, remained ‘under construction’ for about three years. In 2011 we created the webshop makerbeam.eu and made makerbeam available here in Europe. We are happy to announce that MakerBeam.com is officially in our hands.  It is no longer under construction and redirects to makerbeam.eu.

We innovated the beams and we are planning to innovate the website as well.  MakerBeam.eu will pretty much stay as it is. We will renew our webshop on the Makerbeam.com address. So… we will try to avoid it but maybe you will stumble on an ‘under construction’  notice on the .com website again this year. Sorry!!!

Team MakerBeam.eu