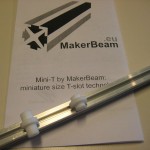
OpenBeam – another addition to the family

Everything makerish and beamish – and this new post is definitely beamish. On Kickstarter there is a new and exciting new project to back. OpenBeam – An open source miniature construction system.

OpenBeam looks like  a great addition to what is already on the market: Microrax and of course MakerBeam.

We love it because is addresses the problem we came across. Since the MakerBeam profile uses the M3 standard we had hoped M3 bolts available in any hardware store would do. As mentioned in our blog posts (1, 2 and 3) we could not find a steady supply of M3 bolts. We got lucky on a few occasions, but finally we had to resort to making our own 12mm MakerBeam bolts. Nice as this sounds it is not what we aspire. It is great that OpenBeam tries to resolve this.

It is also the reason why we are currently working on MakerBeam version 2.0. The first samples are in and look promising. The freedom open source gives people is great.  We would love to bring OpenBeam overseas as well when time comes. There are a lot of things still waiting to be made!
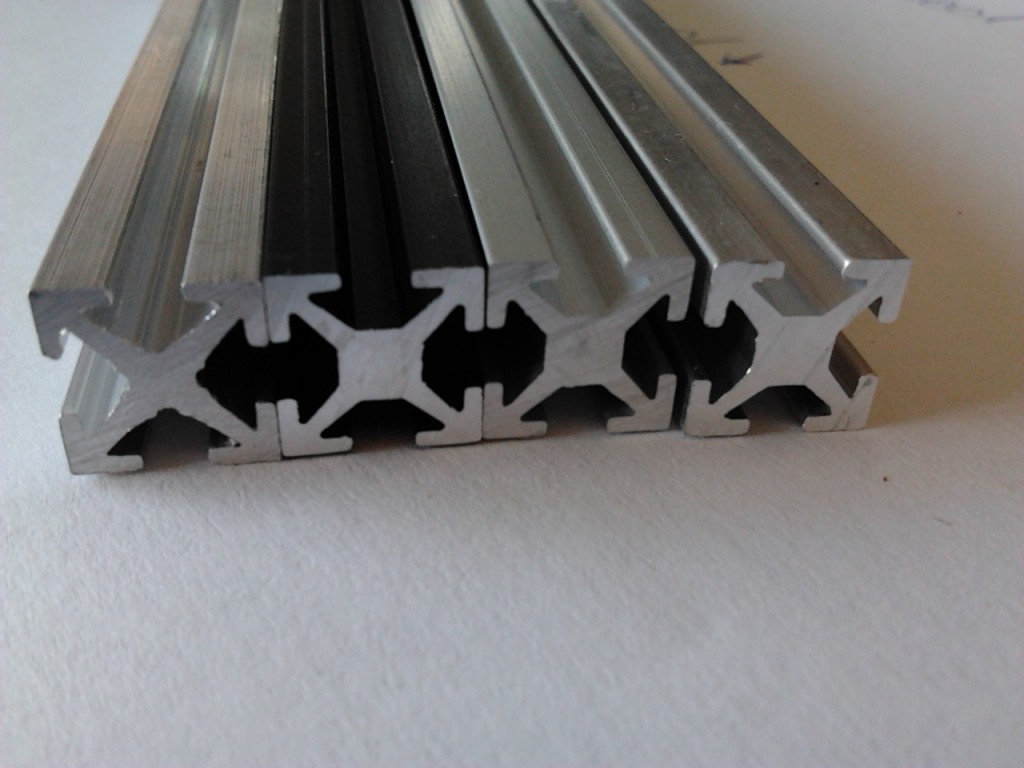
MakerBeam version 2.0 original, black anodised, blank anodised, non-anodised

Team MakerBeam.eu
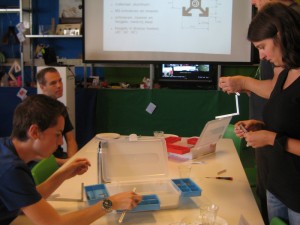
MakerBeam as a tool

We always love to receive pictures or video material.

Here is a video and story by MSquare.

httpv://youtu.be/hw6dS4NsWYg

on 12-02-2012 Msquare wrote:

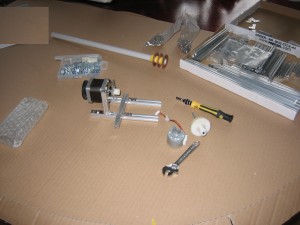
Attached a few snapshots of, not so much a project, as a short-and-quick tool: I needed to wind a handful of electromagnetic coils. One motor to turn the coil, and something to move the winding wire to-and-fro so the wire is densly packed. I have plenty of spare motors and other stuff .. if only I could get something to hold them in place that was simple yet effective…? ! Yes- The new Makerbeam stuff!

The first picture shows the first evening (an hour or so) mounting the first stepper motor. Pure Makebeam stuff.

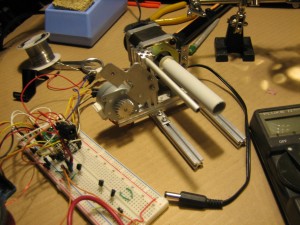
Then the second motor was mounted and for that I cut a little aluminium strip and drilled a few holes. The plate was attached to a makerbeam using the usual screw/nuts.  Although I prefer to keep my Makebeams “unharmed” so they are resuable, “the exception proves the rule”: So I drilled a 6mm hole in one makerbeam, which made an aluminium tube/axel fit very snugly. (no additional screws required. It wont budge). It only took a handful of hours (this weekend) – and it is the best piece of mechanical infra structure I have made for any of my projects. That makes me a very happy Makebeam owner.

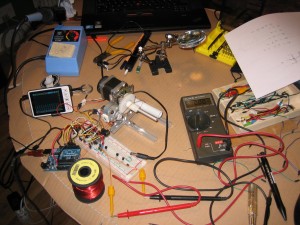
The last picture shows a truism of most (of my) projects. They are a mixture of Mechanics, Electronics, and Programming. So the Makerbeam bit, although as essential as the rest, is just one part.  It is not quiet finished yet. It needs to prove itself. The software needs a tweak or two and something to hold the other end of the coilcore.

Kind Regards,
Msquare

MakerBeam in a box

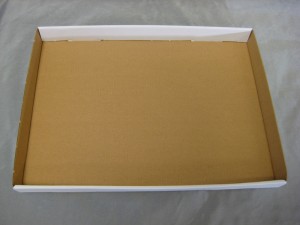
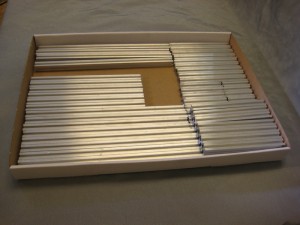
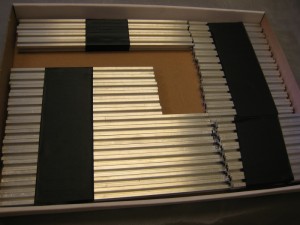
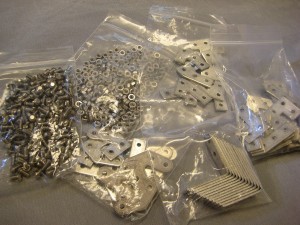
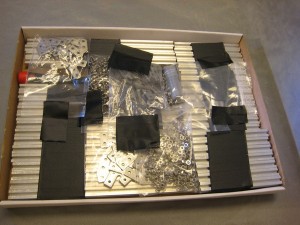
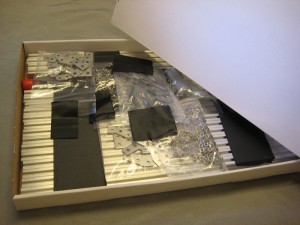
Do you send the starter kit in a storage box as shown in your demo kit posts we were asked. The answer is we do not. In order to ship the starter kit as an envelope we chose to pack the starter kit as neatly as possible. We want to ship the kit in an envelope because it really helps to keep the shipping cost reasonable. Especially since we want to ship MakerBeam throughout Europe. First we used cardboard envelopes to pack the starter kit. Now we have boxes with a lid that still fit a post box.

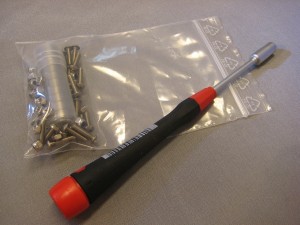
We find they look a bit better than the ones we used before. For the kit to arrive safely we need to keep everything in place. Padding material sometimes raises the lid a bit making it bulkier. This could prevent the package from fitting a post box. Since this is the most important requirement for a package to be shipped as an envelope we want to avoid that. We use gaffer tape instead. It does not really look nice but certainly does the trick and does not leave any sticky residu. Very important! Here is how it looks like. Pictured are a starter kit and a little extra: a hex nut driver and a package of bearings. This still all fits.

Team MakerBeamEU

Makerbeam meets Ultimaker

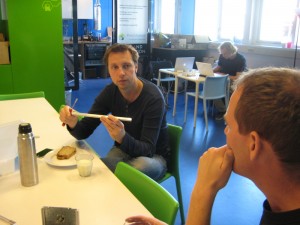
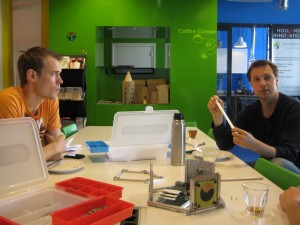
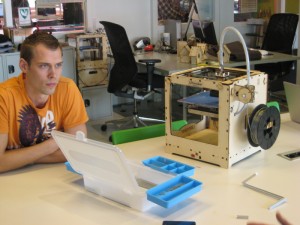
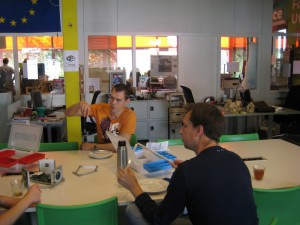
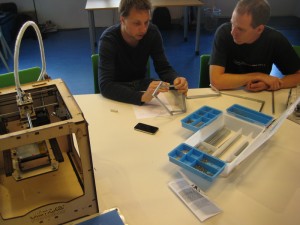
We are proud to tell you that one of our starter kits found its way to the guys behind Ultimaker, Martijn and Erik. It was a nice surprise discovering Erik had ordered a kit. Ultimaker works together with Protospace FabLab Utrecht. When they learned we would give a lunch lecture there it was real easy for them to attend. It gave us the opportunity to personally hand them a starter kit and to shake hands.

20110901 Ultimaker MakerBeam 120110901 Ultimaker MakerBeam 2

The relationship Ultimaker has with MakerBeam goes back a few years. A 3d print of a makerbeam was made some years ago. Back then it was just an open source hardware project paying the other budding open source hardware project a compliment. Today it was time for a more serious introduction.

20110901Ultimaker MakerBeam 120110901Ultimaker MakerBeam 320110901Ultimaker MakerBeam 420110901Ultimaker MakerBeam 7

The Ultimaker of course is in full production. The process of improving the production process is ongoing as well. Especially the production of the wooden framework takes up a lot of time. There is definitely room for improvement there. Could the aluminum Mini-T profiles of Makerbeam fit in? We talked about it and the guys of Ultimaker took their starter kit home. So who knows what beautiful combination the future will bring!

20110901Ultimaker MakerBeam 520110901Ultimaker MakerBeam 10

Team MakerBeam.eu
Lunch lecture ProtoSpace FabLab


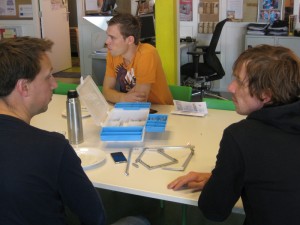
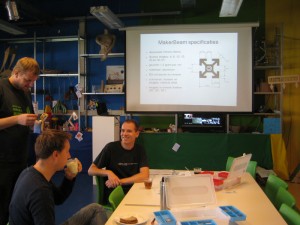
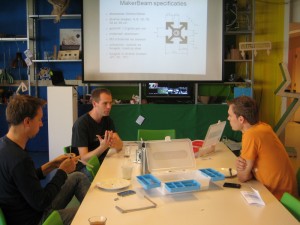
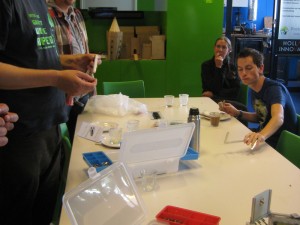
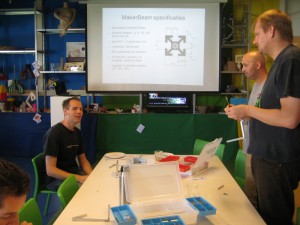
Thursday September 1st we were at Protospace FabLab Utrecht to give a lunch lecture and introduce MakerBeam there. There is a lunch lecture every month at ProtoSpace. The topics vary widely. The lunch lecture is a very informal meeting. For us it was a good opportunity to introduce MakerBeam to a small but interested audience. We left one kit behind. FabLab’s well filled toolbox now has a new addition.


20110901 protospace 1
Pictures were taken for the website of protospace.

A FabLab offers the ideal environment for prototyping. Johan hoped to work on the Wandy lux after the lunch lecture. That did not work out that day. Instead he worked on sheaves to fit our aluminum Mini-T profiles. It gave us information about what size and shape we want.  Now we are looking for sheaves we can buy of the shelf.

We feel that MakerBeam needs more accessories to truly make it irresistible material and are looking for accessories to complement the MakerBeam starter kit. We will keep you posted on this topic.

20110901 protospace 2
MakerBeam wants to roll

Johan his prototyping plan also did not work out because of a very interesting meeting we had with the guys from Ultimaker. In our next post we will tell you more about this spontaneous meeting of maker minds. It is this meeting what prompted the sheaves prototyping excercise.

Team MakerBeam.eu
 

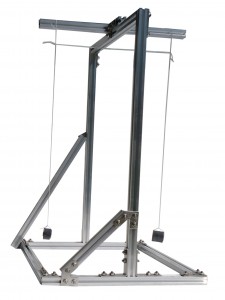
Coupled pendulum

The pendulum is a universal topic in schools. Understandably so since it is full potential for learning about physics. The coupled pendulum, or coupled harmonic oscillator as it is also known, may very well be the most important classical system. The basic behavior of such systems comes up over and over again in every branch of physics. The swing of the pendulums teaches about potential energy, kinetic energy and energy transformation.

More importantly it is fun to watch!

This  setup was made using makerbeam.

We hope to post new projects soon!

Team MakerBeam.eu