Pancake machine (2/7) – 3D printed pumps

Hendrik-Jan is a student who just started his bachelor studies in electronics September 2019. Hendrik-Jan made us a pancake machine.

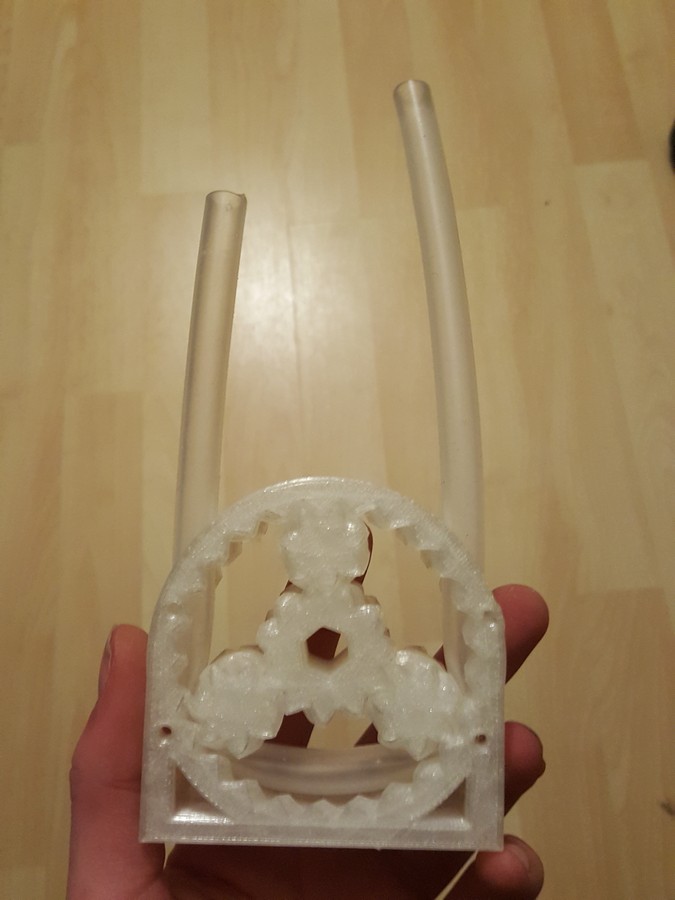
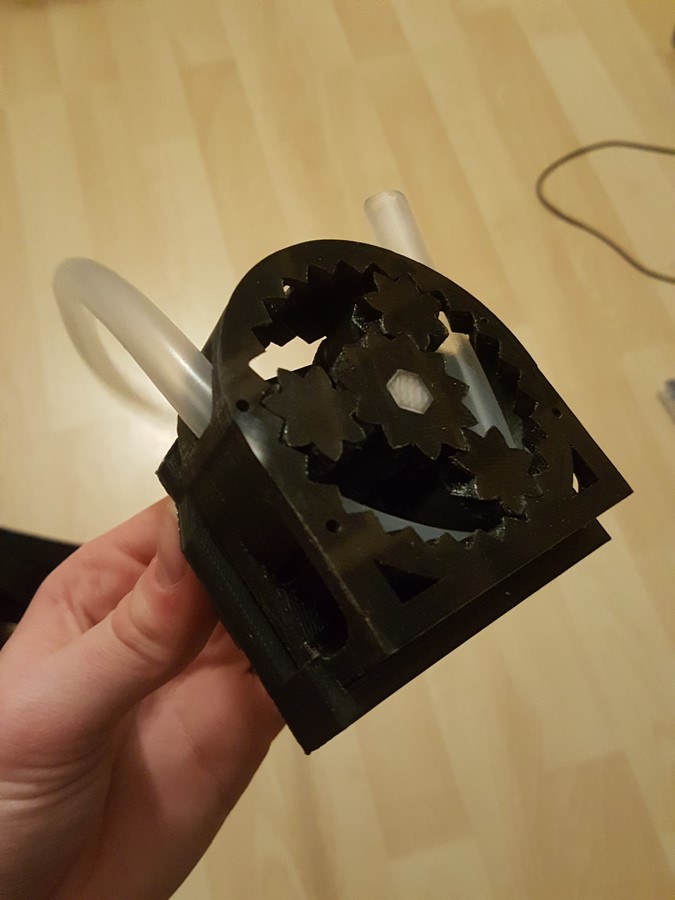
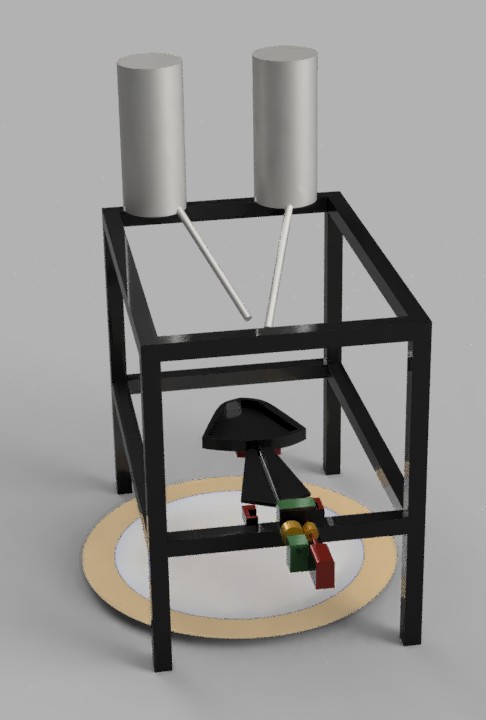
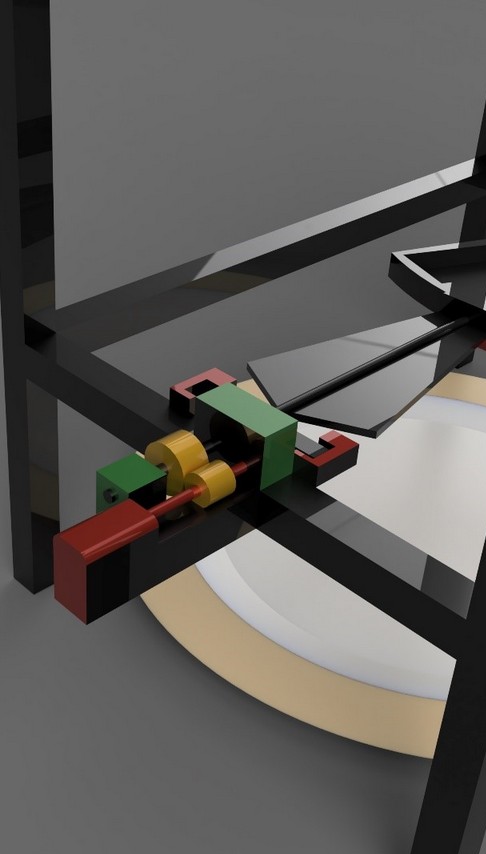
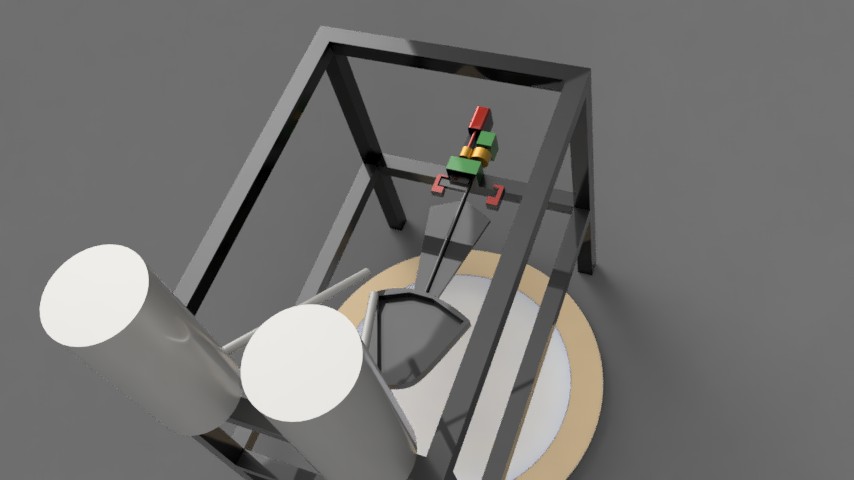
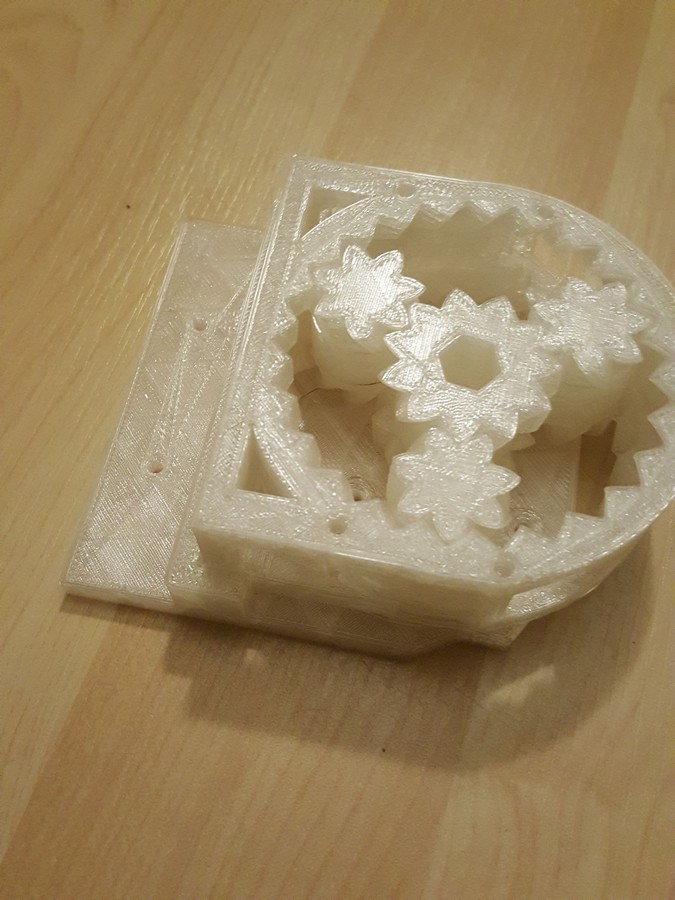
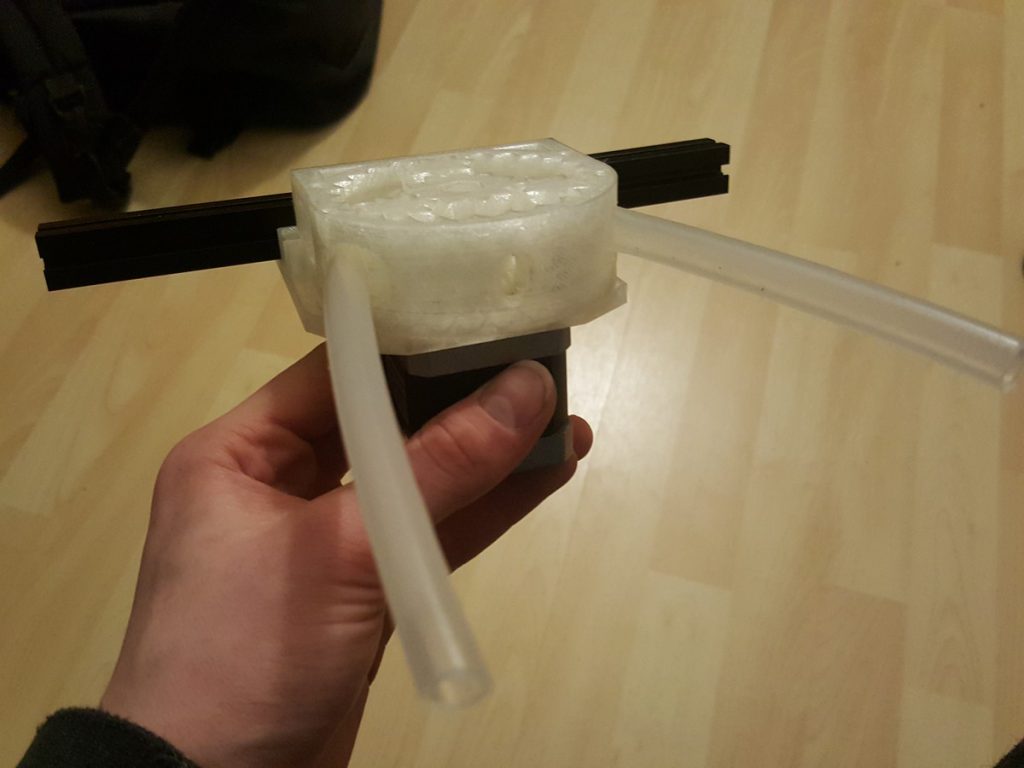
He first concentrated on creating the pumps to get the necessary oil and batter down to the pan. He created two 3D printed peristaltic pumps. Bigger sized versions from what Drmn4ea posted on Thingiverse. (Link: https://www.thingiverse.com/thing:454702 ). The gears and the body were altered, not just in size, but also to fit the tube in the pump. You can see his design here: https://www.thingiverse.com/thing:3885332. With a lot of grease added these pumps worked very well. See below for videos and pictures.

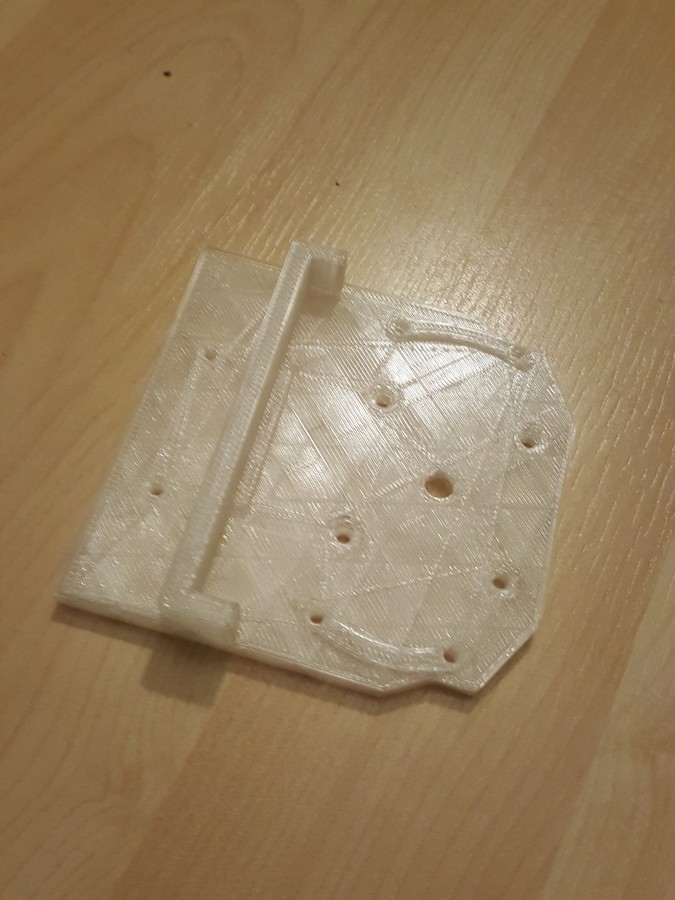
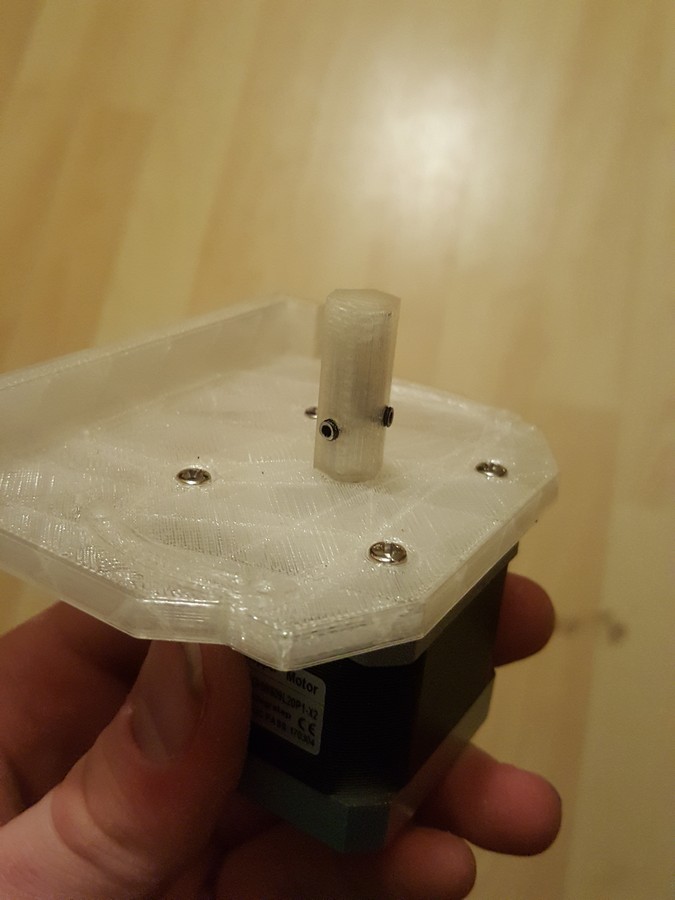
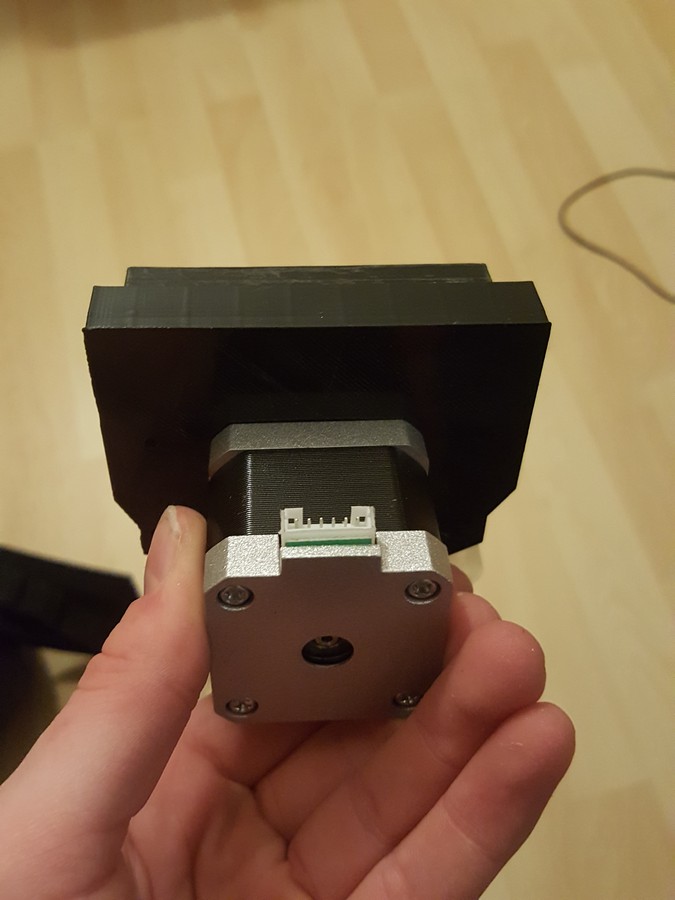
In order to fasten the pumps to the framework he created plates that could serve as brackets.

The use of MakerBeam profiles helped to divide all the different parts of the machine in separate projects. This meant Hendrik-Jan could focus on only one item, without really having to worry about the rest of the machine. All the different elements created in the differrent projects could be fastened on the frame anyway.

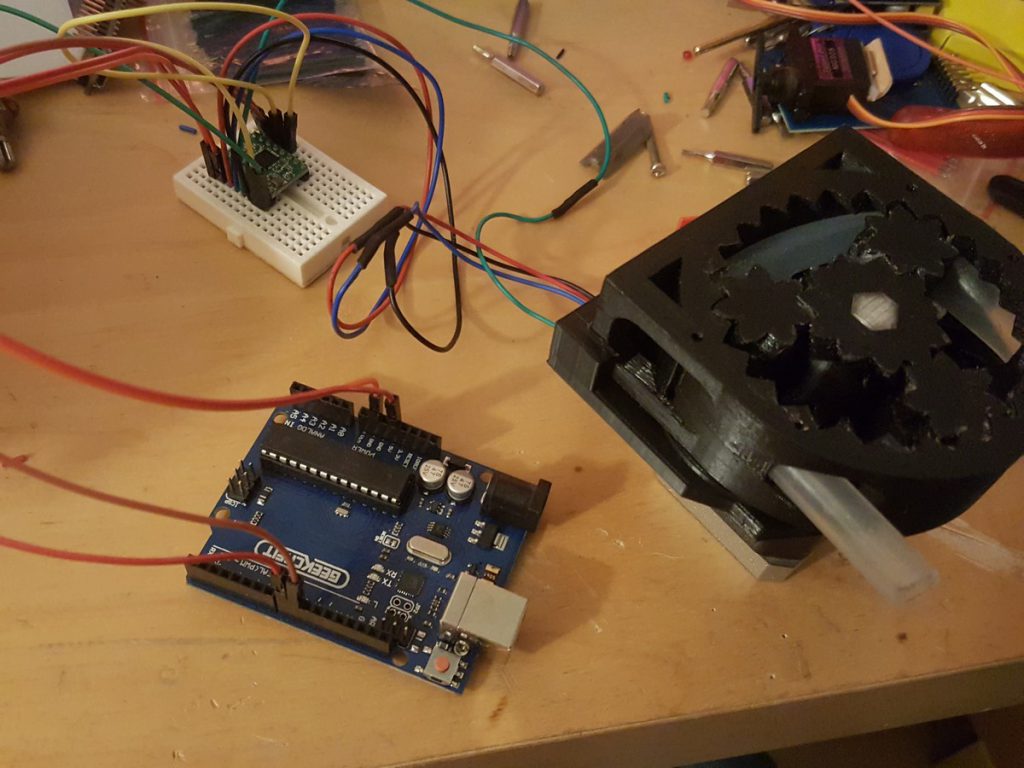
Here is a video of a test run of a pump.

Team MakerBeam

Pancake machine (1/7) – drawings

There are usually four steps in making a prototype. The first is to make a sketch. This way you get your idea on paper. The second is creating a virtual prototype. Going through all the stages and thinking some problems through helps the project along. What really helps is the third step, the creation of a physical prototype. The end result greatly benefits from actually building all the elements and solving every problem on the way. The fourth step, locating a manufacturer, is an optimistic one. It takes a lot of time before you get to this stage. Most of this time is dedicated toward prototyping since it normally means making a number of iterations. Not all of them as successful as you would like them to be.

MakerBeam is great to help you in the creation of a physical prototype and all the necessary iterations. The MakerBeam aluminium profiles and related hardware make it easy to create and alter a framework wherein electronics and 3D printed custom made designs can be combined into one.

The first prototype
We asked Hendrik-Jan to create us something using MakerBeam. Hendrik-Jan is a student who just started his bachelor studies in electronics this September. The aim was to create something with MakerBeam. Delivering a machine in working order was not the criterium for failure or success. It was the creation of a prototype we were after, the very first. A lot of prototypes do not make it to the finishline – a working model as input for the manufacturer – but are necessary steps in the process nonetheless. Materials used and problems solved along the way give a lot of valuable information.

Hendrik-Jan made us a pancake machine. The goal was to have a machine in which you put batter and oil with the machine baking a pancake for you and then delivering it on your plate.

Below are his first sketches in render, basically step one and two combined. He sketched the idea he had to see whether it was a realisitic plan, and to have it on paper. The making of his pancake machine will be published in a series of 7 posts. This one being the first.

Team MakerBeam

Roboat – an autonomous floating vessel

Roboat is aiming to create the world’s first fleet of autonomous floating vessels. The team behind the self-driving Roboat used MakerBeamXL for their prototype, see video and pictures below. For more information about the project see Roboat’s website Roboat.org

According to their website Roboat (Roboat.org) is a 5 year research project and collaboration between the Amsterdam Institute for Advanced Metropolitan Solutions and the Massachusetts Institute of Technology. In developing the world’s first fleet of autonomous floating vessels for the city of Amsterdam, it investigates the potential of self-driving technology to change our cities and their waterways.

Roboat in front of National Maritime museum Amsterdam

Windmill: Fisher Technik and MakerBeamXL

From Peter we received a great project where Fisher Technik is combined with MakerBeamXL. MakerBeamXL is used to strengthen the model of a windmill, see picture. For MakerBeamXL products in our shop, click here.

Peter researched his windmill model carefully. The model is build in 1:25 and measures 1m30 in height and 1m15 in width.
If you want to know more about his research please visit the fisher technik community website (ftcommunity.de). You can learn more about the project there.

Below is a video of the great project that took months to build.

Team MakerBeam