Yesterday and today saw an influx of customers ordering 200mm and 100mm MakerBeamXL. Usually this means there is a project featured somewhere using these lengths. We searched the internet but could not find the project. We asked some customers and soon got the reply. VORONDESIGN is launching a new design of their 3D printer. The BOM and other information will be available soon. You can watch the video of the preview here.
In France we have two resellers: Lextronic and Génération Robots. The last one sponsored a team that is working towards the ‘Coupe de France de Robotique 2020’.
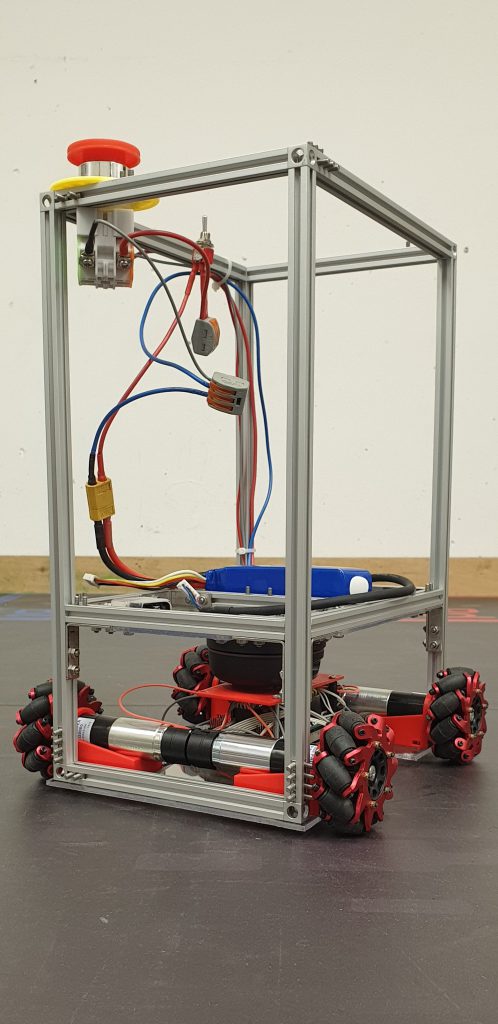
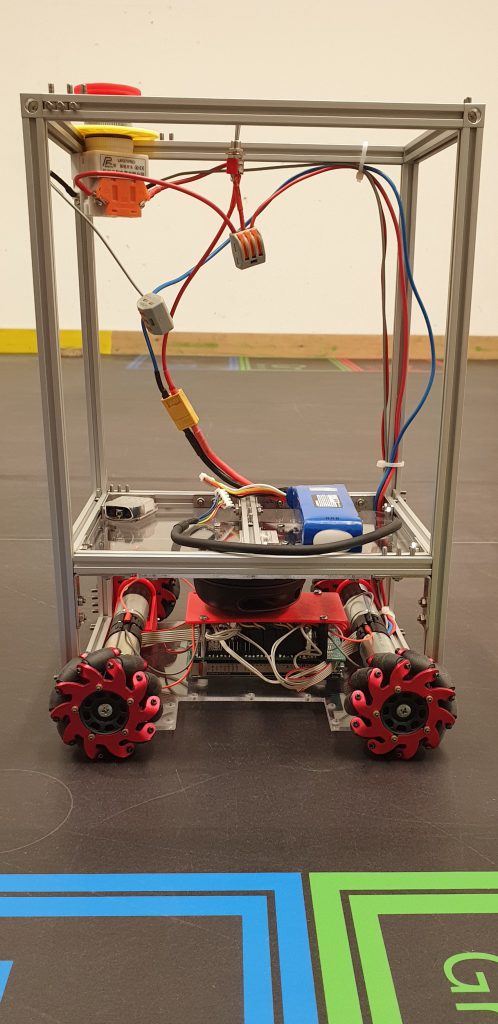
Estia system (@EstiaSystem) is a robot and mechatronic association that is affiliated with ESTIA – École Supérieure des Technologie Industrielle. They send @GenerationRobots a tweet to thank them for their sponsorship and added some nice pictures of their work aimed at participation at the competition.
The competition was set to take place at May 20-23 this year. Due to the Corona virus this date will probably not be met. Hopefully the competition will be rescheduled to a later date.
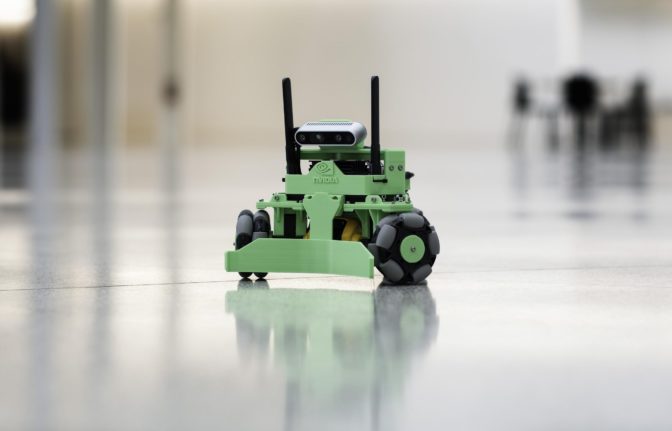
NVDIA created a robot that you can make. They deliberately designed it with 3D printed components and hobbyist components. So a wide range of people will be able to make the robot themselves. It was designed to showcase the Isaac Robot Engine running on the NVIDIA Jetson Nano platform. The Isaac SDK is the main software toolkit for NVIDIA robotics.
MakerBeam is used to create a frame and therefore it is mentioned on their bill of materials. Click here to go to a website of NVDIA with a lot more information about Kaya and how to assemble the Kaya robot.
The bill of materials mentions you can buy MakerBeam on Amazon.com. Which is correct, but you can also buy it from our shop MakerBeam.com directly. We ship worldwide.
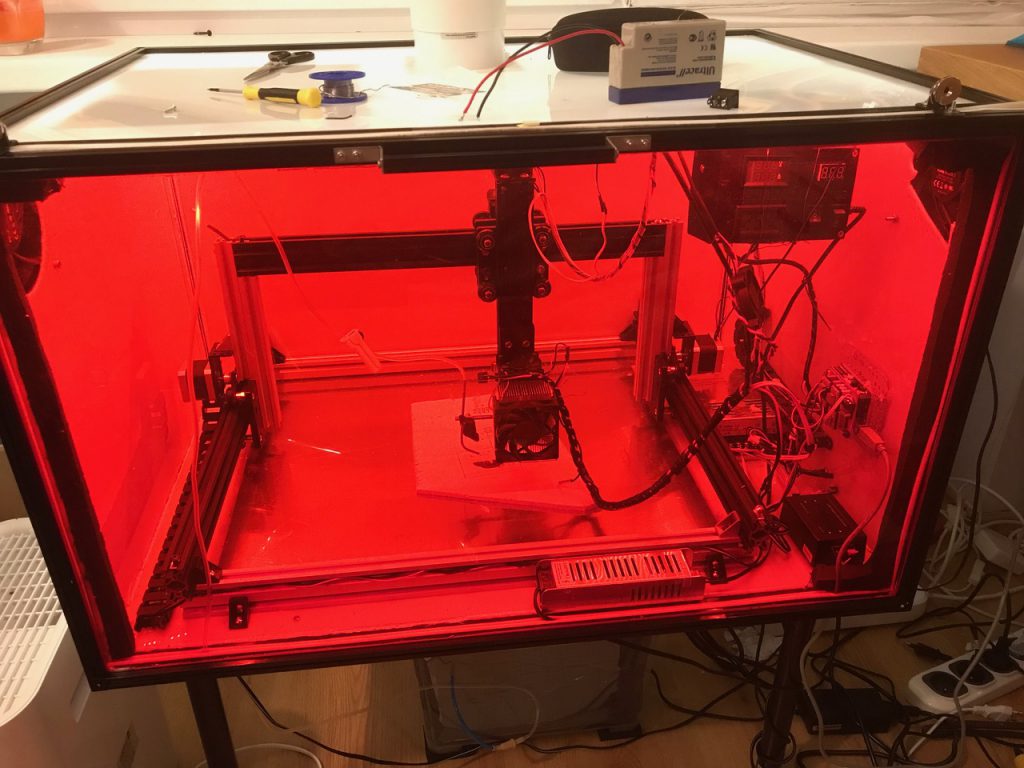
Krysztof Parda from Simply Joy Art sent us a picture from his laser cutter in a MakerBeam enclosure. It is just the one picture, but it does give a good impression of what is possible.
Adam Savage, from Mythbuster fame, is a well known maker. For a video sponsored by Starbucks he made an aeolipile – or Hero’s engine. The engine is powered by liquid nitrogen. According to the comments accompanying the video the idea was that the engine would drive a pulley system that would pour sweet cream into Adam’s glass of Starbucks Nitro Cold Brew.
When we saw the video we suddenly realised Adam used one of our 15x15mm profiles: OpenBeam!
Adam is known to build a lot of things using a wide variety of materials. It was a surprise to see him use OpenBeam. In the video he does not mention the use of OpenBeam, but it is clear to see.
Using our profiles in the way Adam did, has two advantages. First it is possible to divide the making of the machine into separate projects without having to worry about the whole. All the created elements can always be fastened to the framework anyway. The second advantage is coming from this first advantage. You can fully concentrate on making the machine, rather than having to start with building the outside. Our beams are great for prototyping or a proof of concept.
OpenBeam has the same size as MakerBeamXL, but has a lot more nooks and edges. Some have good use for these, others prefer the smooth look of MakerBeamXL. Since the profiles are both 15x15mm in diameter they can be used interchangeable.
This is the third and last video showing the CNC based on the content of a starter kit in action.
If you are interested in building this multfunctional device out of MakerBeam profiles you can contact Andy (3d.andy@gmx.net). He also has files published on Thingiverse (https://www.thingiverse.com/3DAndy/designs) with more to come.
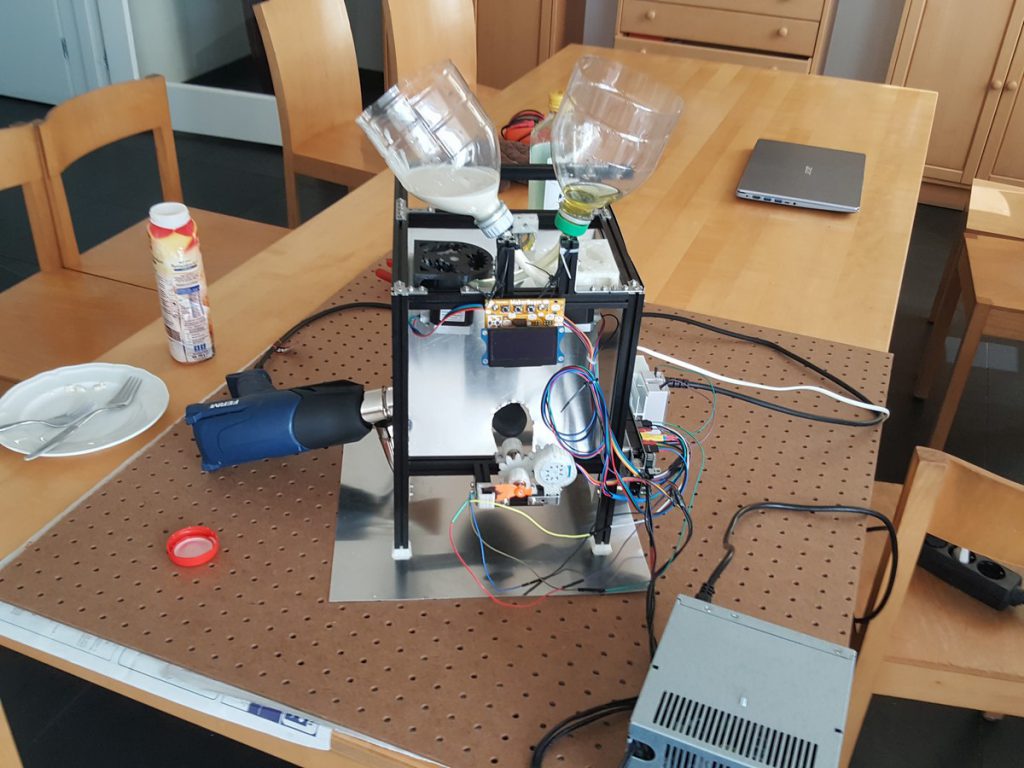
Hendrik-Jan is a student who just started his bachelor studies in electronics September 2019. He made us a pancake machine.
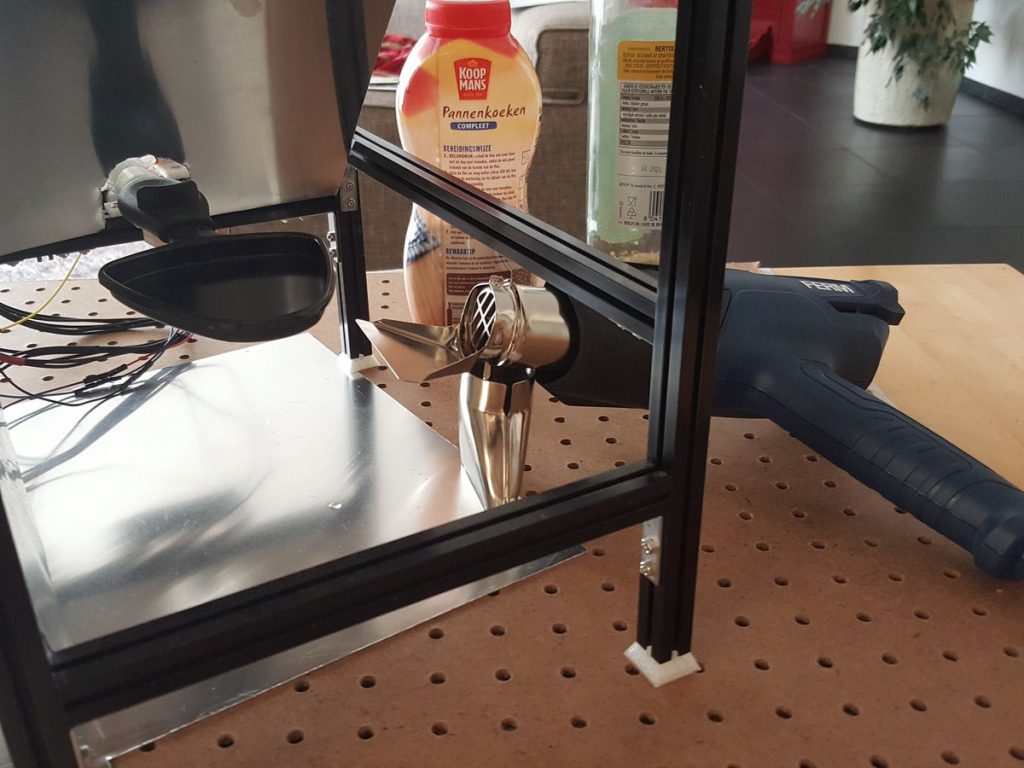
Heating the pan was a bit difficult. Hendrik-Jan considered using a the heating module of a blowdryer. But this proved to be to challenging and time was running out. Before the start of his bachelor studies the pancake machine needed to be finished. He chose to use a heat gun.
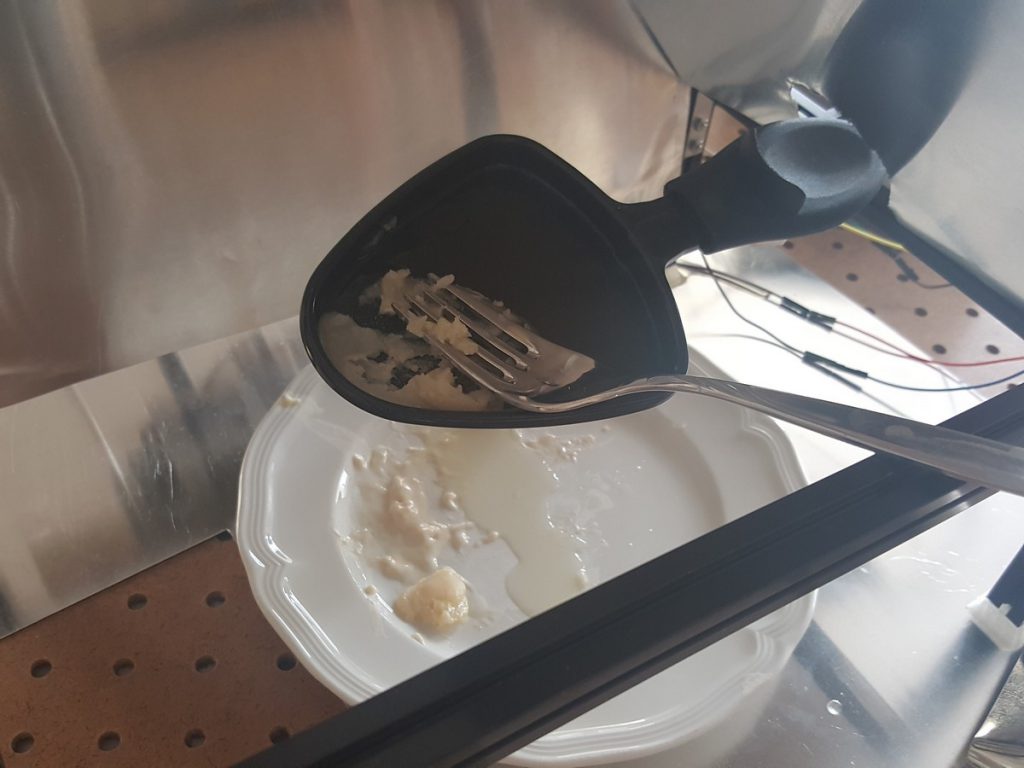
The tilting of the pan worked well, but the sliding off never really happened. The pancakes never got baked really well. The pancake would almost burn into the pan. So that it would not fall out of the pan when you turned round. No matter how much oil was in the pan. This probably happened because the temperature of the pan became too high. The oil burned away a bit and with it the batter that touched the pan. Adding a temperature sensor to the pan that could act as a thermostat could fix this problem. Hendrik-Jan considered such a system, but chose not use one. It would have been both challenging to mount a temperature sensor to the pan and would have made the code a lot more complex. What he instead hoped for was that he could regulate the temperature of the pan a bit by aiming the gun on the right spot on the right distance from the machine.
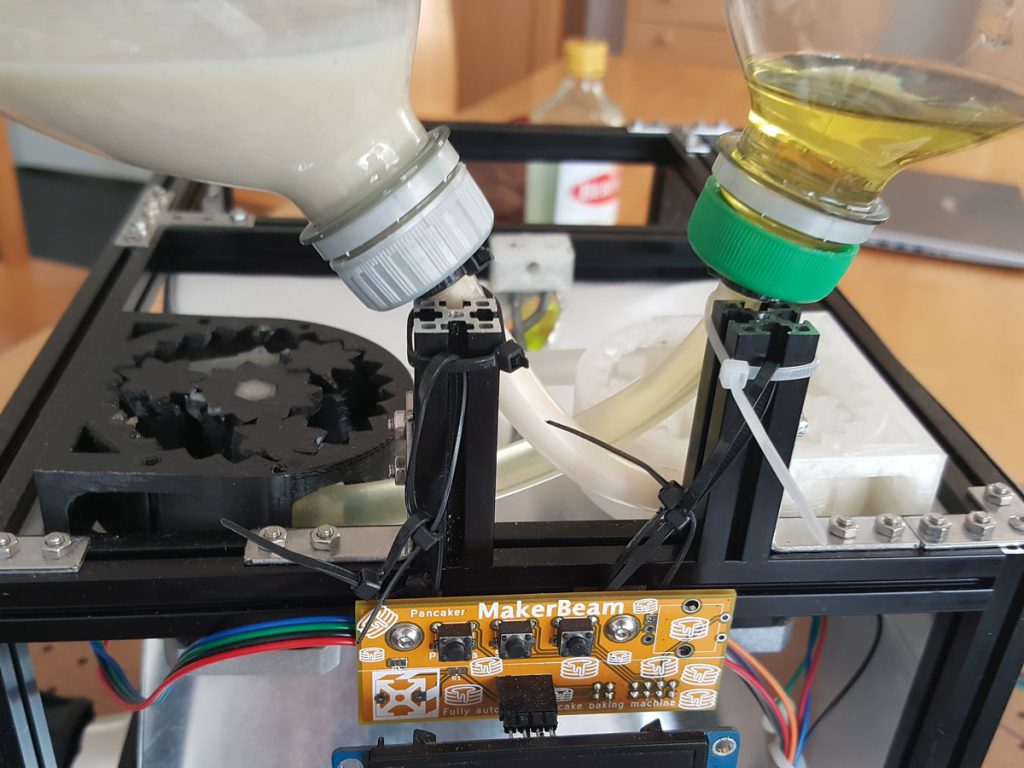
The pumps worked well. They only have have one problem. There is still a tube of approximately 20 centimetres until the tube ends above the pan after the fluid is pumped from the reservoir through the pump. Oil and batter slowly drip into the pan instead of falling all at once. There should be a vacuum in the tube to prevent this. The tube that was used is pretty wide, so this vacuum to hold the fluid in place was not there. This meant that after pumping, the fluids would still leak out of the tube for a pretty long time. In retrospect Hendrik-Jan thinks that the best way to solve this is to let the pump retract, just like 3d-printers do with their filament. This means that after pumping the fluids to the pan, it would pump back a little bit so that the tube after pumping is empty.
As a reservoir for both the butter and the oil, Hendrik-Jan used a PET-bottle neck. He could easily hot-glue the tube into a bottle cap. The reservoir on the right (figure 5) leaked a bit though, eventually leaving a mess everywhere. In hindsight a funnel maybe would have worked better.
Even though the machine did not really work as a fully automatic pancake machine Hendrik-Jan is still pleased with how the machine turned out. He learned a lot in the process of making and testing the machine. The use of MakerBeam profiles made it possible to divide the making of the machine into separate projects without having to worry about the whole. All the created elements could always be fastened to the MakerBeam framework anyway. This meant he could focus on one project at a time without having to worry how the created element in that project would fit the whole.
Hendrik-Jan is a student who just started his bachelor studies in electronics September 2019. Hendrik-Jan made us a pancake machine.
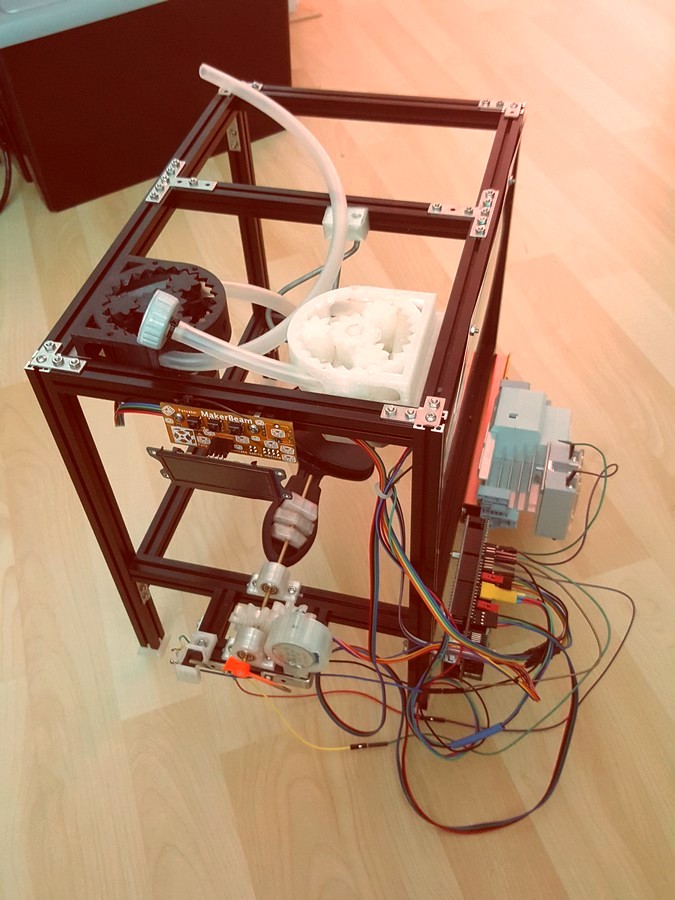
Hendrik-Jan made a special PCB for the control panel. The control panel is used to home the pan, see video below.
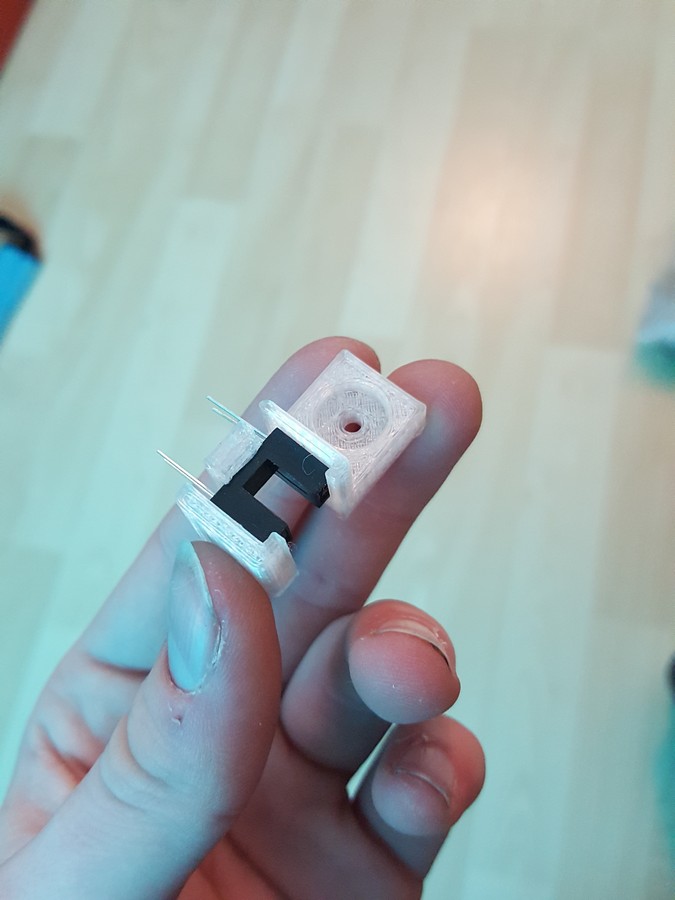
For the homing of the pan a sensor was used. Hendrik-Jan used an optical switch with a RC propeller to block the light. Although this worked reasonably well, the optical switch appeared vulnerable. Throughout the process of making the machine 4 sensors were broken. It was not clear why this happened. There are a number of other options. Like using a hall-effect sensor with a magnet for example, or he could have gone with a simple micro-switch.
This is the penultimate blog post highlighting the pancake machine.
This is a second video showing the CNC based on the content of a starter kit in action.
If you are interested in building this multfunctional device out of MakerBeam profiles you can contact Andy (3d.andy@gmx.net). He also has files published on Thingiverse (https://www.thingiverse.com/3DAndy/designs) with more to come.
Hendrik-Jan is a student who just started his bachelor studies in electronics September 2019. Hendrik-Jan made us a pancake machine.
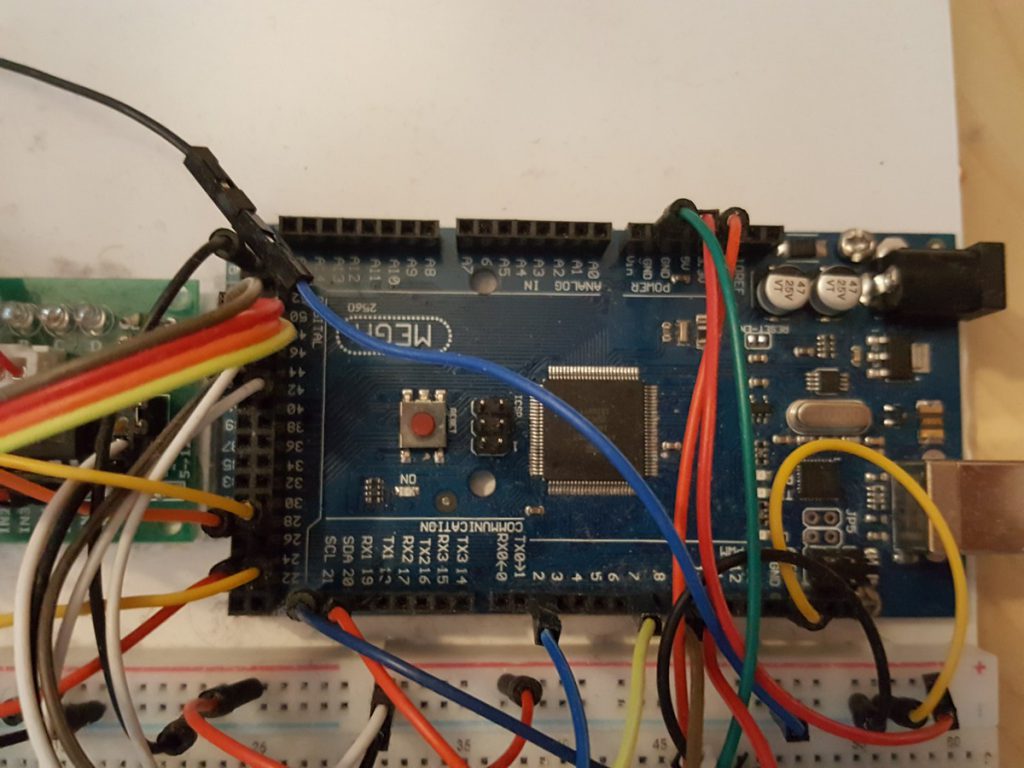
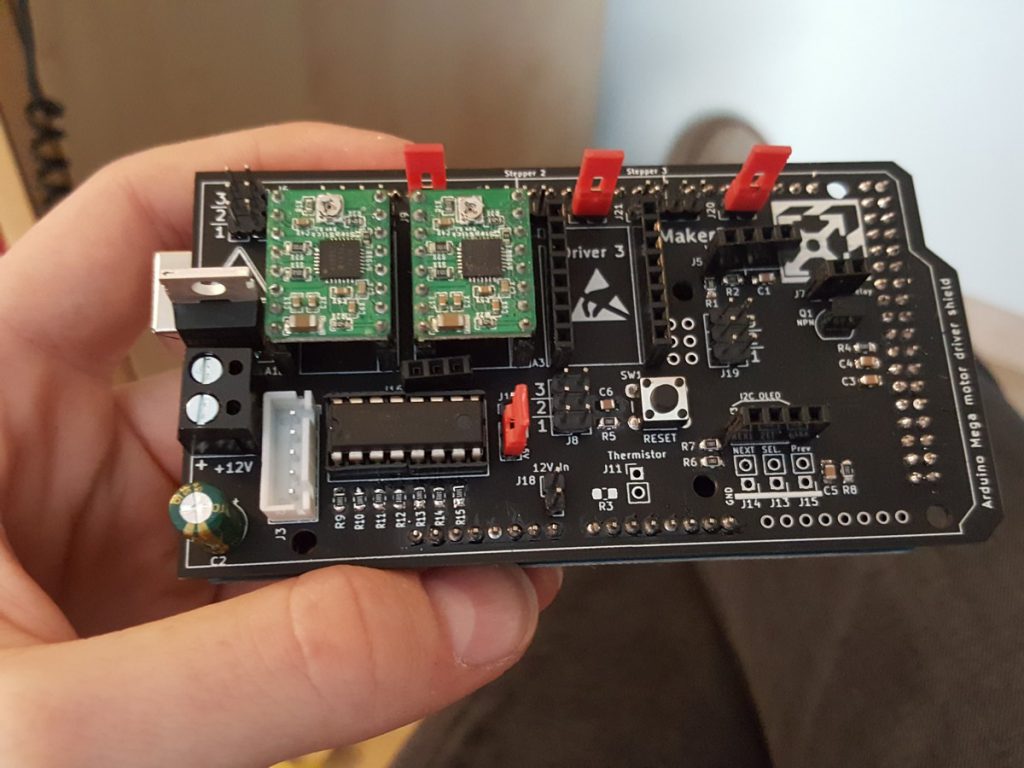
An Arduino mega was used as a microcontroller for the machine.
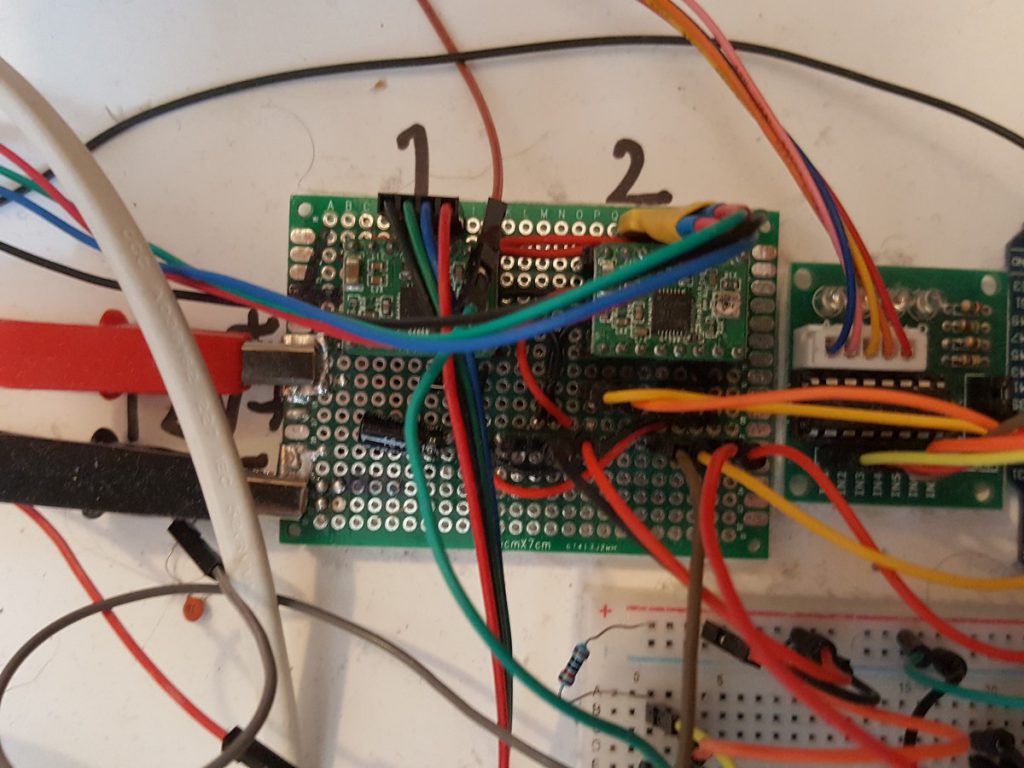
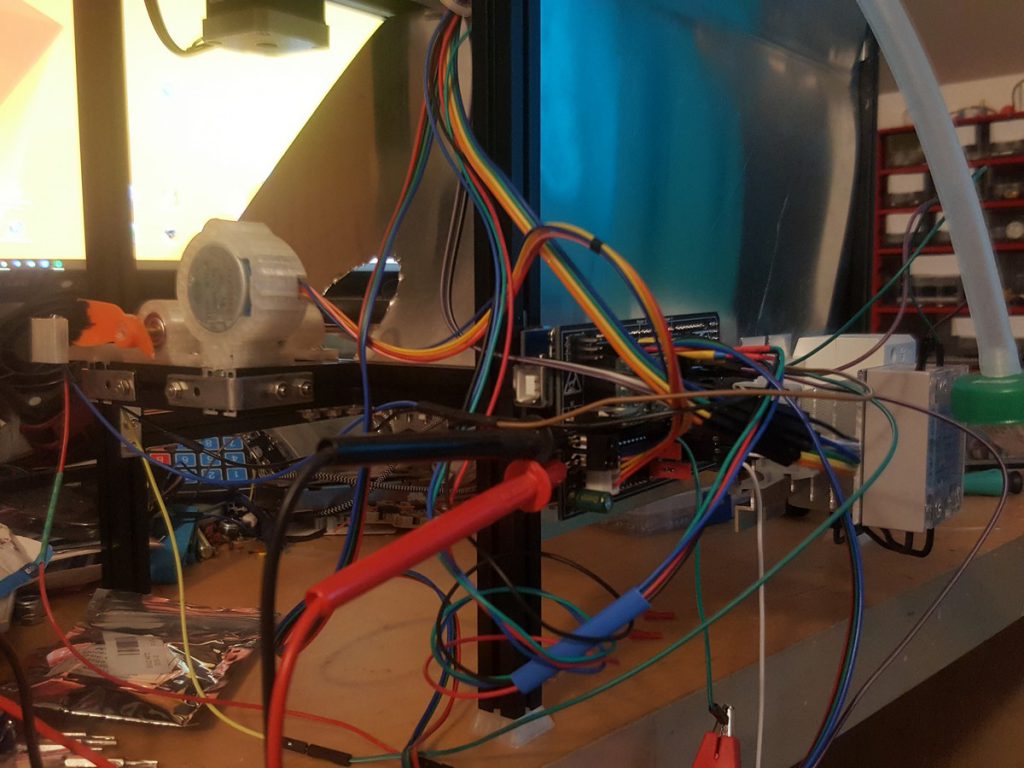
During the process the wiring of the machine really became a mess, see above. Hendrik-Jan decided to make an expansion board for the Arduino mega, see below. This reduced the number of wires and made it all a lot simpler.
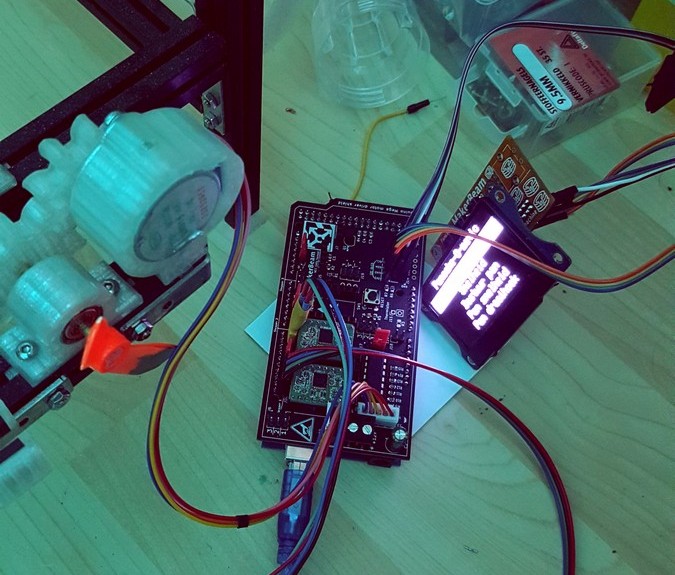
Hendrik-Jan also created a PCB with a control display.
Although there were two custom PCBs designed for the machine there still were quite a lot of wires hanging around the machine.
The reason for this was that Hendrik-Jan wanted all the cables to be pluggable. This meant that he had to use 8 separate jumper cables, only to connect the mainboard and interface board together. He recently found out about IDC-connectors which you can easily press onto a flat cable at home without the need of special pliers. He would recommend using these instead of what he did.