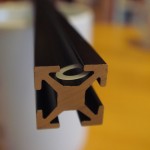
We are proud of MakerBeam version 2.0. To increase corrosion resistance and increase surface hardness the beams are now anodised. As a bonus it also allows dyeing. We went with black. It looks good, but more importantly could work well in fields that use photography. Next to the black anodised beams we also sell clear anodised beams. This clear anodised version resembles the classic starter kit the most.
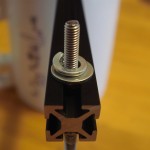
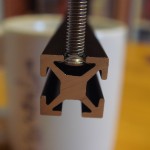
 It was difficult to improve the profile and still completely stay in line with its distinct MakerBeam T-slot profile and width and height of 10mmx10mm. We think we succeeded. The new design has a thicker core. We hope this will strengthen the beams. The thicker core definitely has other bonuses. It gives you the possibility to thread wire on top to fit a M3 bolt. This will make MakerBeam even more versatile.
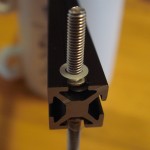
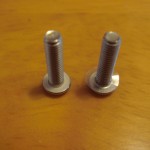
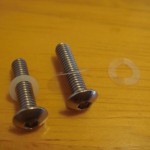
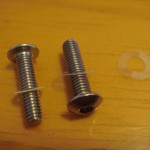
Changing the core also made the slides a bit wider. This increases the chances that standard, of the shelf, M3 6mm button head screws will fit. Whereas they just did not fit before.
There is a bit more info about the screws in our blog post from June 14th 2012. Here is a link.
Team MakerBeam.eu