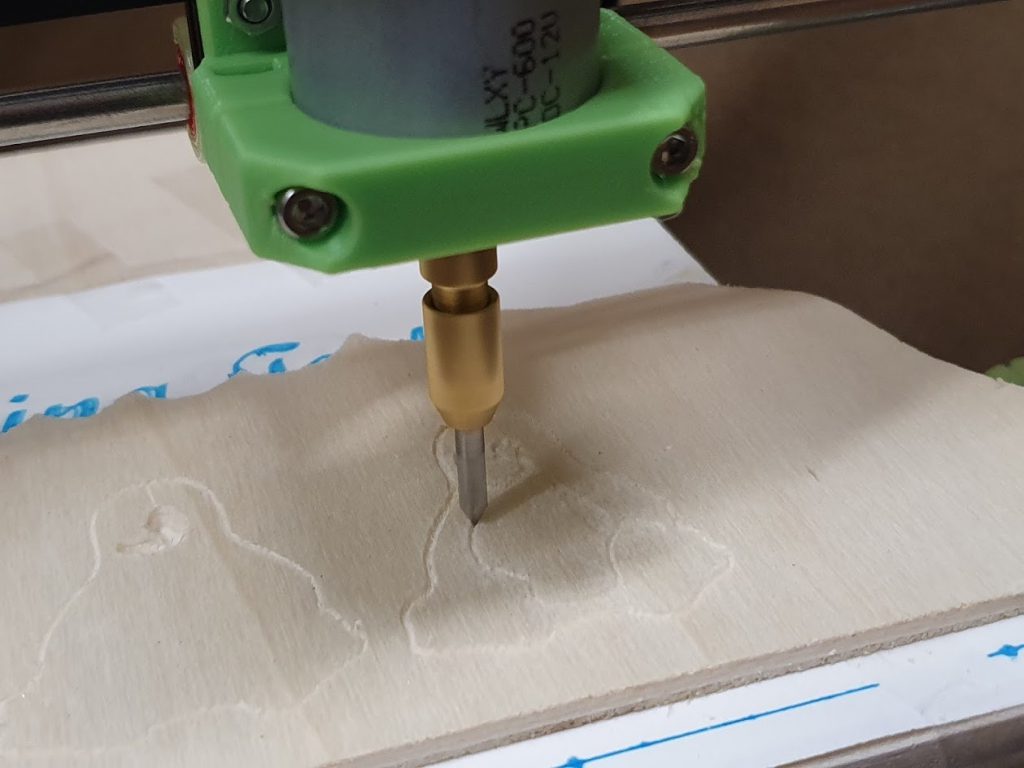
The video shows the CNC based on the content of a starter kit in action.
Category: Projects MakerBeam
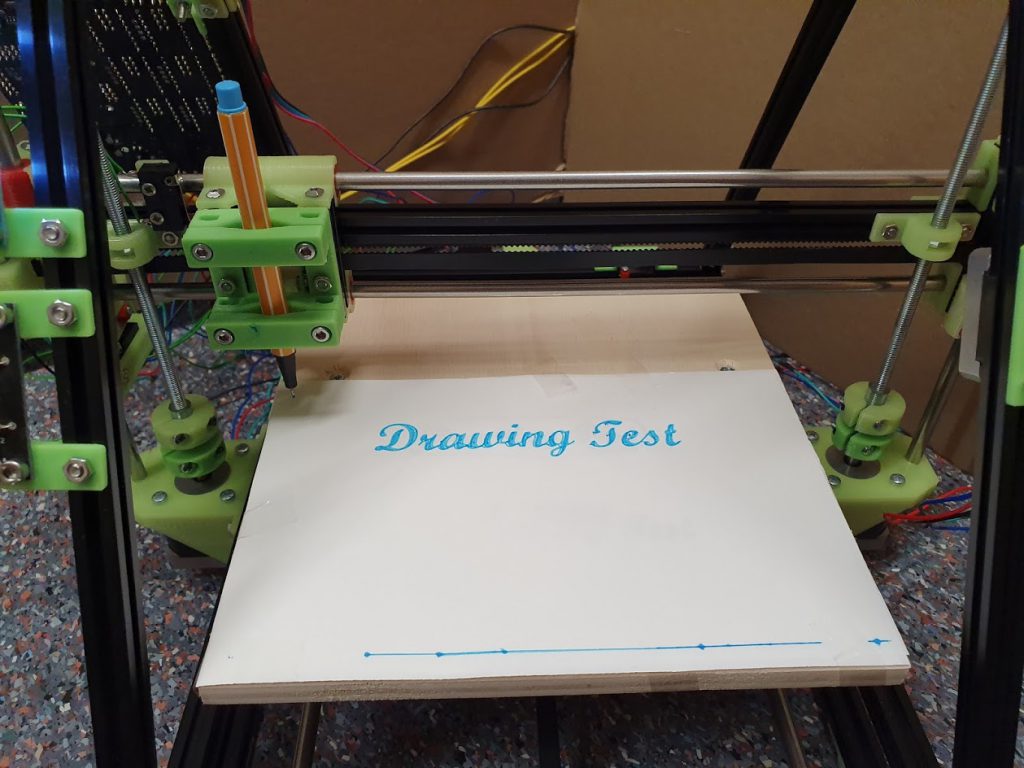
3D Andy’s starter kit 3D printer/plotter/CNC – plotter video
3D Andy’s starter kit 3D printer /plotter/CNC – 3D printer video
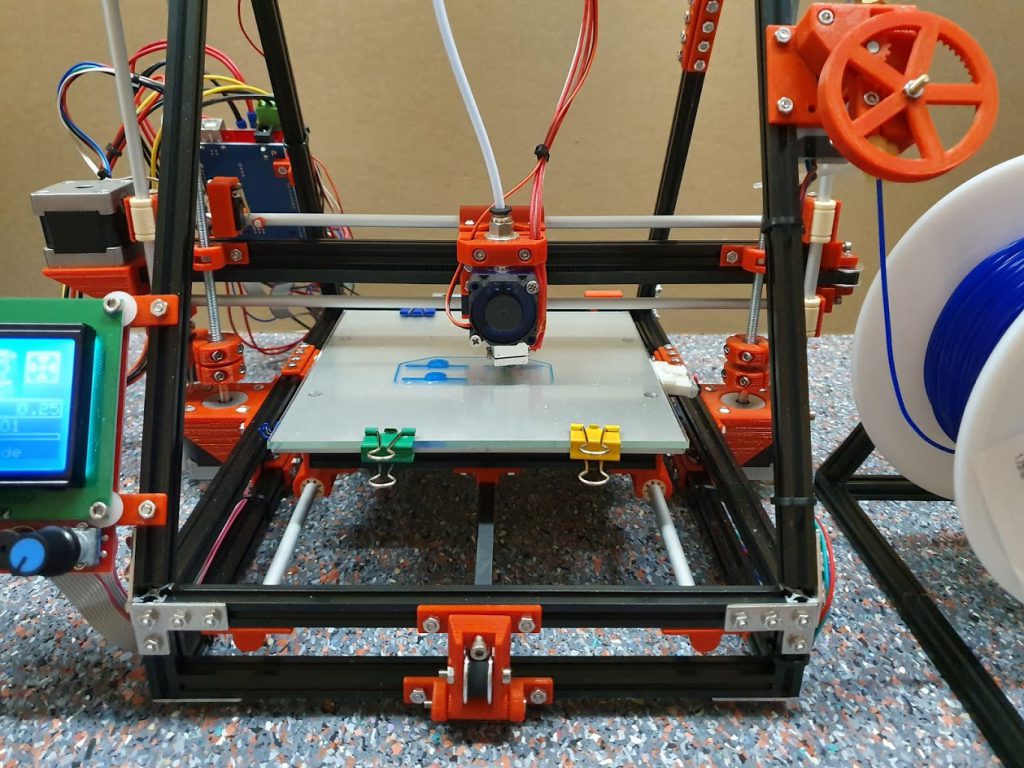
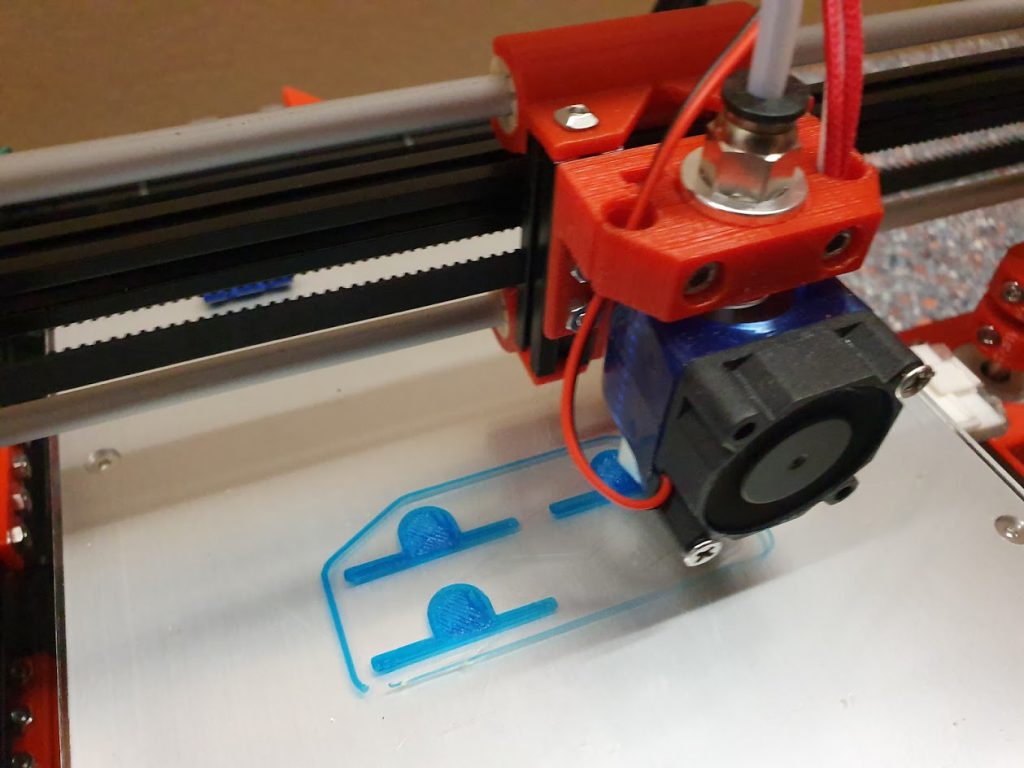
The video shows the 3D printer based on the content of a starter kit in action.
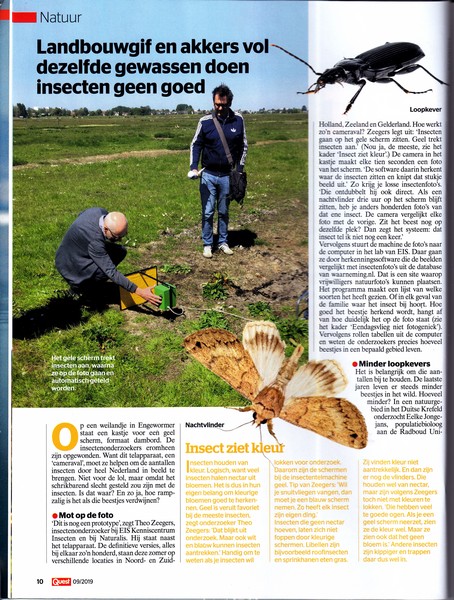
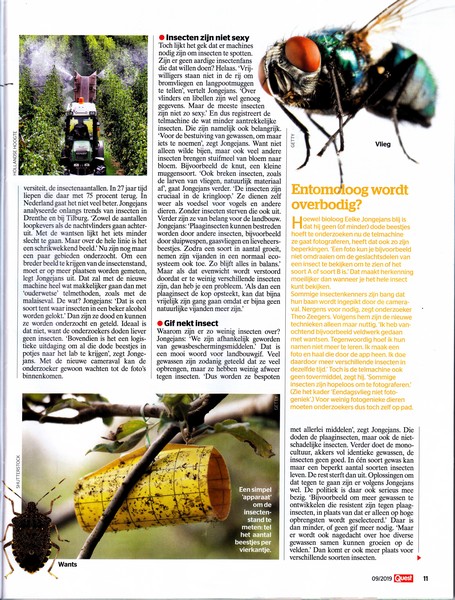
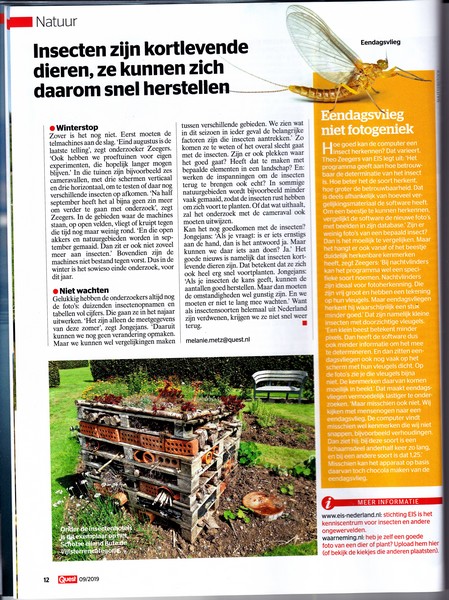
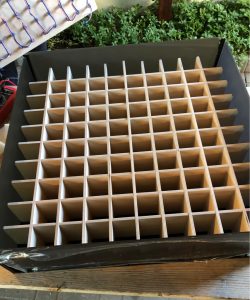
Camera trap for insects
It is crucial to have good data available on the number of insects around. Especially now the number of insects is in decline. How many insects are left? What kind? All questions to be answered.
Kenniscentrum EIS (knowledge centre European Invertebrate Survey) in The Netherlands created a camera trap for insects. They used MakerBeam to create a frame.
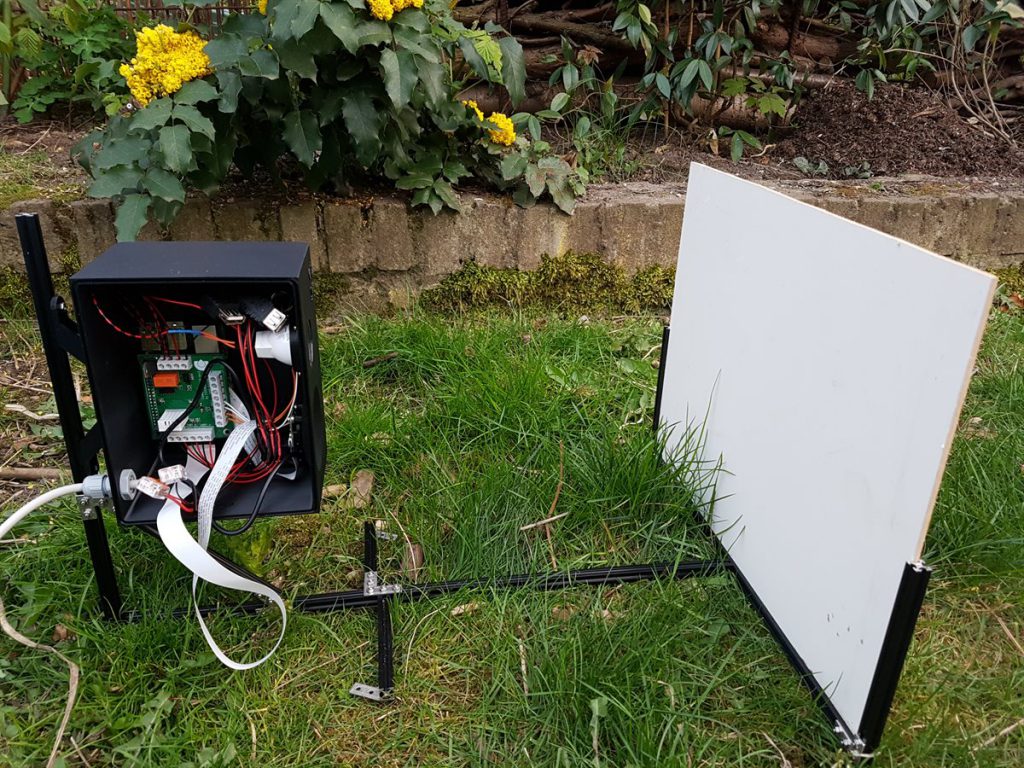
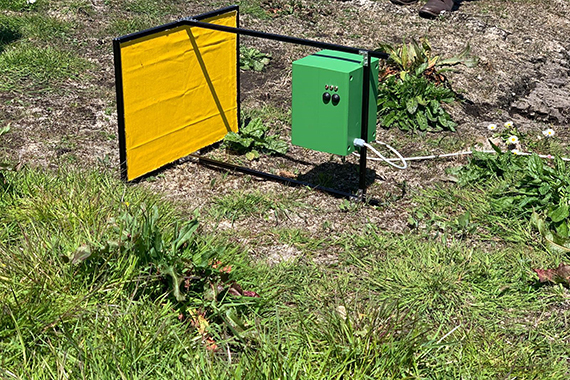
Insects fly or crawl on the board and are photographed. The prototype, shown above, has a white board. The one used in the field has a yellow board to attract insects, see below.
The software is designed so that it only saves the picture of the insect. The rest is cut out. It also is programmed to compare pictures to find out whether it is the same insect or a new one.
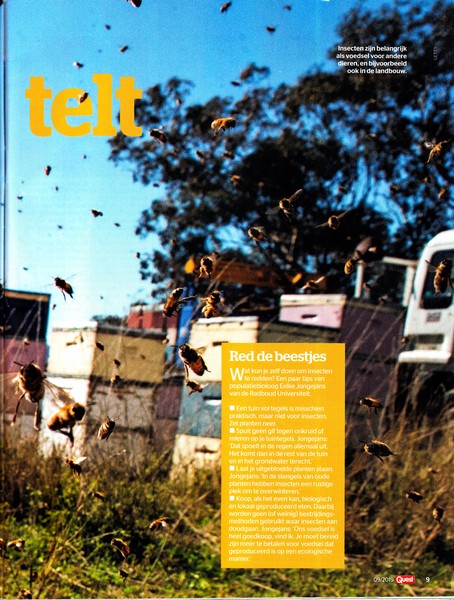
The images are sent back to a lab where they have recognition software so an initial count can be made. Autumn and winter are used for a more detailed study of the data.
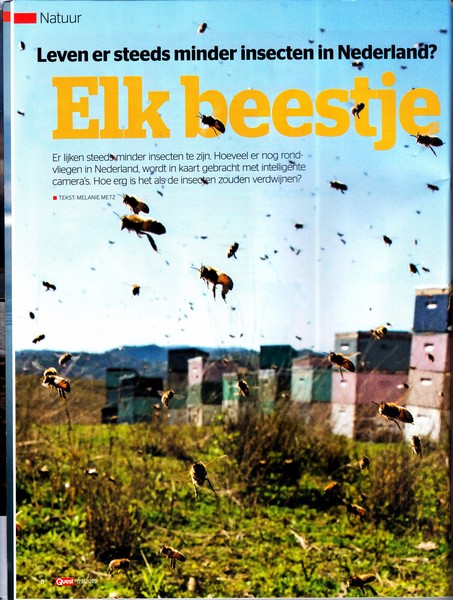
You can find more information on the website of EIS (Dutch language) and more information can be found in an article of Quest (see below, number 9 of 2019, also Dutch language).
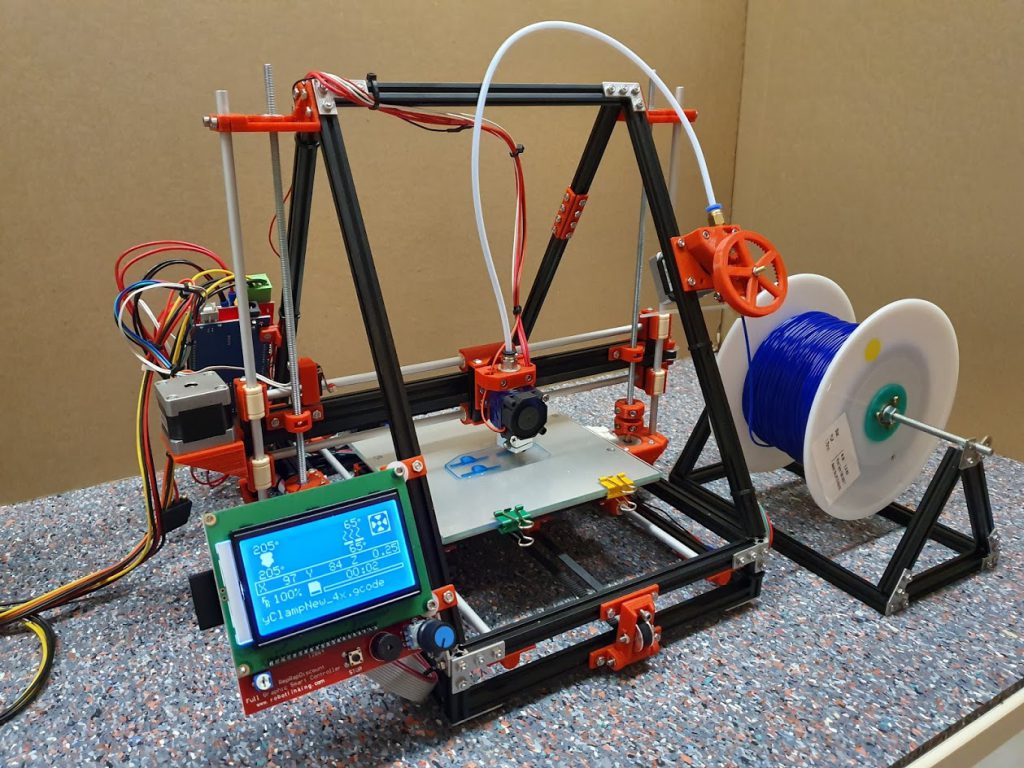
3D Andy’s starter kit 3D printer, CNC and plotter
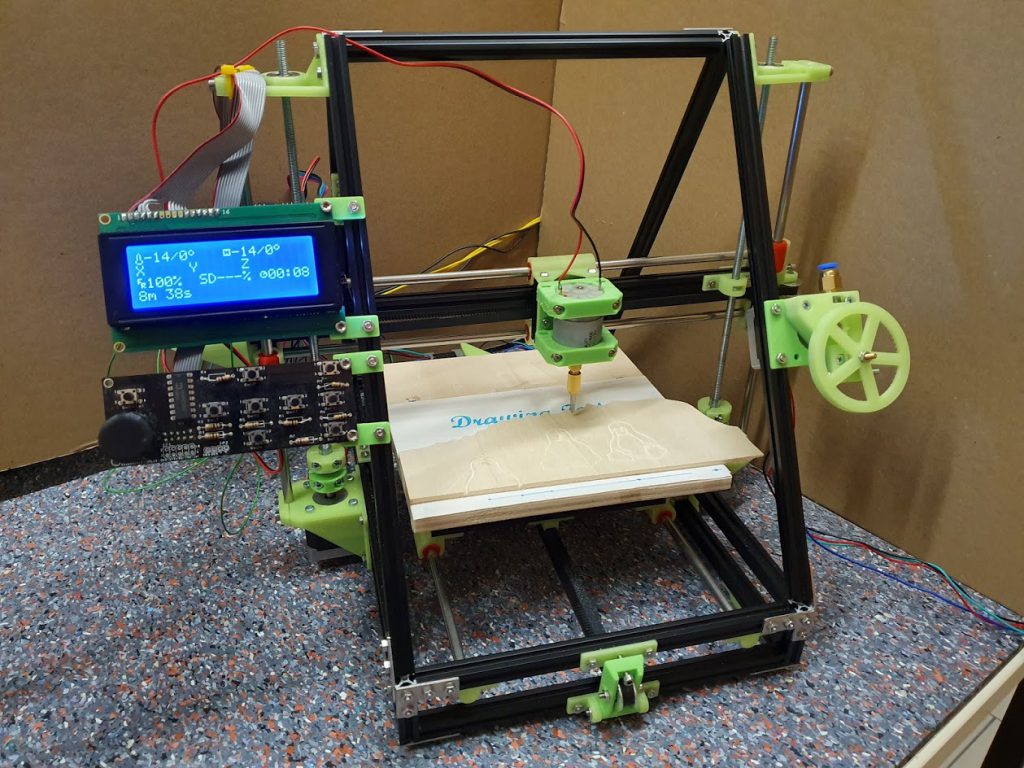
Andy from Austria made a 3D printer framework based on the items in a MakerBeam Regular Starter Kit (art. no. 100012/100034). You can find some pictures here. Videos of the 3D printing, plotting and milling will be published later. He is also working on a building instruction and a Bill of Materials. Stay tuned for more and enjoy the first pictures!
/100034). You can find some pictures here. Videos of the 3D printing, plotting and milling will be published later. He is also working on a building instruction and a Bill of Materials. Stay tuned for more and enjoy the first pictures!
Andy built a complete 3D-printer-frame out of one “MakerBeam Regular Starter Kit” with just a few additional screws and parts. The main target of his project is to construct a low cost 3D-printer/cnc-mill/plotter with easy available parts. See pictures below.

Team MakerBeam
Order and delivery use case
ConstrAct in Austria sent us this nice little video. They used MakerBeam to create a model so a use case could be build to test the order and delivery process of sneakers.
The video shows a miniature conveyor belt. They built a cool setup for a cloud use case. The results are shown in Azure PowerBI.
Team MakerBeam
GoPro Slider with MakerBeam parts
Stefan from ConstrAct in Austria sent us a new MakerBeam project: a GoPro slider. For the frame 600mm MakerBeam (10x10mm) was used. The linear slide, also 600mm, was attached on top. It is driven by Arduino Nano with some additional parts from his 3D printer and CNC mill.
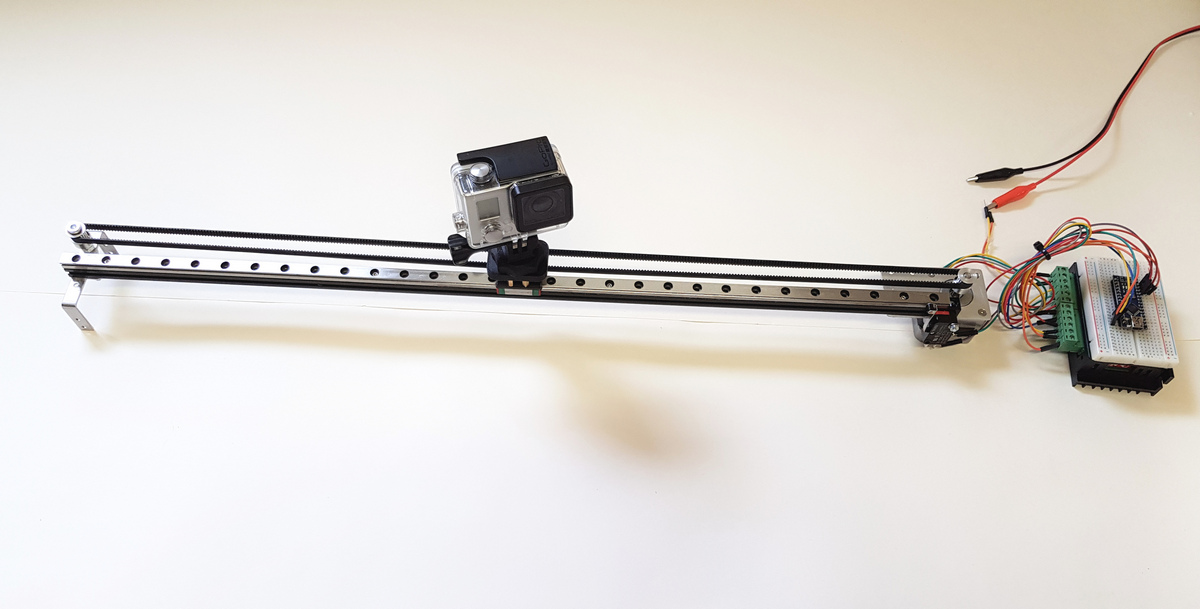
Below is a small video that shows the slider in action.
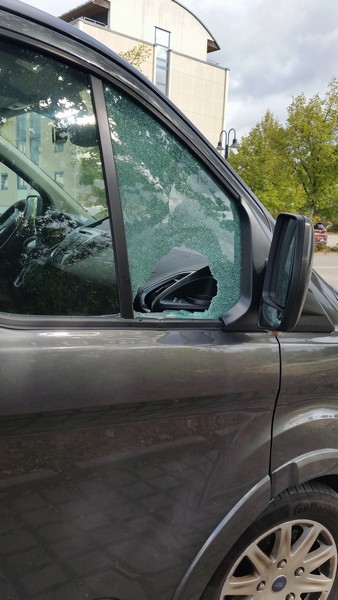
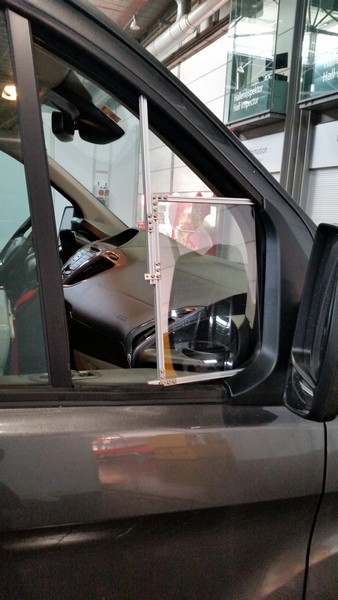
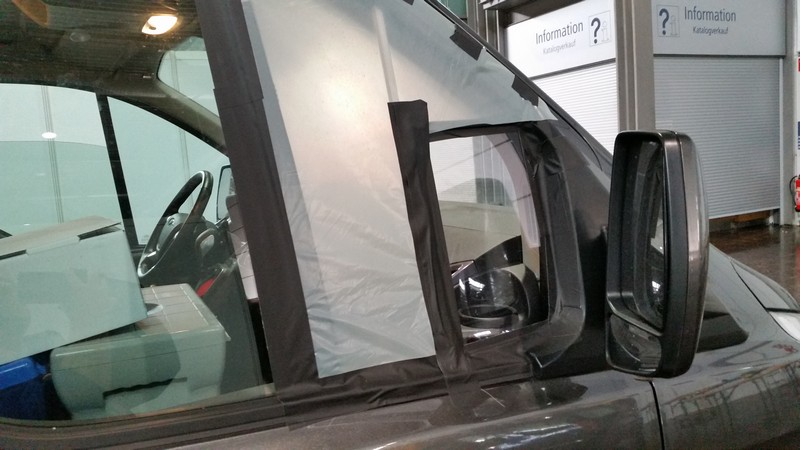
Car window fix
MakerBeam is also very useful to temporarily fix your car window. Anton sent us some pictures to show his improvised window using a MakerBeam frame. He was on the road for the ‘Modell-Hobby-Spiel’-fair in Leipzig where he represented MakerBeam.de (Chartup.com), see picture.
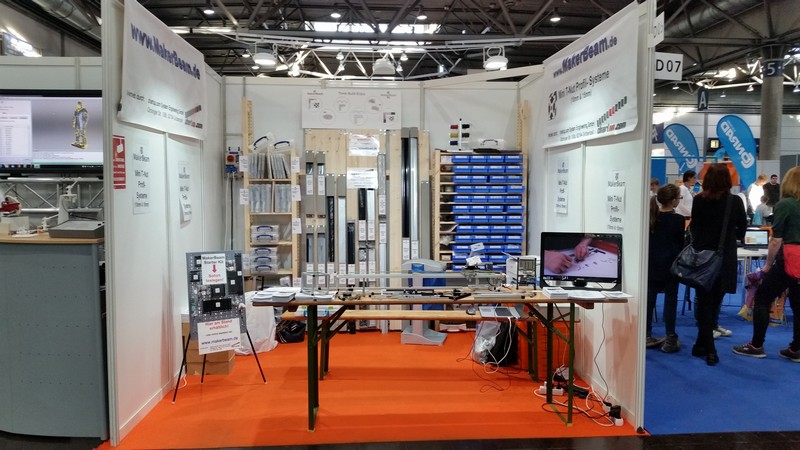
While travelling for this fair he had his car broken into. The car window on the right side was smashed. He made a MakerBeam frame to fill the window space. One side was taped, on the other side some type of glass was put in. The result: he could still make use of his side view mirror.

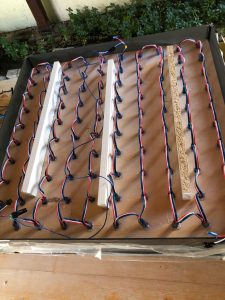
Turn your coffee table in to an eyecatcher
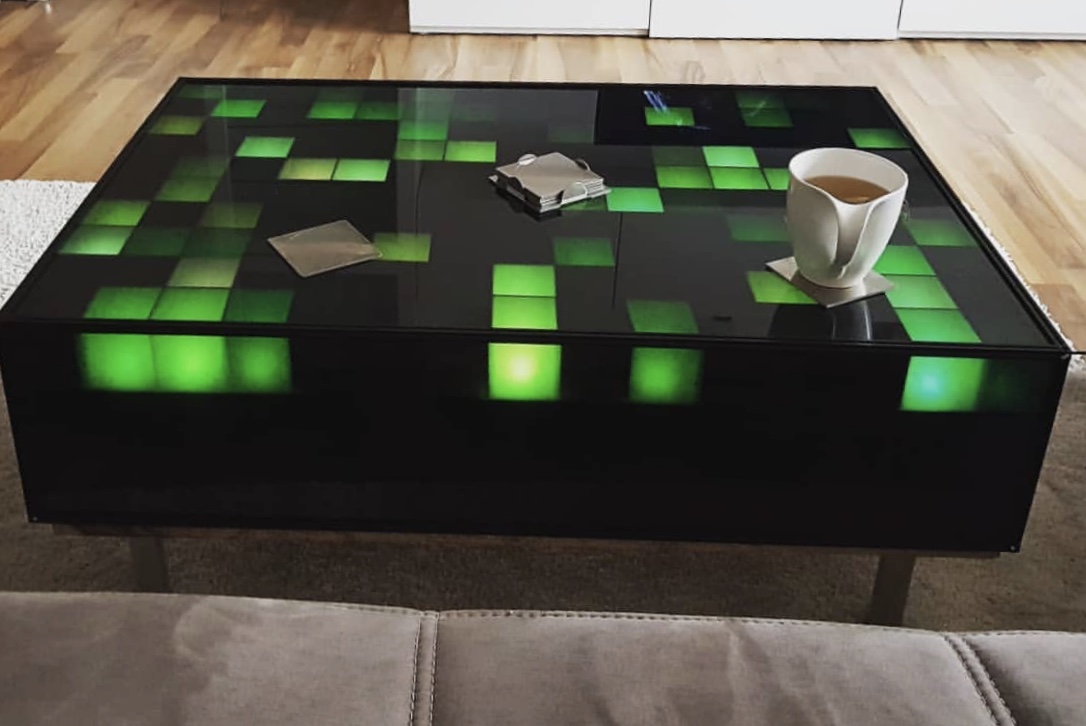
Alisa sent us this picture above. A coffee table with LEDs inside. MakerBeam black anodised was used to build it’s frame. This coffee table makes for a great eyecatcher.
Below are two pictures showing the build in progress. Plus there is a small clip demonstrating the lights (double click the video).
Team MakerBeam
Rotating cube
Stefan Gschroefl from ConstrAct sent us a few pictures from his rotating MakerBeam cube. It looks great.
The cube is made using MakerBeam. It now holds pictures of MakerBeam items and projects. Stefan is planning to attend the MakerFaire in Vienna in early May.
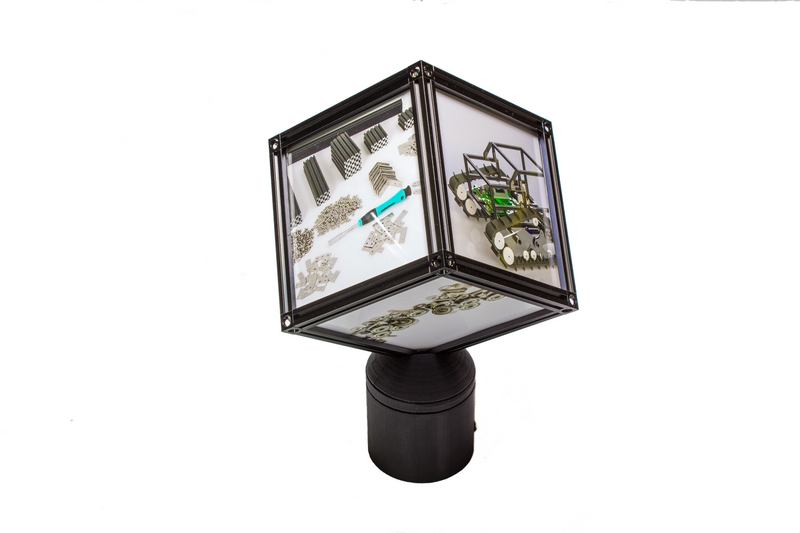
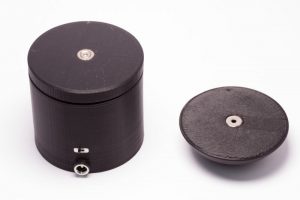
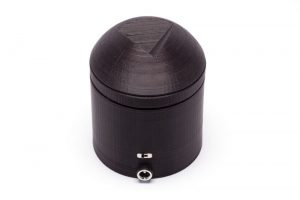
The rotation platform is custom 3D printed and runs slow. The rotation platform is powered by battery or external power source. It can be used for other things since the cubeholder itself is magnetic mounted.
Team MakerBeam